Validating and Verifying Checks
If the MICR check reader feature is present, checks are verified and then validated.
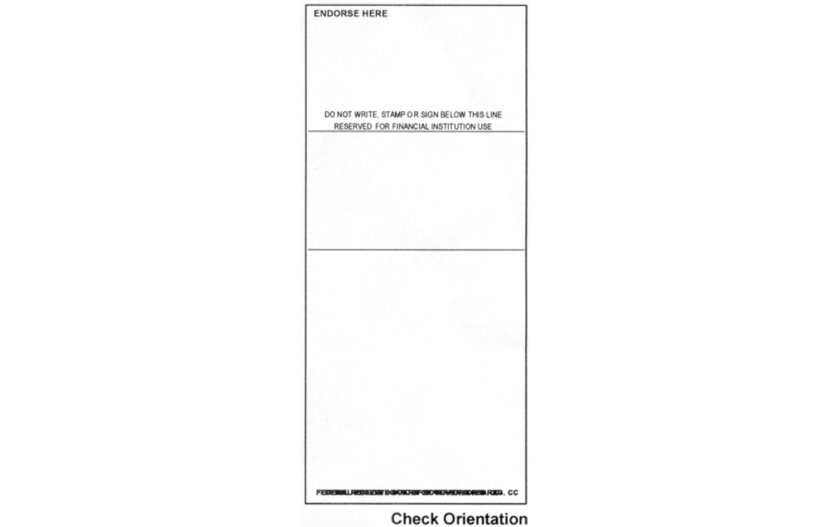
1.Position the check on the slip table.
a.Insert the check from the front and place it on the slip table face down, with the MICR characters to the right, as shown in the following illustration.
b.Slide the check to the right until it aligns with the guide or wall.
c.Slide the check toward the back until it touches the form stopper or align it with any preset mark made on the slip table.
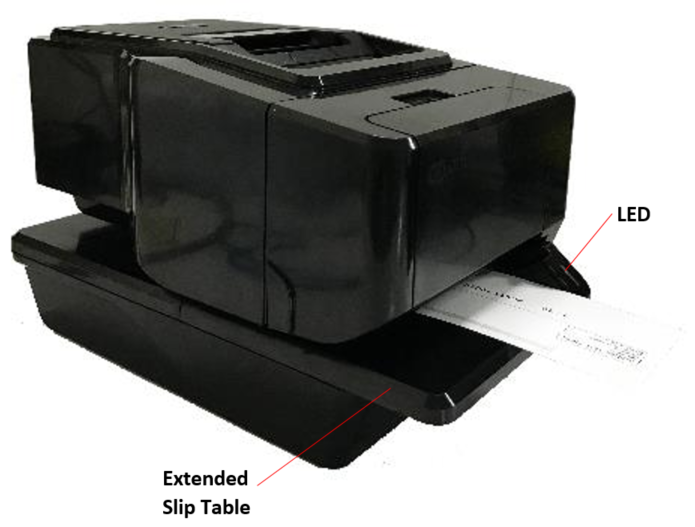
Note: When the check is properly inserted, the green LED on the slip table turns on. That means that the check has covered the two sensors on the slip table.
2.Follow the instructions from the host computer.
If the MICR check reader feature is present, the check is fed in and out while the check numbers are read. If the check is verified as good, it is then validated. If the check is not verified as good, it is not validated.
Note: Do not hold or keep the check from moving during the MICR check reader transaction or the check numbers will not be read accurately
3.Remove the check after it has been fed all the way back out.
4.Follow the instructions from the host computer to finish the transaction.