Clearing Stuck Cutter Blade
Note
Depending on the firmware version of the printer, leaving the printer ON while performing the steps below allows the printer to automatically retract the cutter blade after the operator closes the top cover and the front cover.
If the cutter blade is stuck in a fully extended position and the top cover cannot be opened, follow these steps to fix the issue:
- Open the front cover.
- Unlatch the front cover by pulling on the holes located on both sides of the front cover. This will take some force.
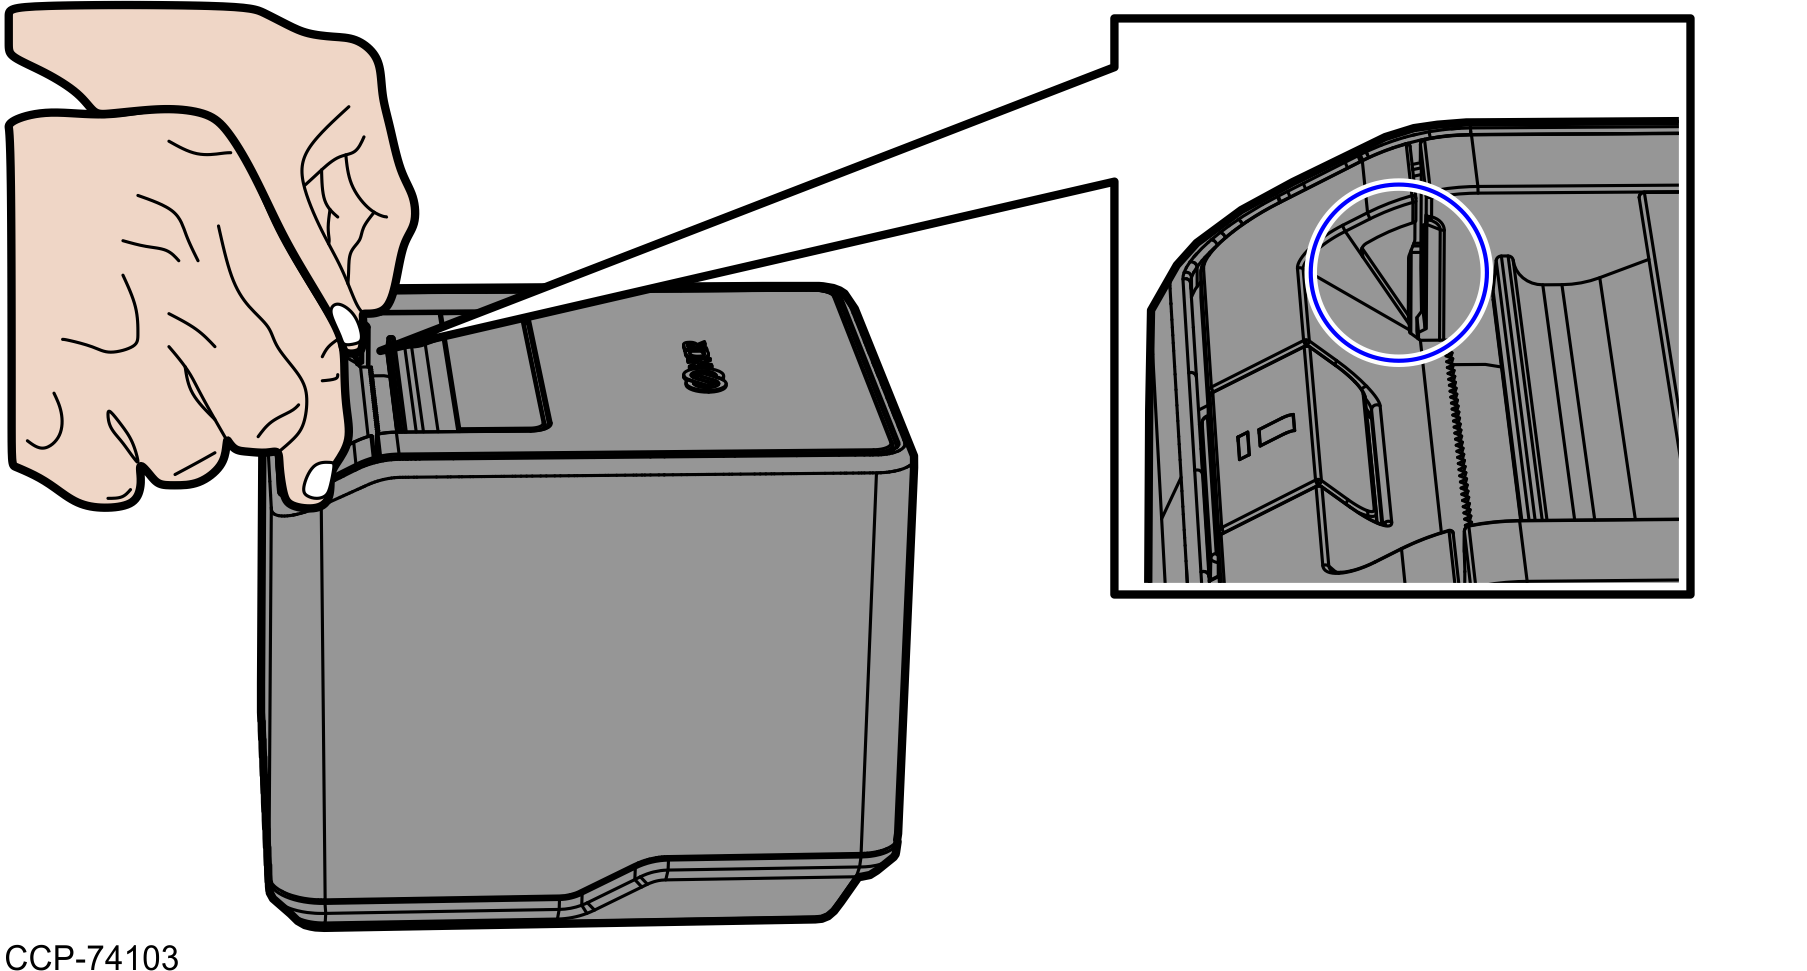
- Flip to fully open the front cover.
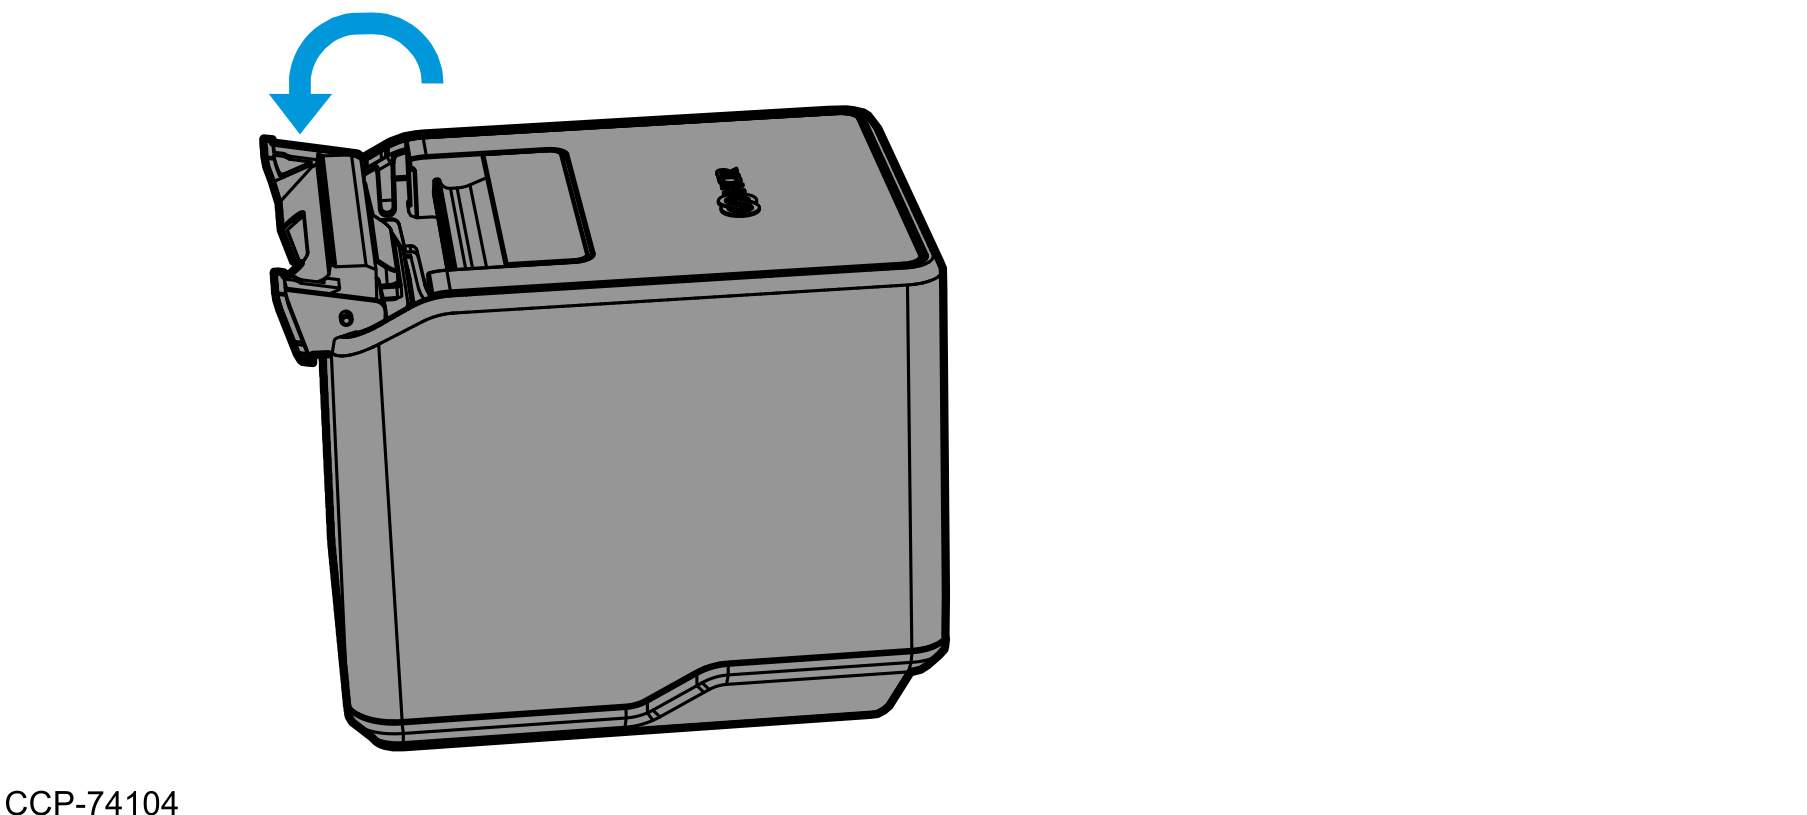
- Unlatch the front cover by pulling on the holes located on both sides of the front cover. This will take some force.
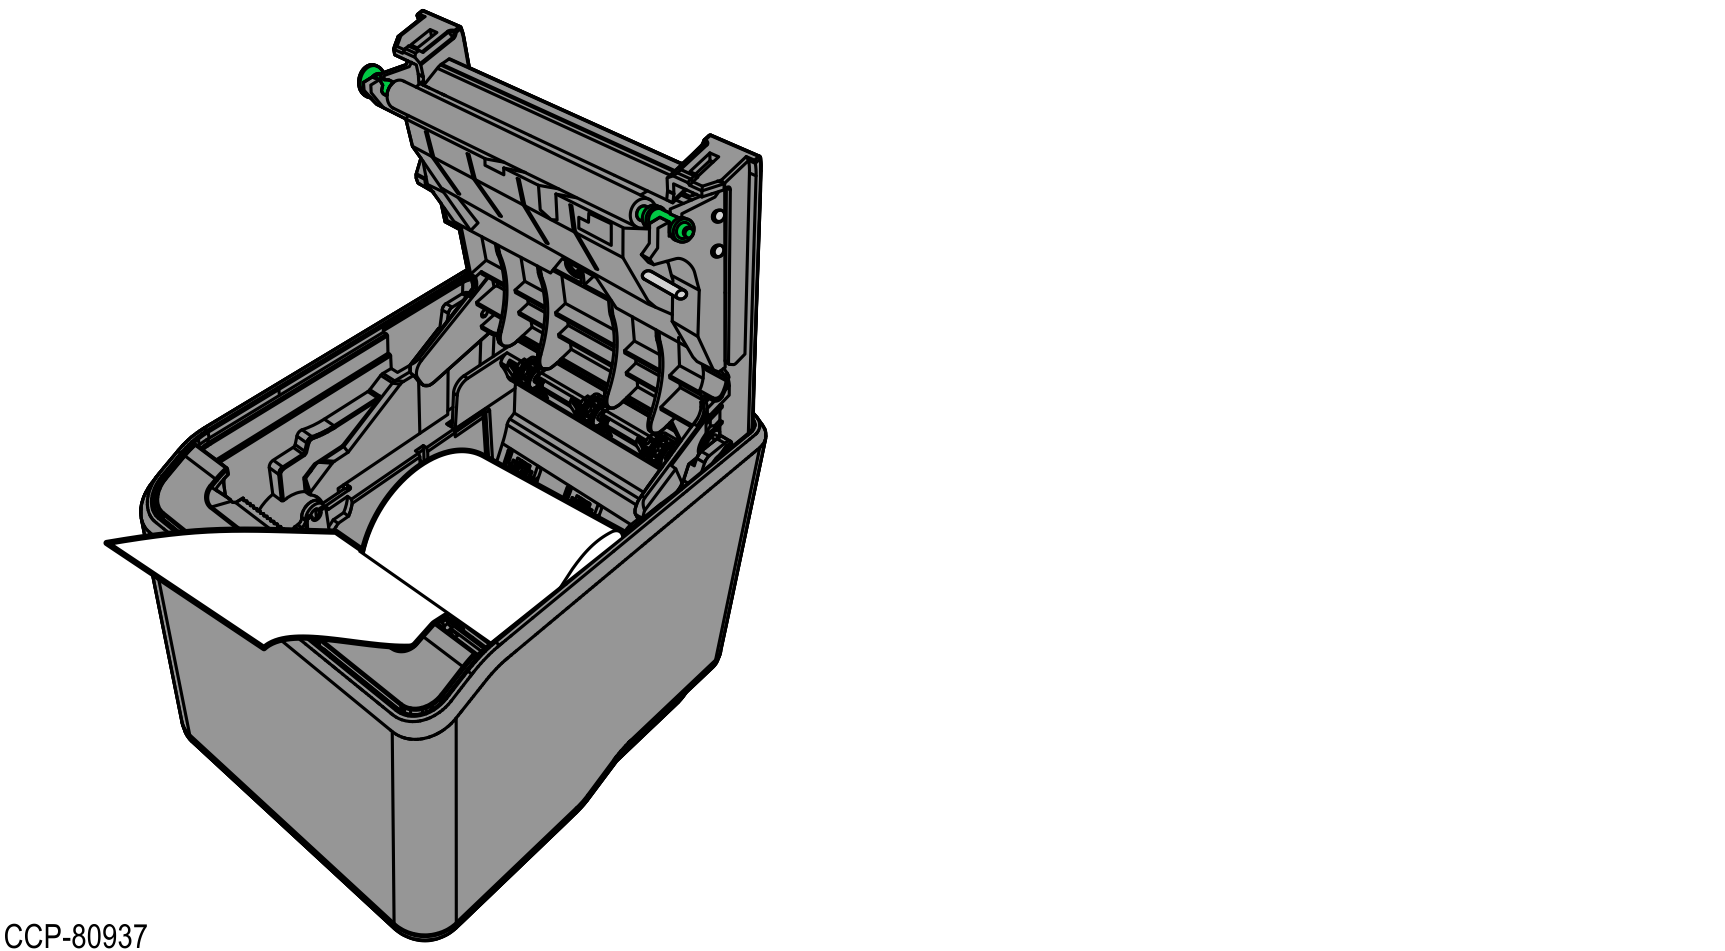
- Flip to open the top cover. The cutter blade is in the extended position.
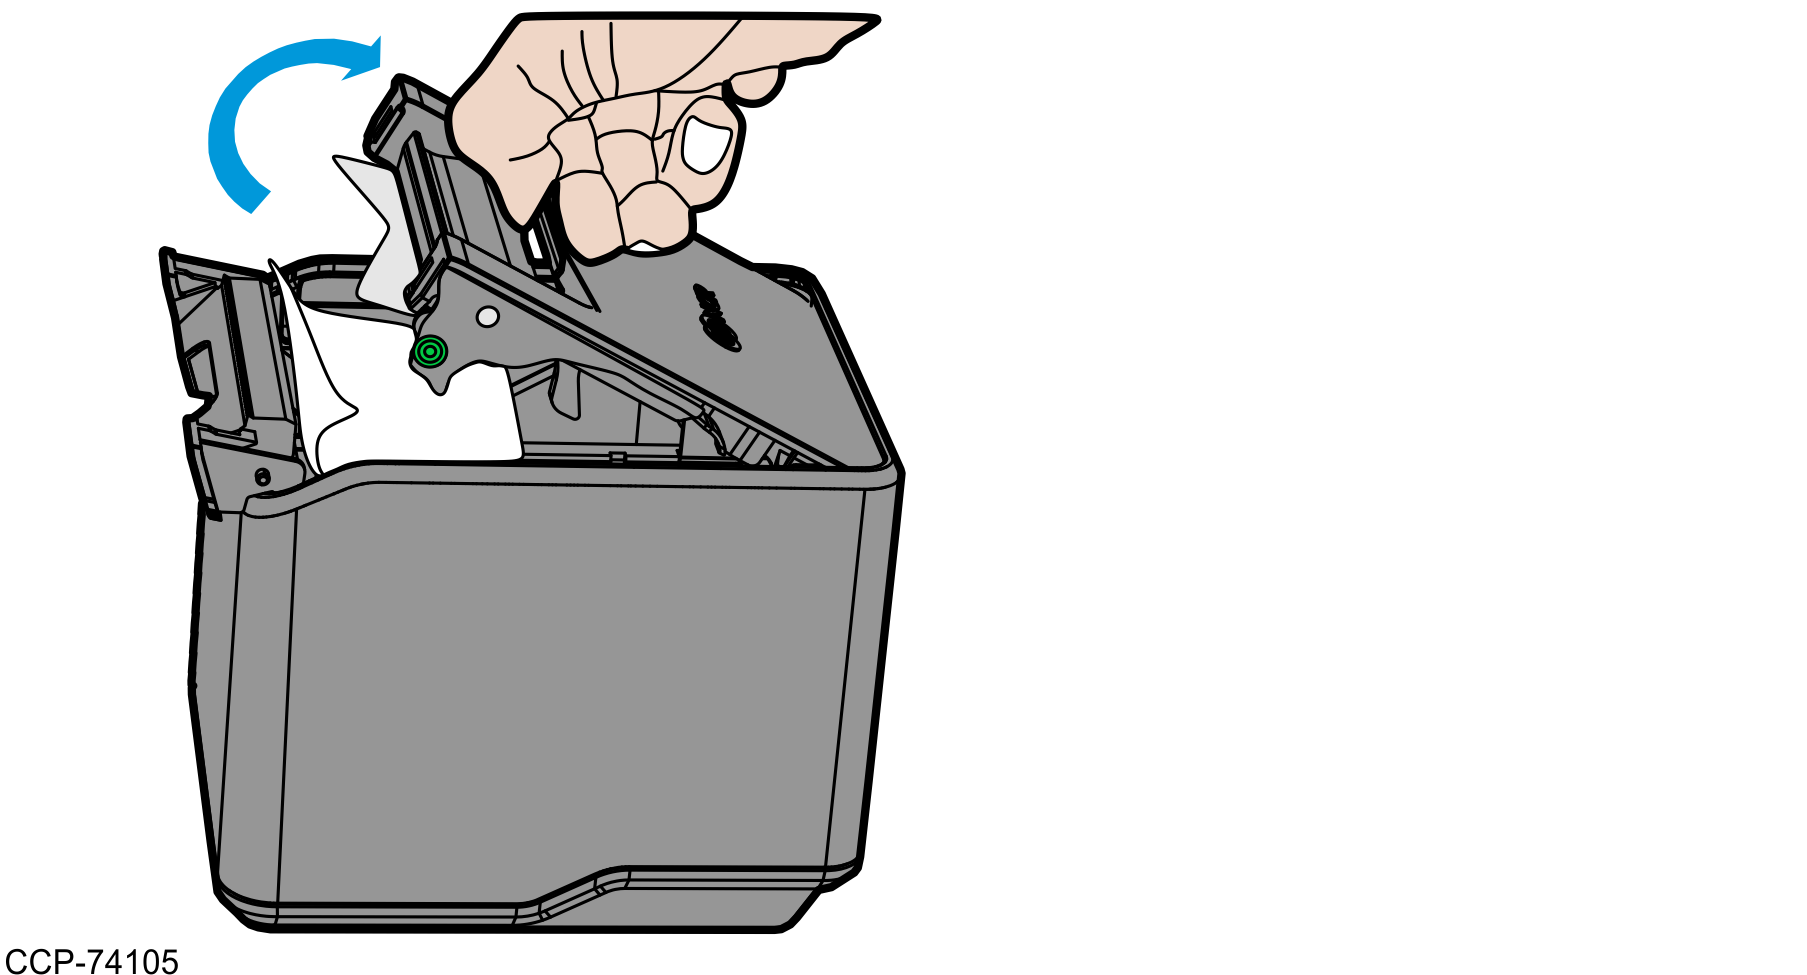
- Remove the jammed paper and ensure that there is no paper at the exit area.

- Close the top cover (A) and then the front cover (B).
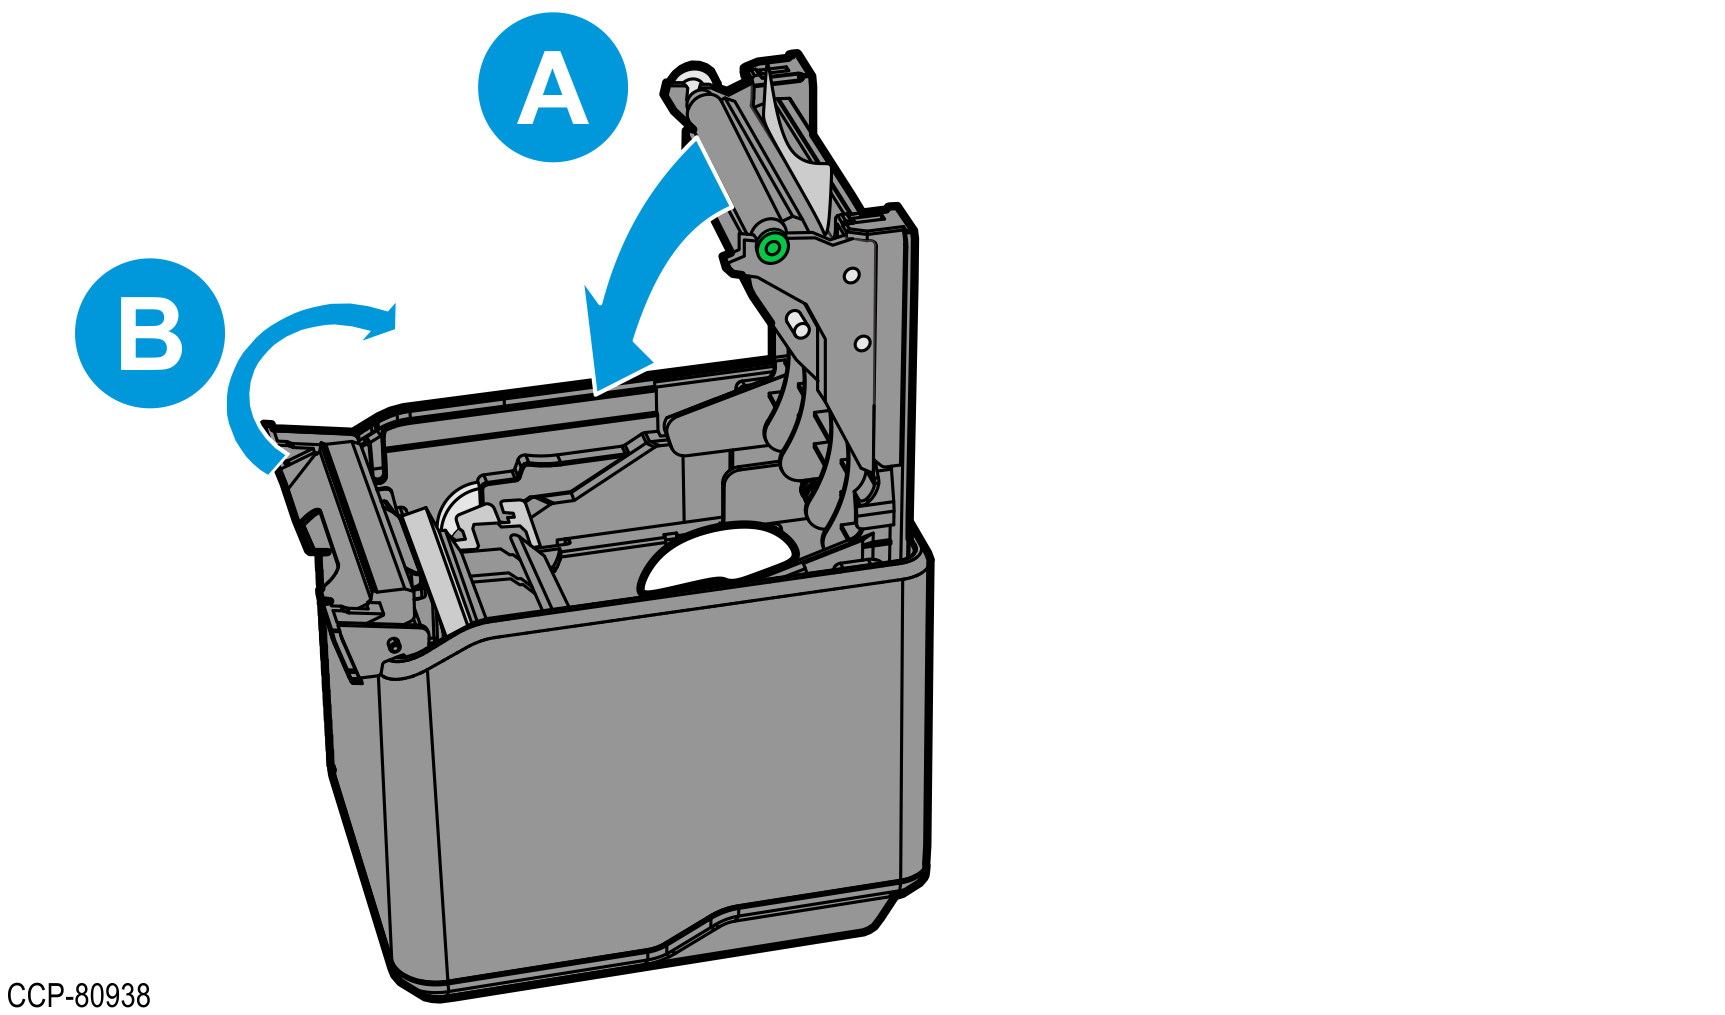
- For Series i:
- For printers with firmware version V99.16 or higher, when the printer detects that both covers are closed, the moving blade automatically retracts the exposed blade back to the cutter module.
- For printers with firmware version V99.15 or lower, after closing the front cover, turn the printer OFF and then ON again to retract the exposed blade back to the cutter module.
- For Series ii:
- For printers with any firmware version, when the printer detects that both covers are closed, the moving blade automatically retracts the exposed blade back to the cutter module.
NoteThe printer does not operate if either the front cover or the top cover is not properly closed.
- For Series i:
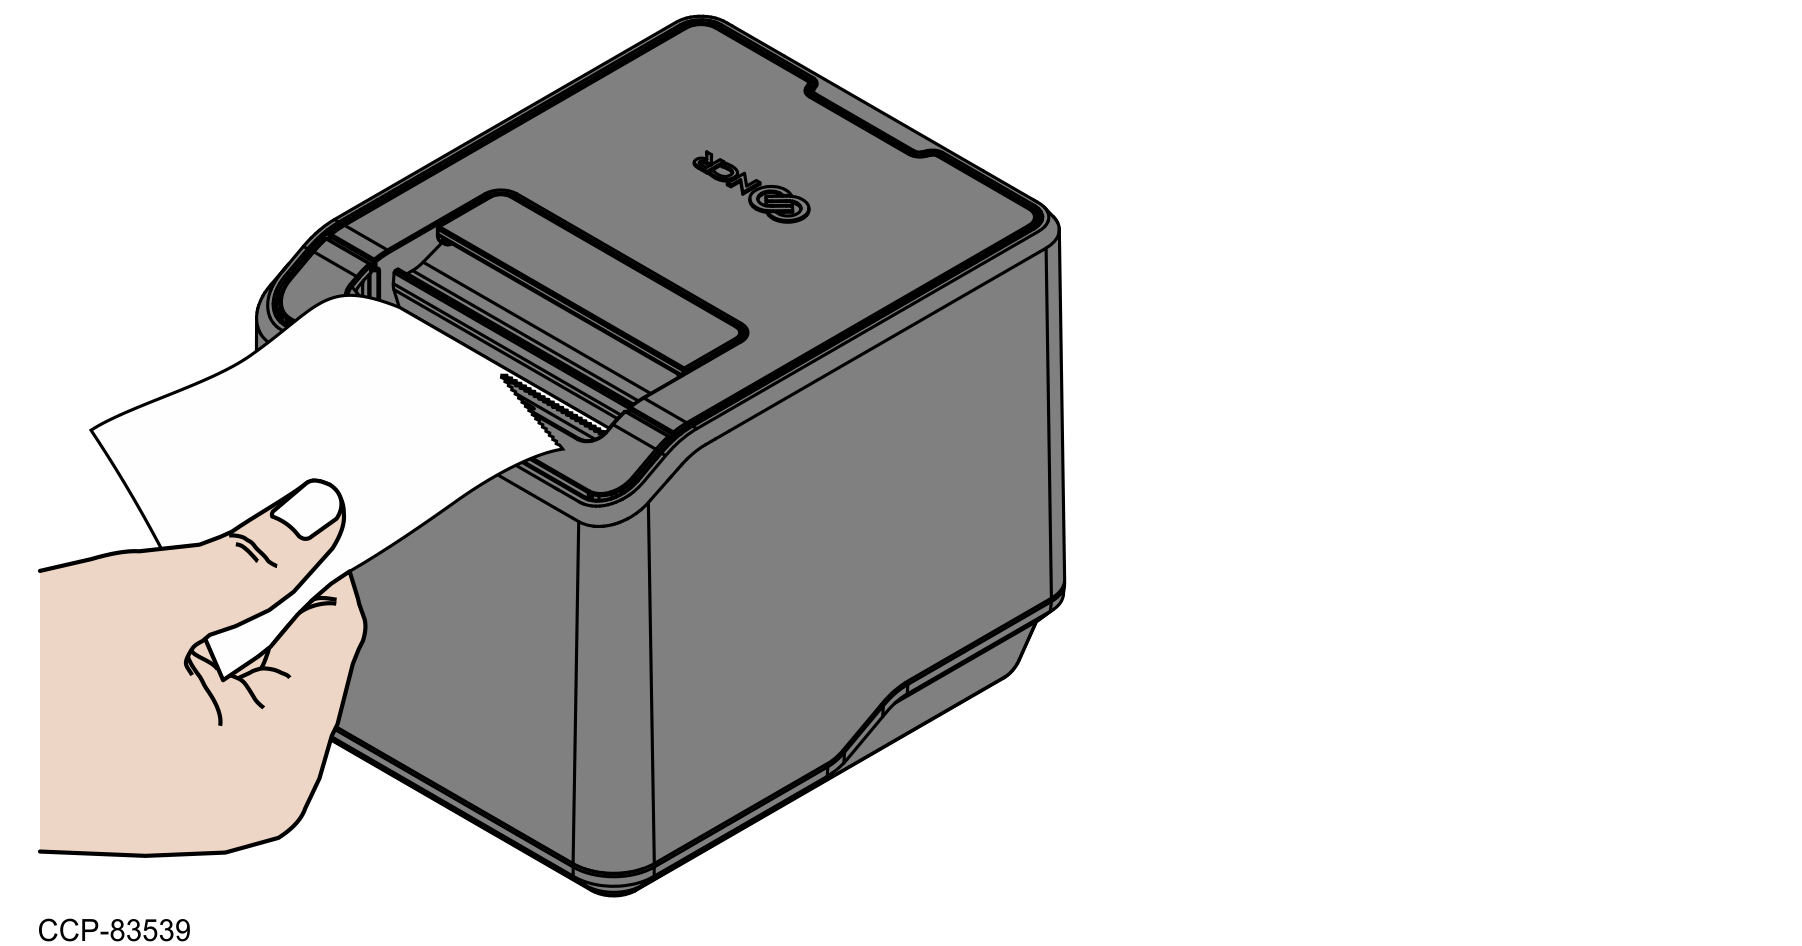
- Open the top cover, pull the end of the paper out so a little extra paper is extending over the front, and then close the top cover.
- Remove the excess paper by tearing it against the tear–off blade.
- Print a test receipt or a printer diagnostics form.
- Open the top cover.
- While pressing down the paper feed button, close the top cover. The printer beeps and prints the diagnostics form.
NotePaper may jam at first. In this case, clear the jam and try printing again.
