Arm Extension Mount for Customer Display
Introduction
This kit provides the components to add an arm extension bracket to integrate an external customer display on the P1535/P1235 POS.
The procedure below includes a procedure on attaching a sample LCD customer display to the arm extension bracket.
Installation Procedure
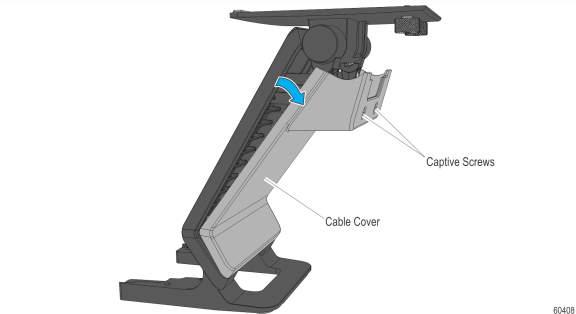
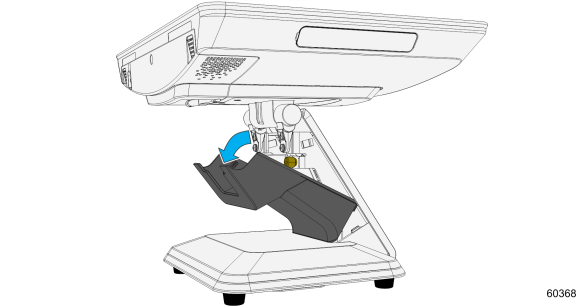
1.Remove the Cable Cover from the Extension Arm.
a.Loosen the Captive Screws (2).
b.Pivot the Cable Cover from the Extension Arm as shown.
2.Insert the cables into the Extension Arm.
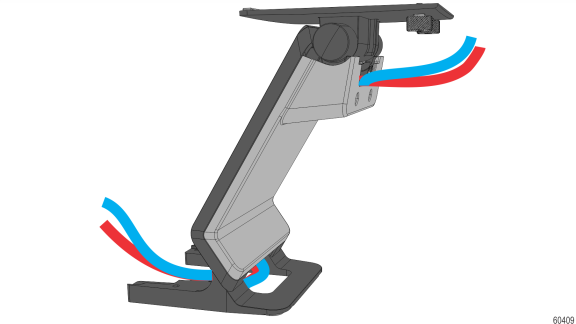
3.Reinstall the Cable Cover.
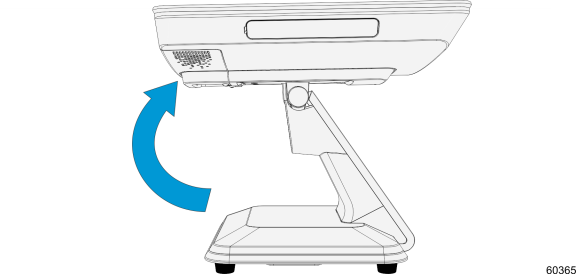
4.Pivot the display back.
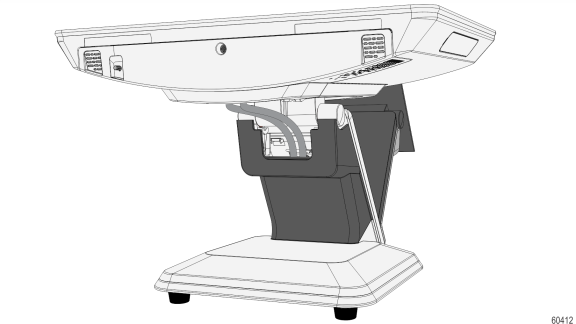
5.Remove the Upper Stand Cover by pivoting it away from the P-Series Stand. The cover has a simple snap fit connection at the top.
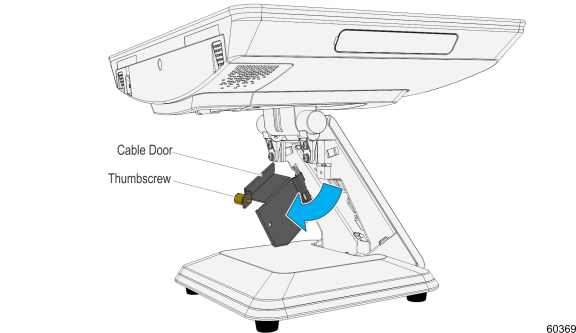
6.Loosen the thumbscrew to open the Cable Door.
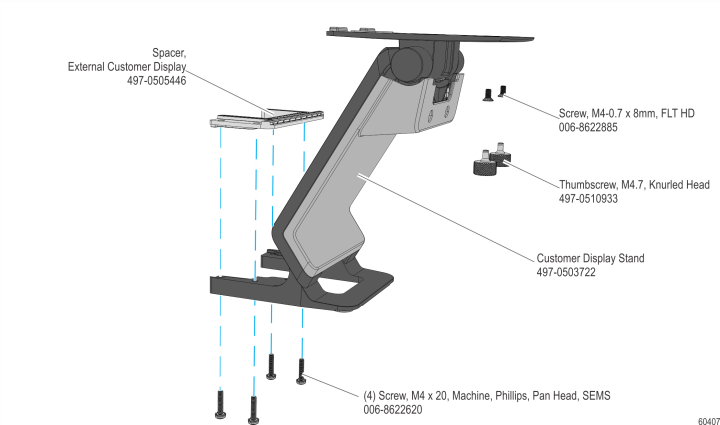
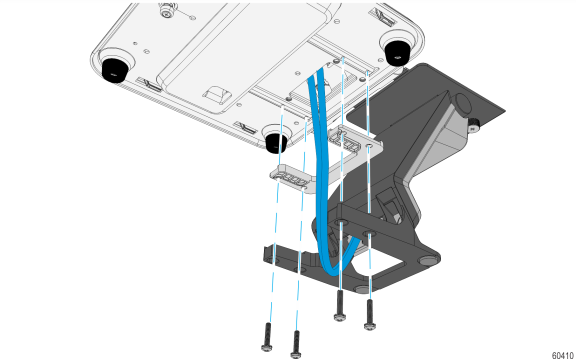
7.Route the cables up through the P-Series Stand and install the Spacer and Extension Arm Assembly onto the bottom of the stand and secure with screws (4).
8.Connect the cables to the corresponding connectors. Close the Cable Door and tighten the thumbscrew to secure the cables.
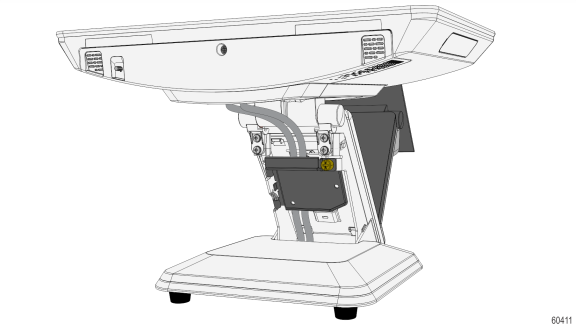
9.Install the Upper Stand Cover.
10.Close and secure the Cable Cover.
11.Install the customer display on the Arm Extension Bracket.
a.Tilt the POS to a vertical position and the mounting plate of the customer display to a horizontal position.
b.Insert the tabs (2) on the top edge of the mounting plate into the slots of the back of the customer display.

c.Tighten the thumbscrews or flat–head Phillips screws to secure the display.

12.Connect the corresponding cables to the customer display.