Installing Lane Light Label
To install the label on each side of the Lane Light, follow these steps:
1.Remove the Tri–Light/Lane Light assembly, if necessary.
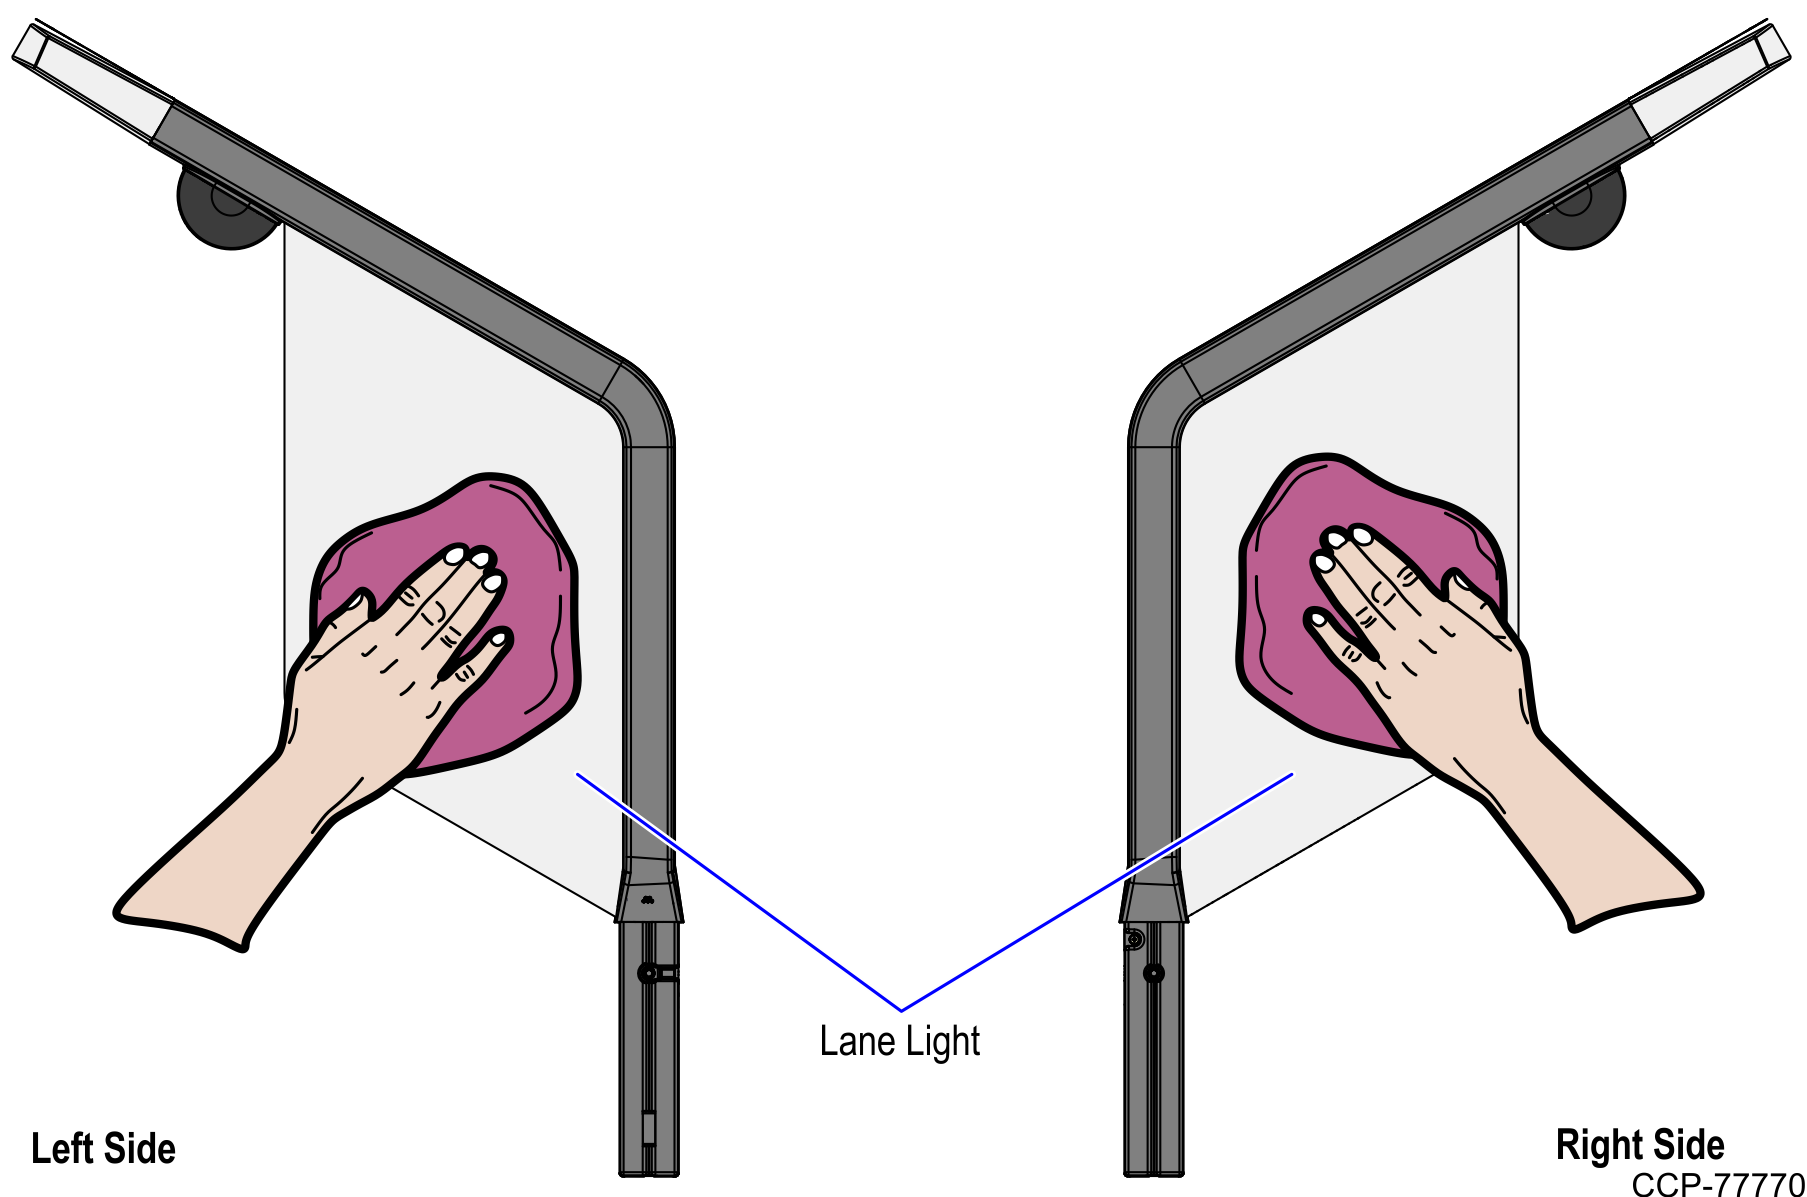
2.Wipe any dust or dirt on the surface of both sides of the Lane Light.
3. Set the Lane Light on a flat surface.
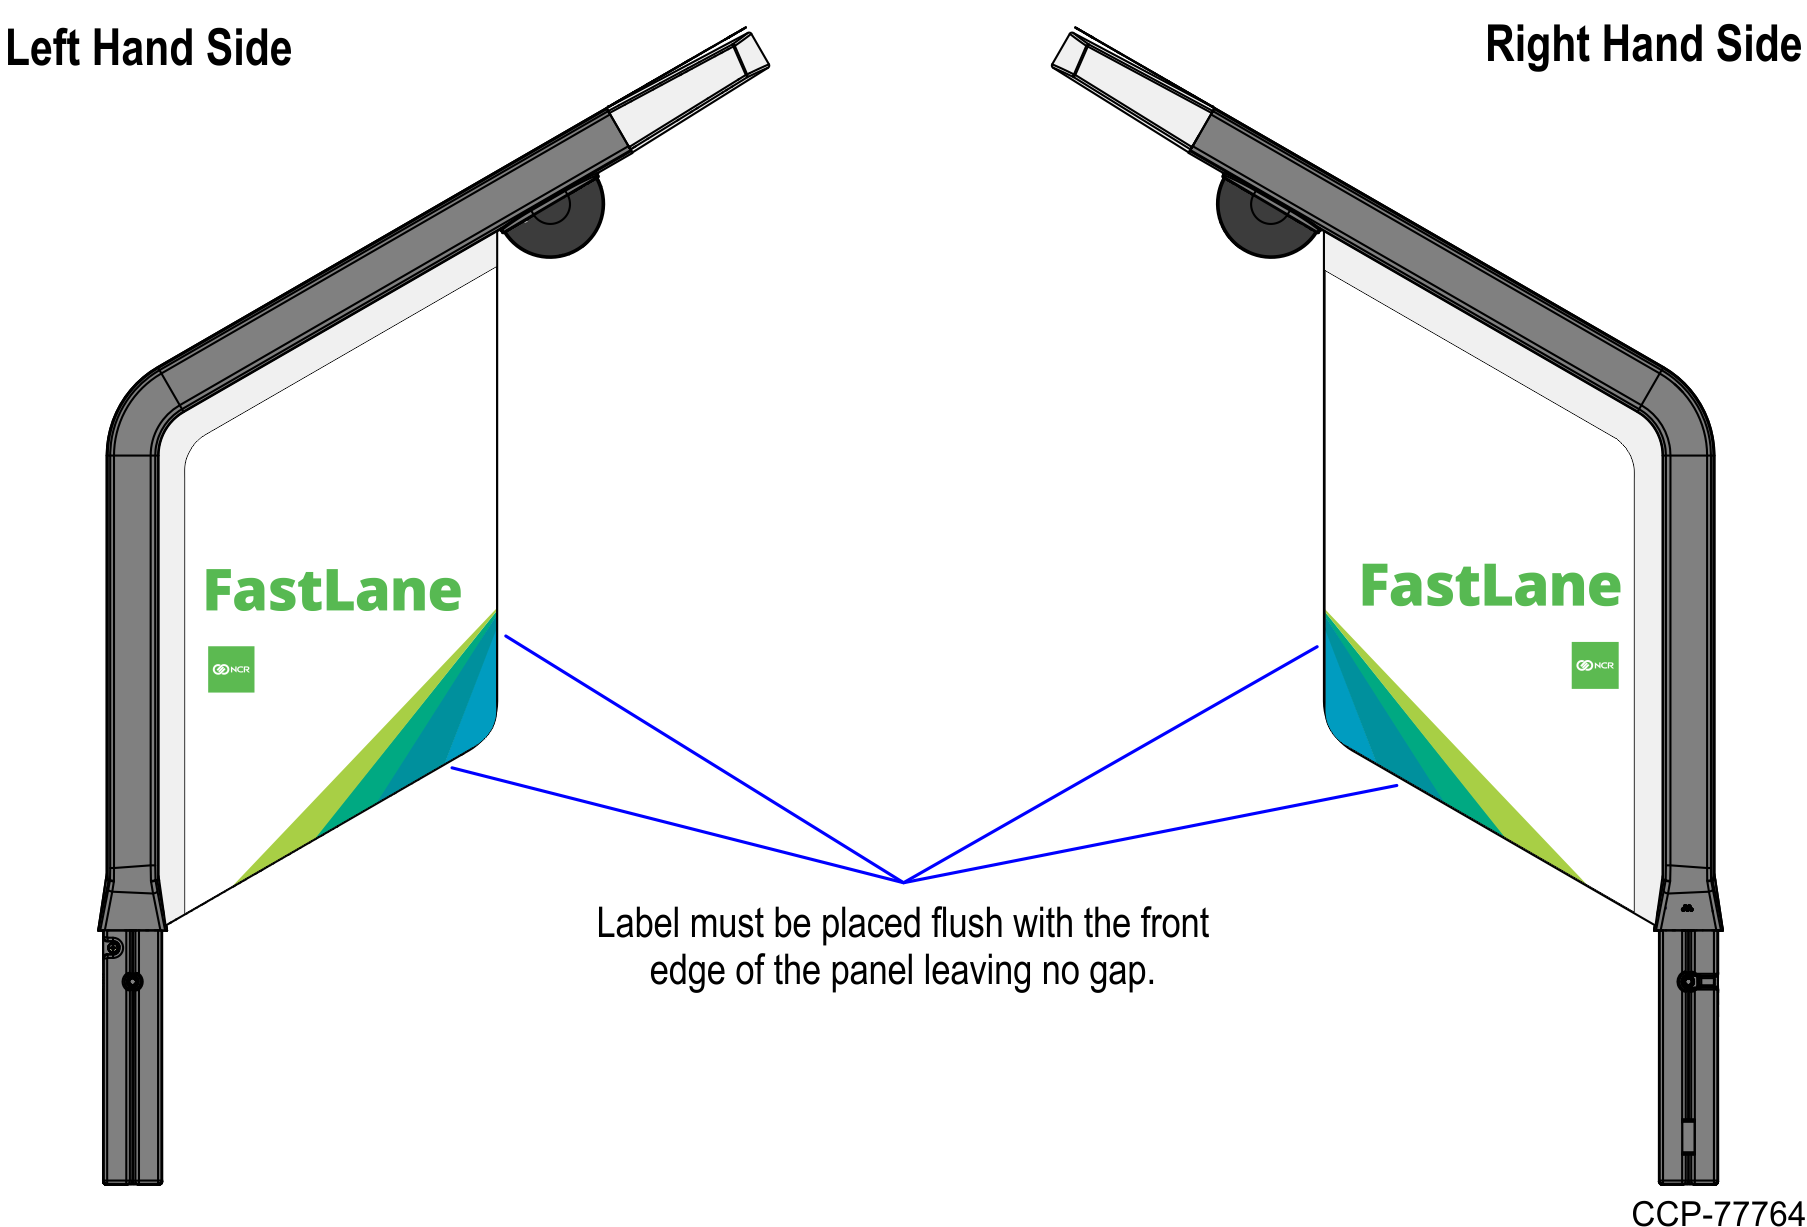
4.Position the label on the Lane Light. Ensure that the label is flush with the front edge of the Lane Light, as shown in the image below.
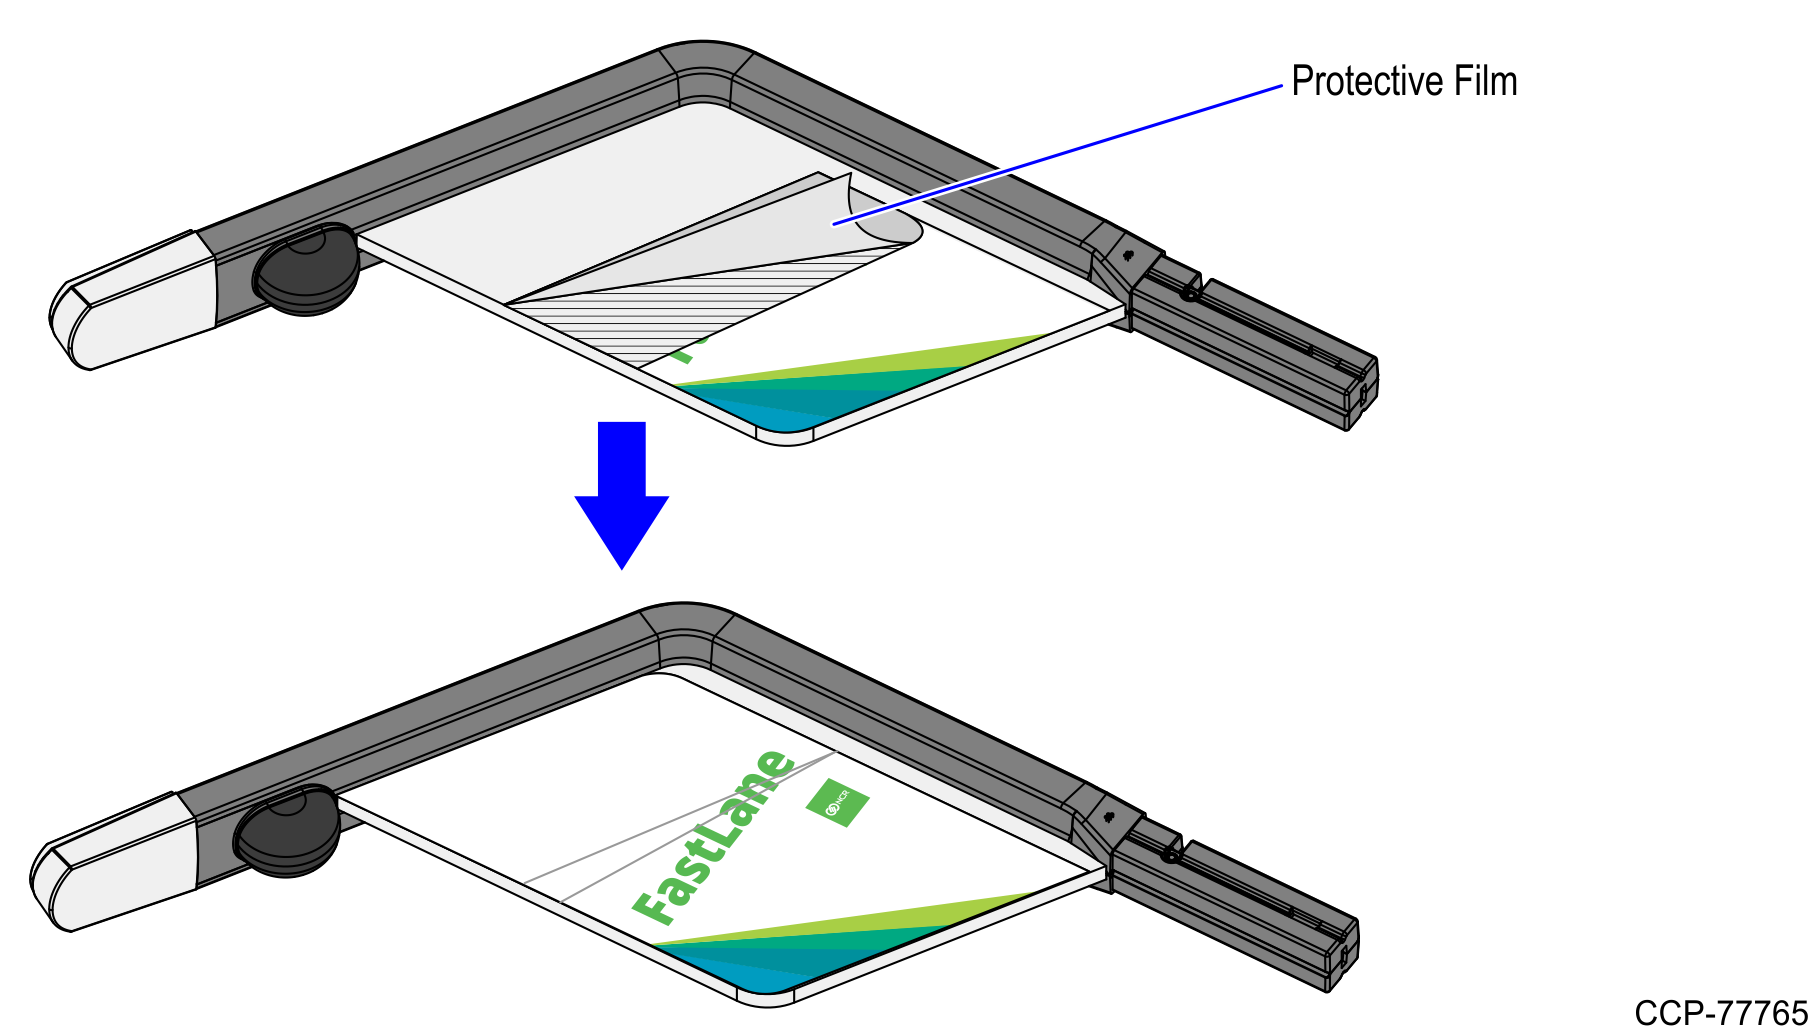
5.Hold half of the label in place while peeling off the protective film from the other half of the label and then attach the label on the Lane Light, as shown in the image below.
Note: For the purpose of illustration only, the image below shows a Lane Light (FastLane) label.
6.Peel off the adhesive tape from the other half of the label and then attach the label to the Lane Light.
Note: For the purpose of illustration only, the image below shows a Lane Light (FastLane) label.

7.Smooth out any air bubbles.