Adjusting the Input Belt Tracking
Turn on and then run the Input Belt to determine if tracking adjustments are needed. If tracking adjustments are needed, follow these steps:
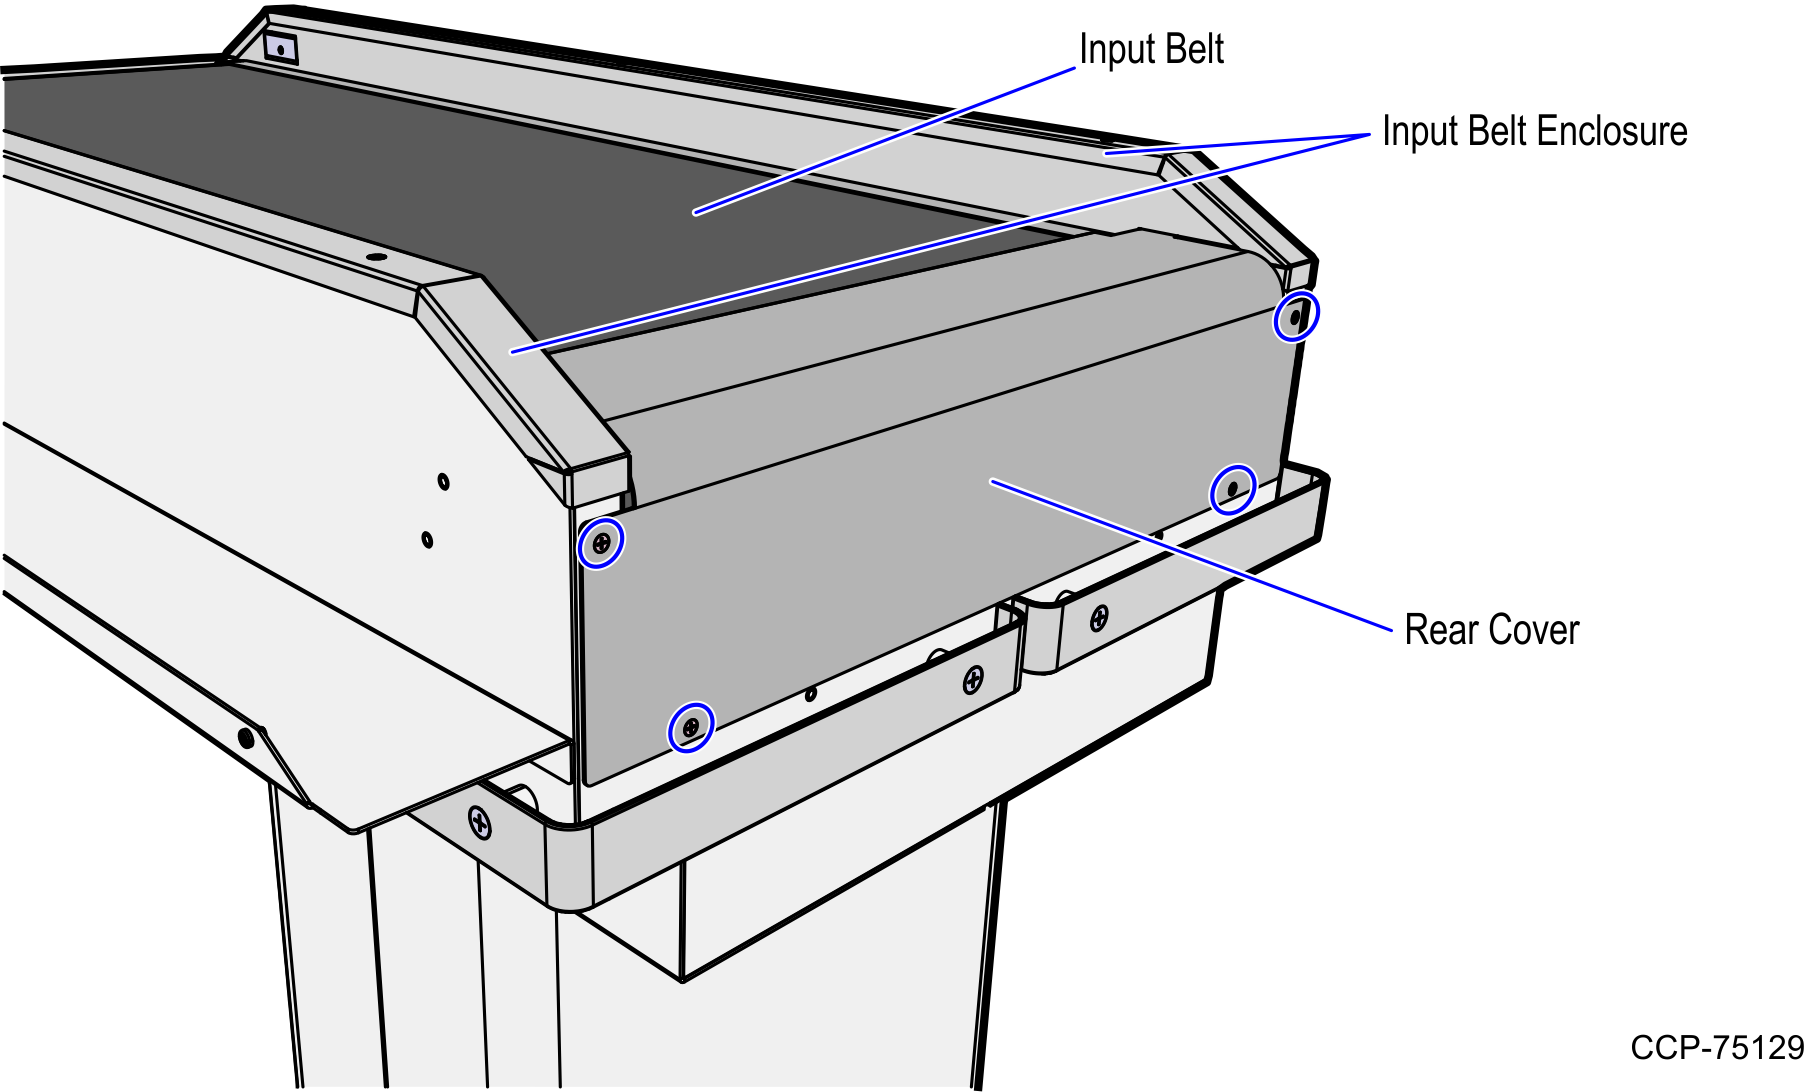
- Remove four (4) screws securing the Rear Cover to the Input Belt frame.
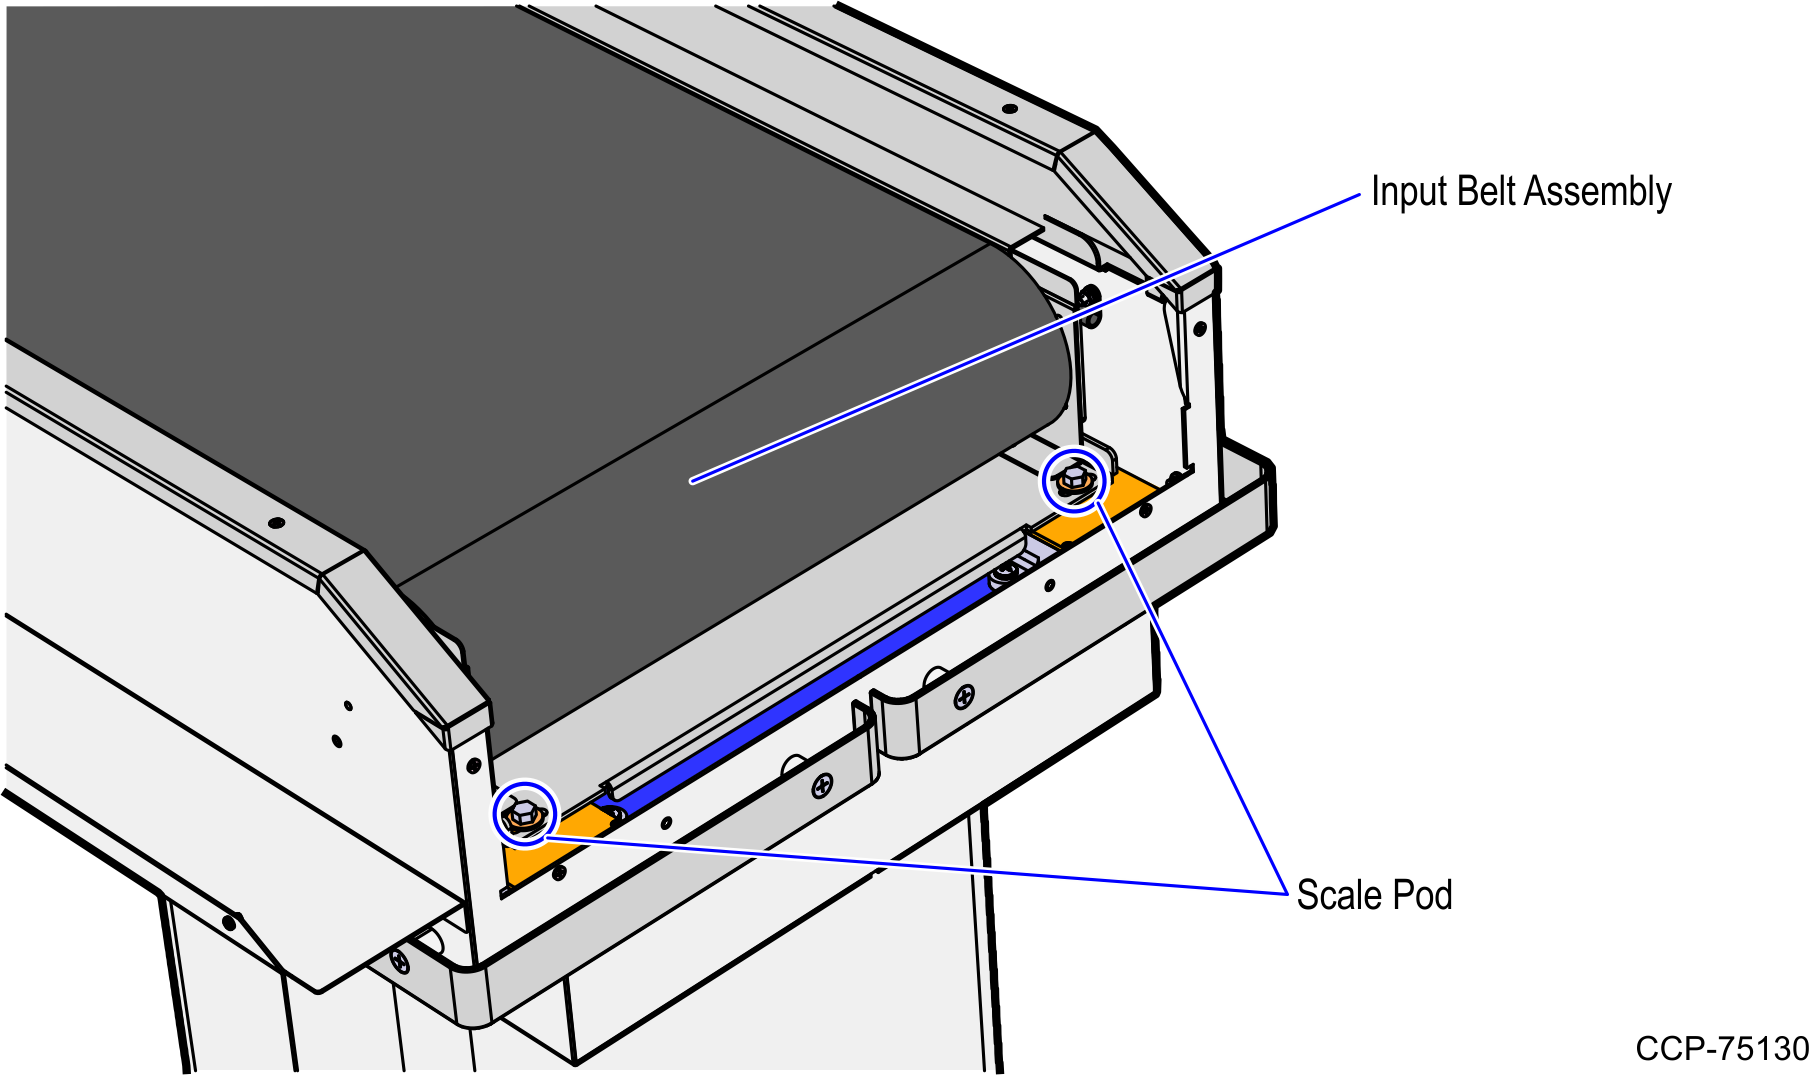
- Remove two (2) hex bolts securing the Input Belt assembly to the Scale Pods.
- Do the following:
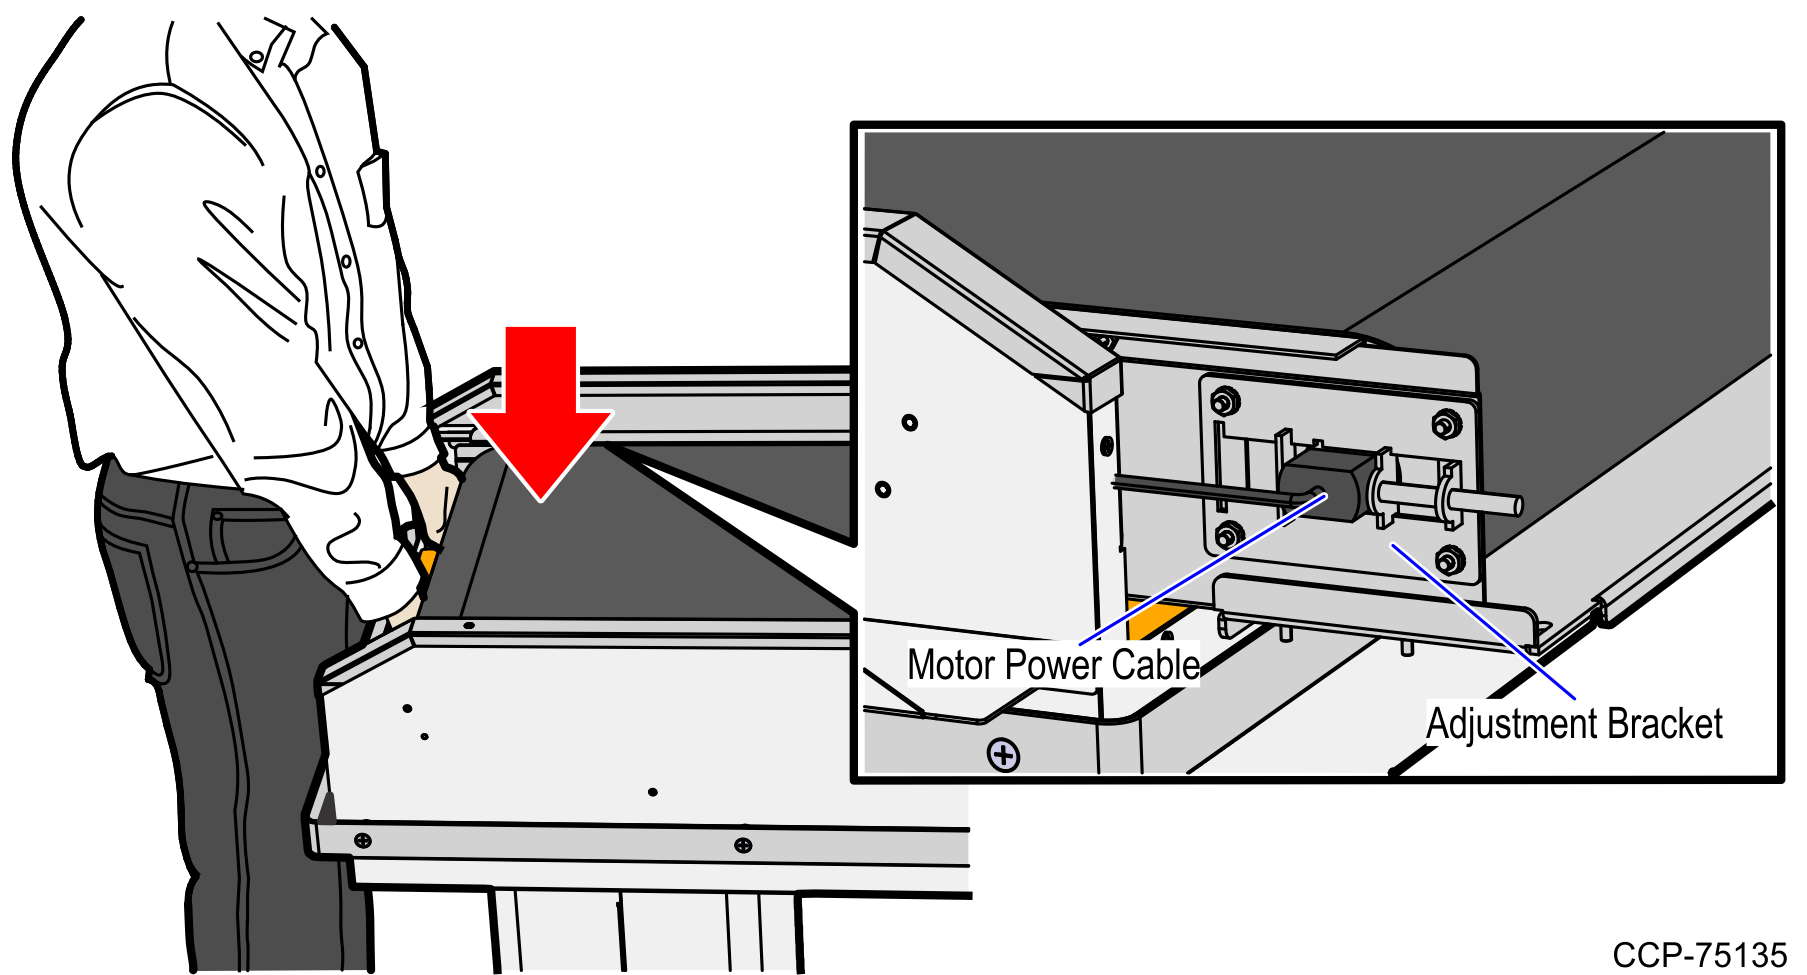
- Stand at the end of the Input Belt.
- Grasp the Converyor Belt assembly, lift and then slide it forward to disengage the assembly from the PEM studs.Note
Hold the motor power cable so that it does not pinch.

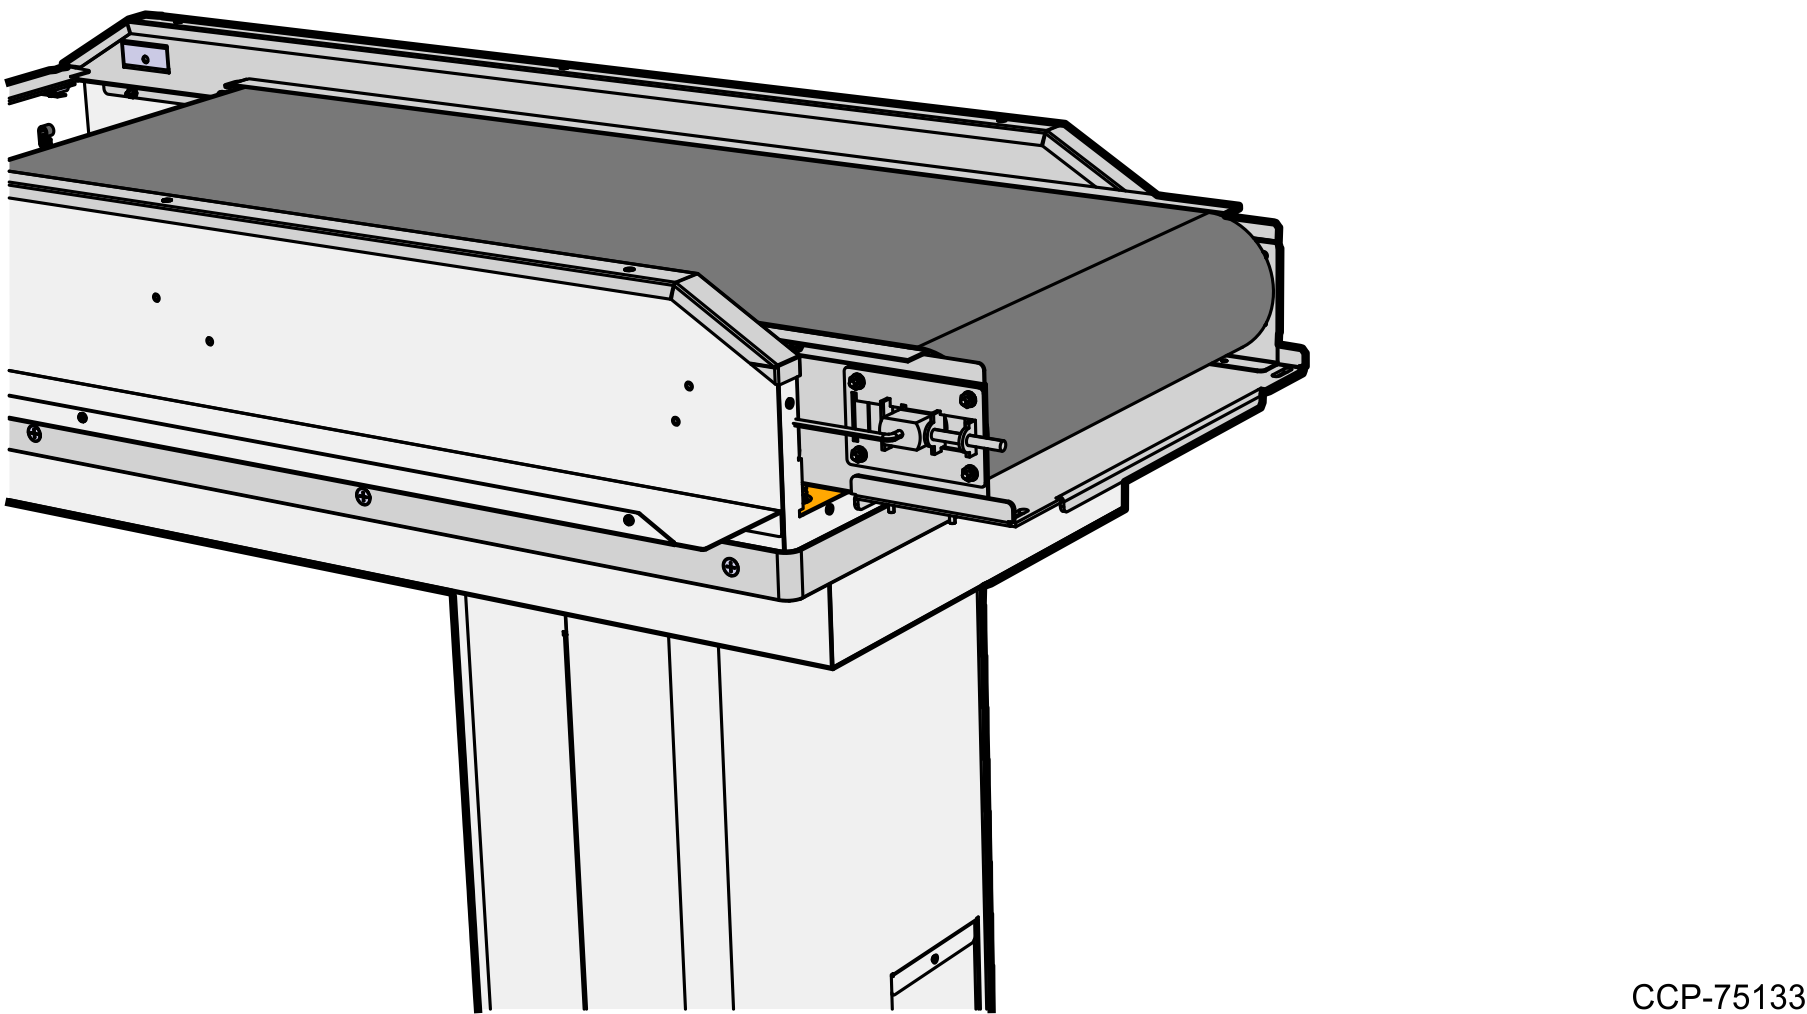
- Rest the rear of the Conveyor Belt assembly on the edge of the Input Belt frame as shown in the image below.
- On the Adjustment Bracket, loosen the Jam nut.Note
The Jam nut is shown on the image below.
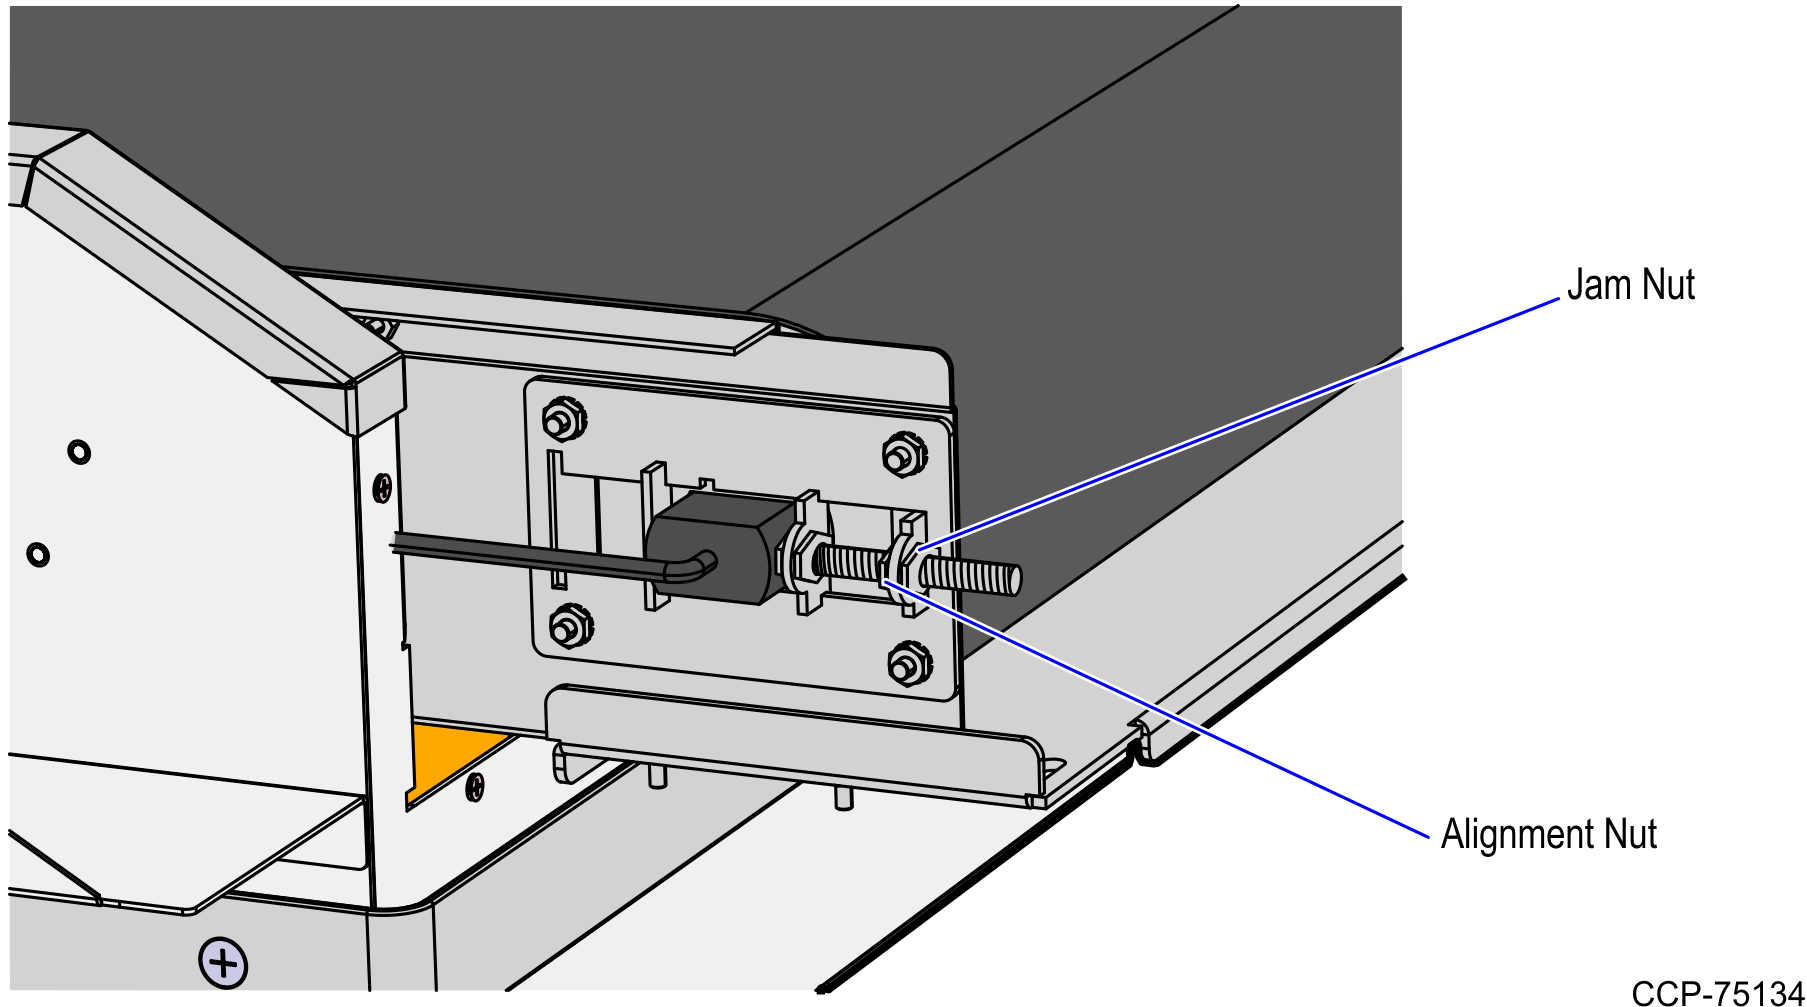
- Using a wrench, adjust the Alignment nut as needed to change belt tracking and tension. Moving the motor bracket toward the rear will increase the belt’s tension and cause the belt to track to the opposite side.
- Run the belt three or four complete lengths to ensure proper tracking. Proper tracking is obtained when there is an equal amount of space between the belt edge and the metal rail on both sides of the motor. Only minor adjustments are usually needed for tracking changes.
- Improper belt tracking will reduce system performance and life span.
- Tighten the Jam nut to lock the Alignment nut in place and prevent it from moving.
- Do the following:
- Lift and then lower Input Belt assembly into the Input Belt frame to engage with the PEM studs.Note
Ensure that the motor power cable is not pinched.
- Slide the Input Belt assembly forward until it securely stops.
- Lift and then lower Input Belt assembly into the Input Belt frame to engage with the PEM studs.
- Secure the Input Belt assembly to the Scale Pods using two (2) hex bolts.
- Secure the Rear Cover to the Input Belt frame using four (4) screws.
