Installing the Tri-Light/Lane Light Pole
To install the Tri-Light/Lane Light Pole to the 7360 unit, follow these steps:
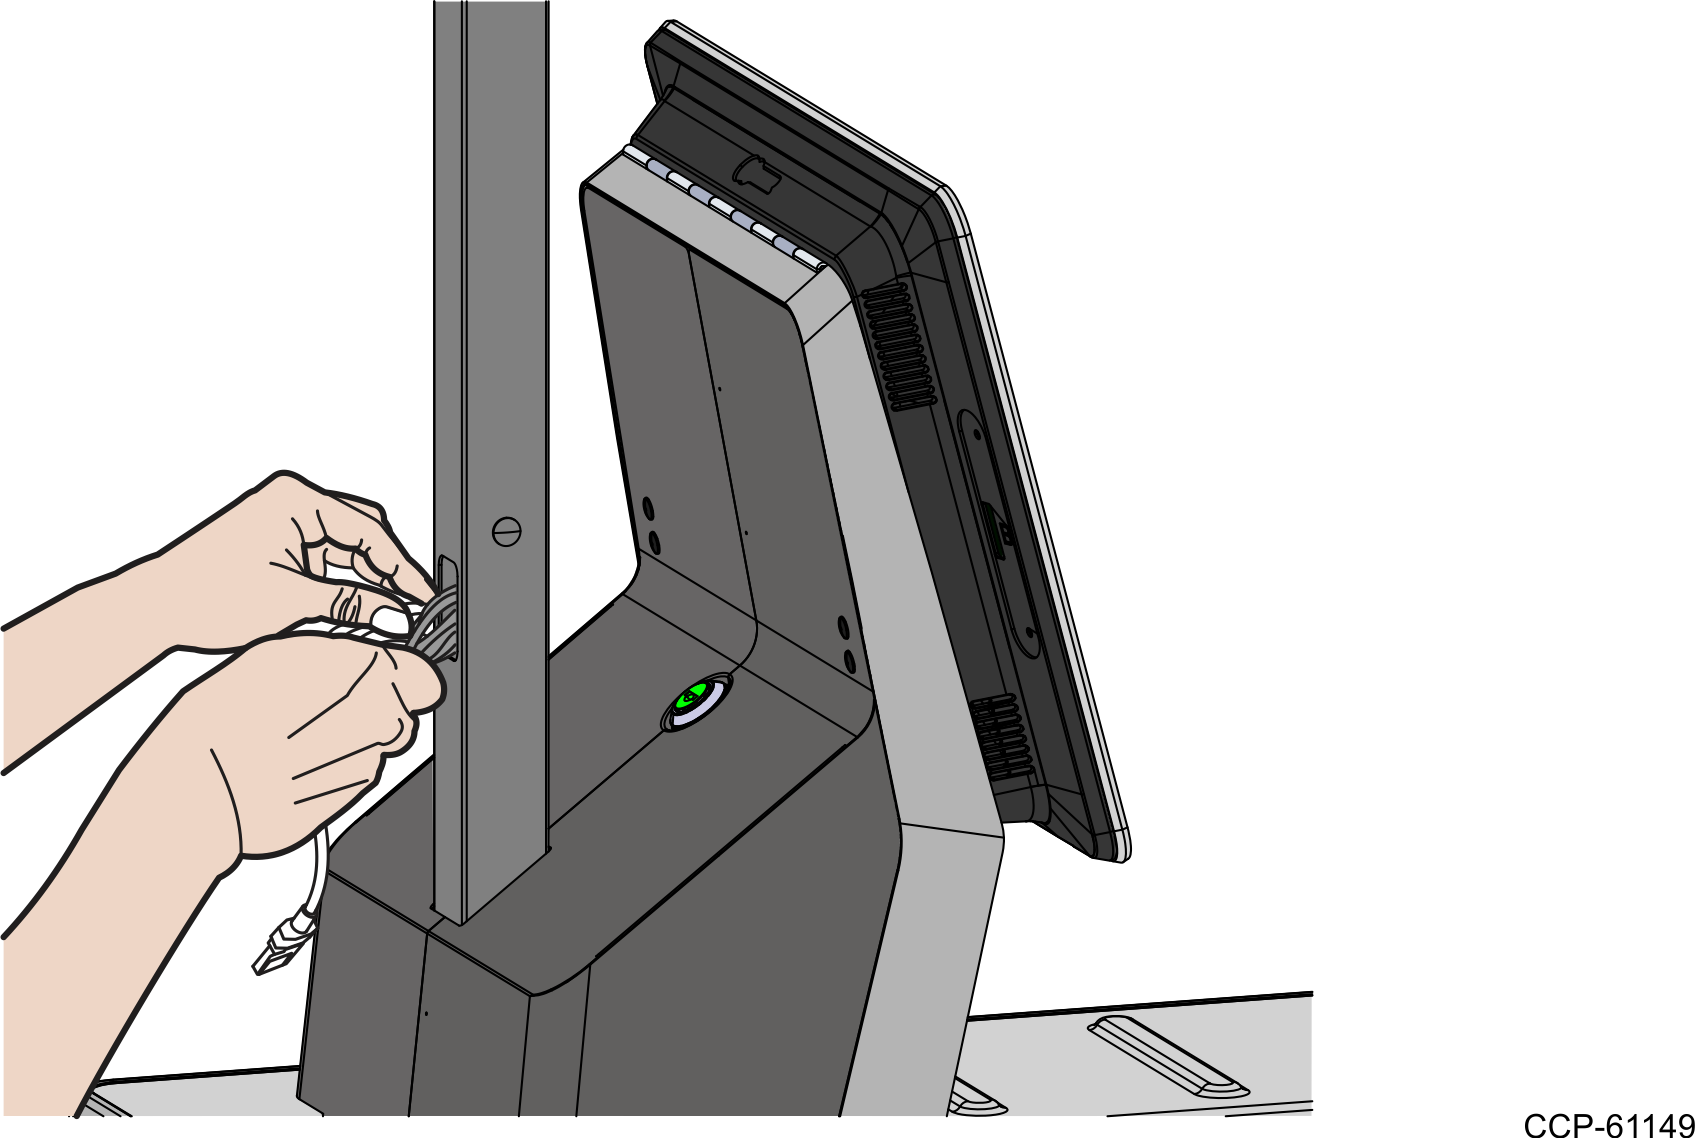
- Loosen the star-shaped washer around the keylock assembly.
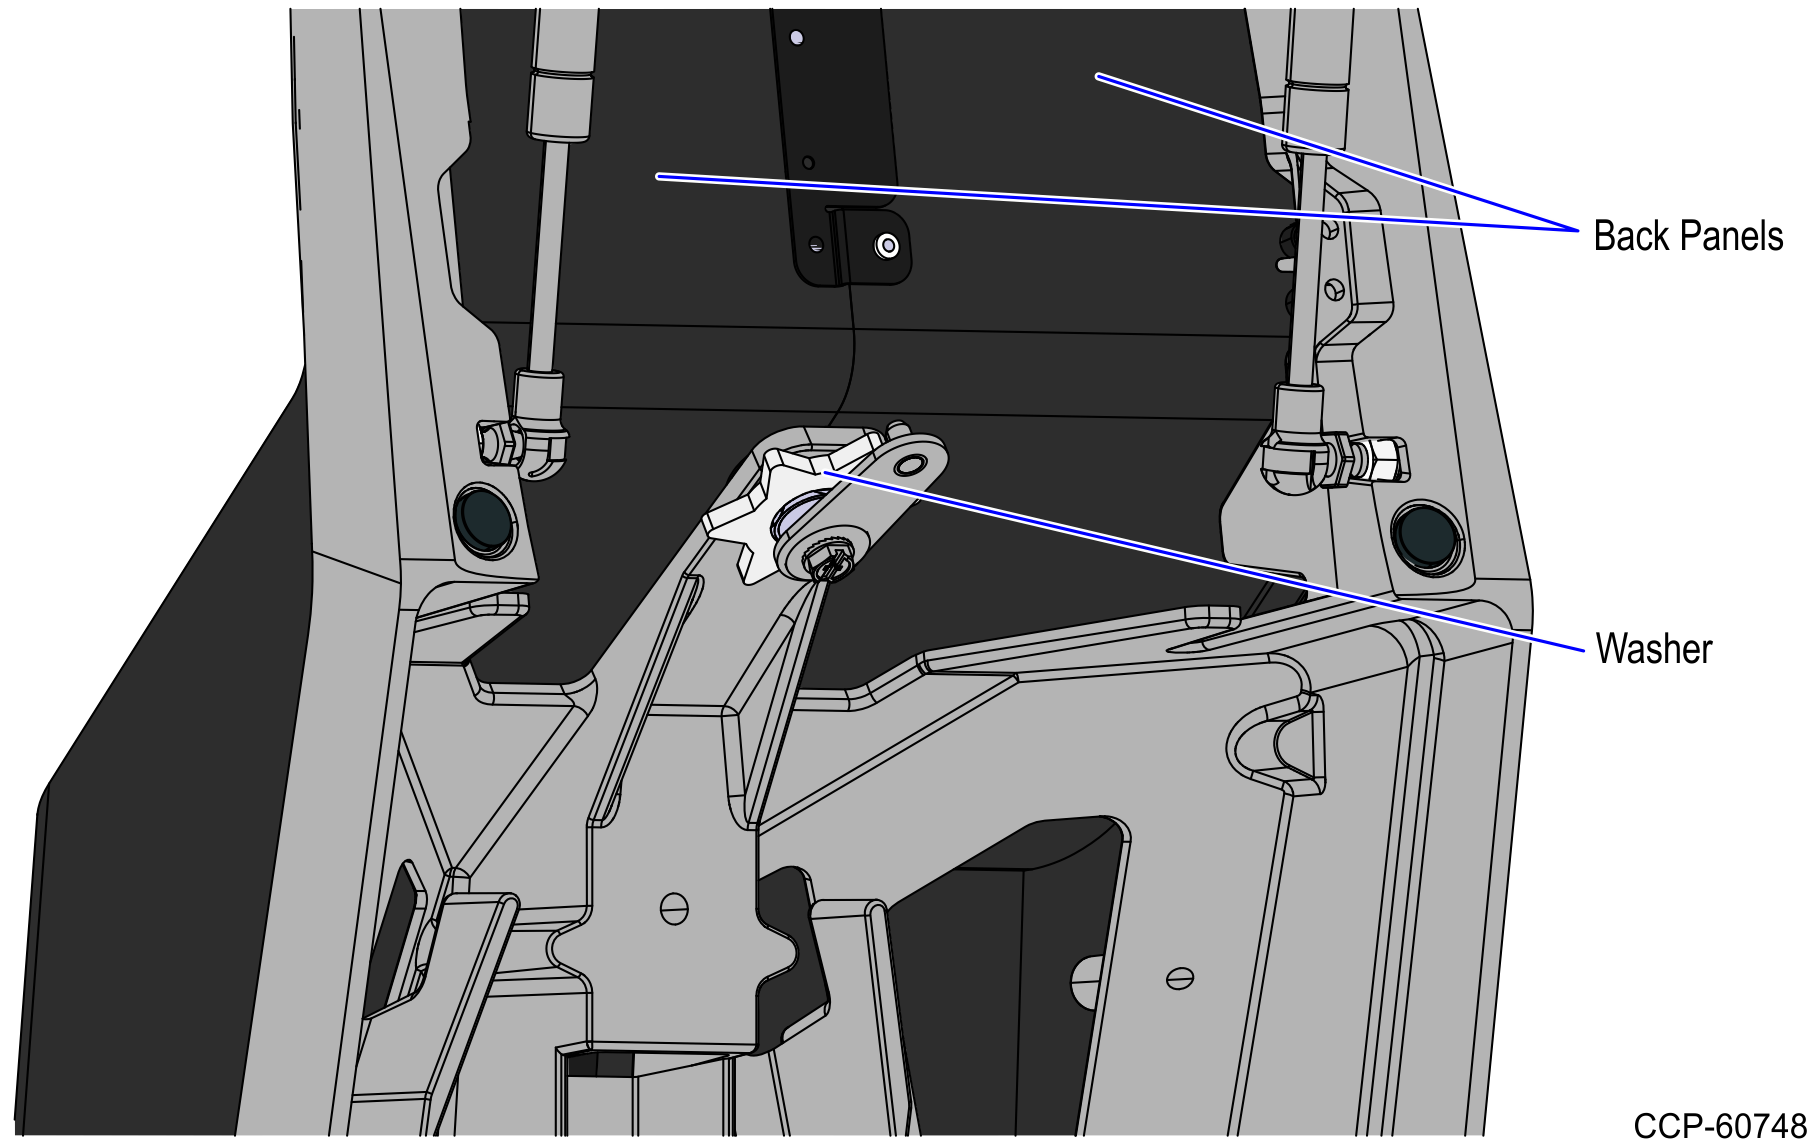
- Remove the two (2) back panels from the Tower Assembly.
- Insert the Tri-Light/Lane Light Cable through the opening in the side of the Tri-Light/Lane Light Pole and route it out the top of the pole.
Tri–Light Destination Connection (Location) Cable Extender I/O Box (Tri–Light/Lane Light port) Ethernet (LAN) Cable PoE Switch TipTo make routing the cable extender through the pole easier, first attach a weight (for example, a large bolt) to a long piece of string and drop the weighted end of the string through the Tri-Light/Lane Light pole. Once the string is threaded through the pole, tie the non-weighted end of the string around the cable connector and then pull the cable extender through the pole.
 Note
NoteIf installing a secondary display, route the display cables out of the smaller hole on the back of the pole.
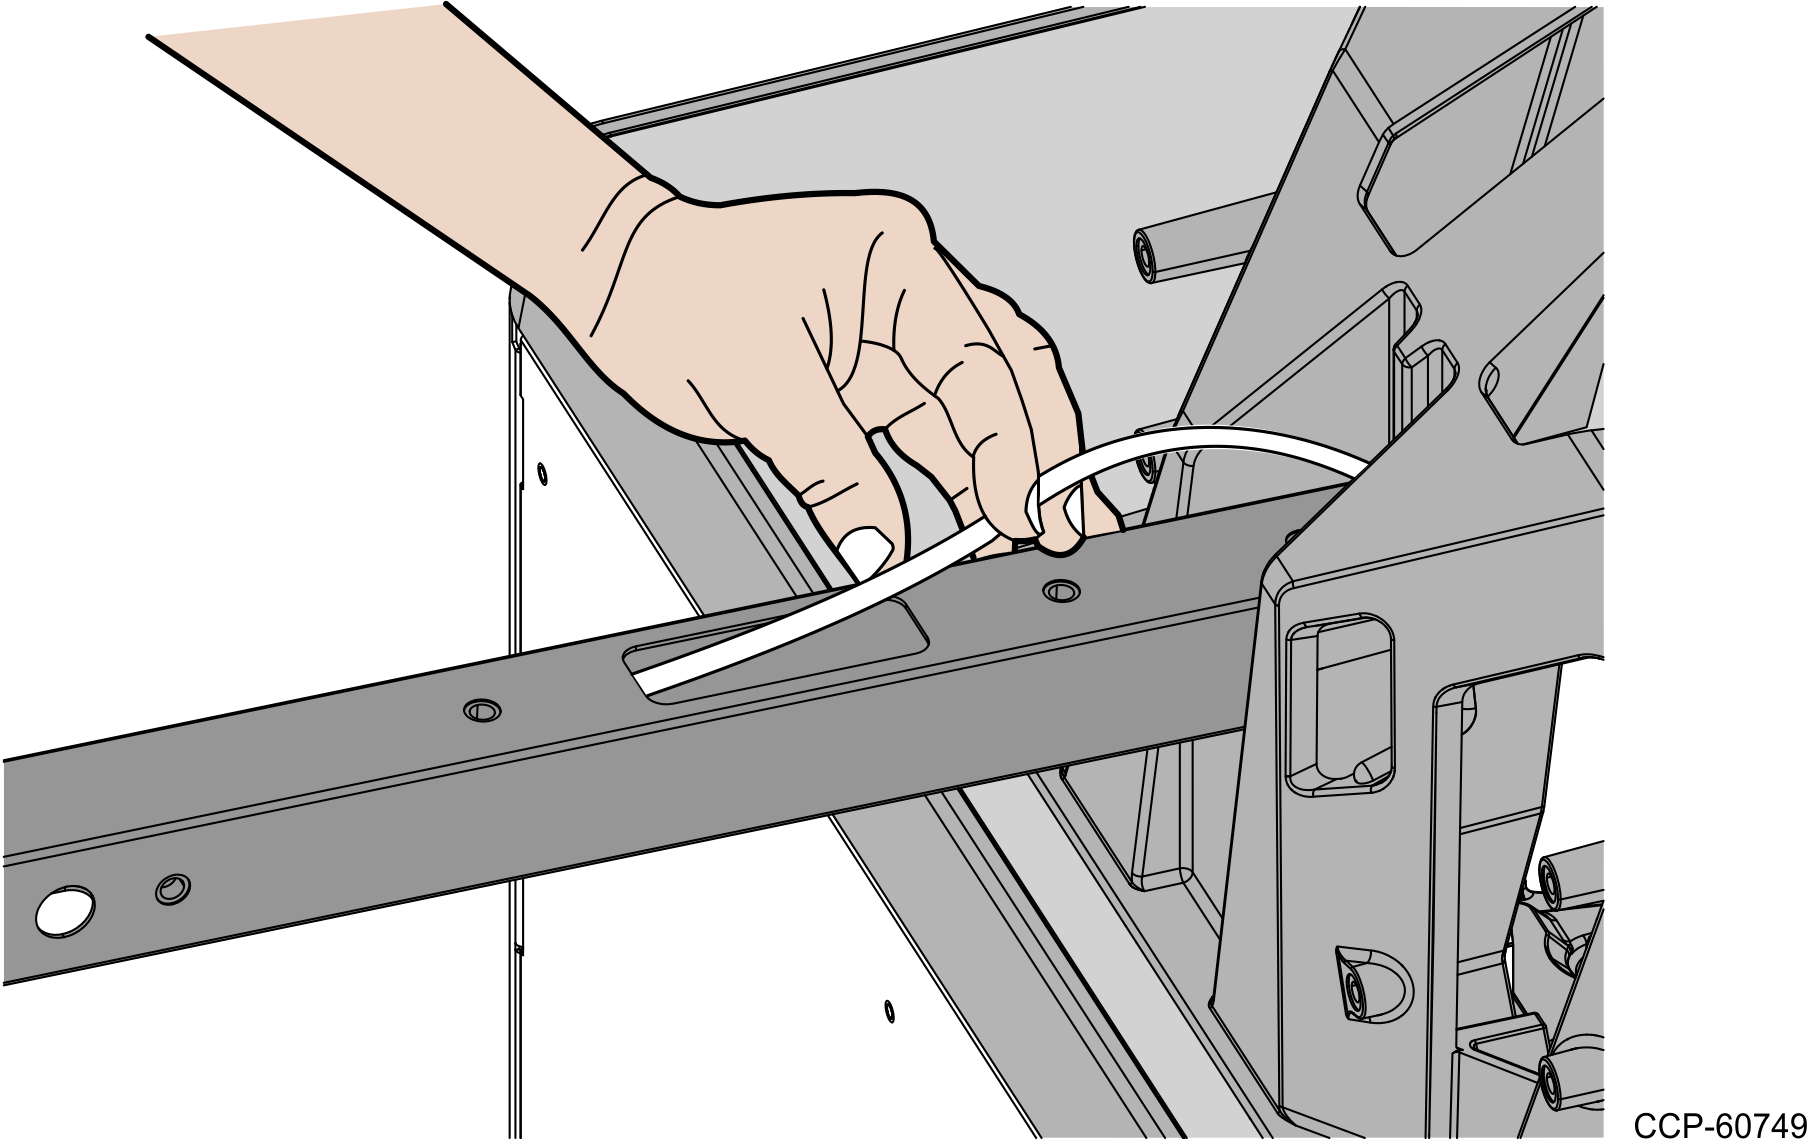
- Route the cables coming out of the unit so they align with the grooves and carefully insert the pole into the tower.
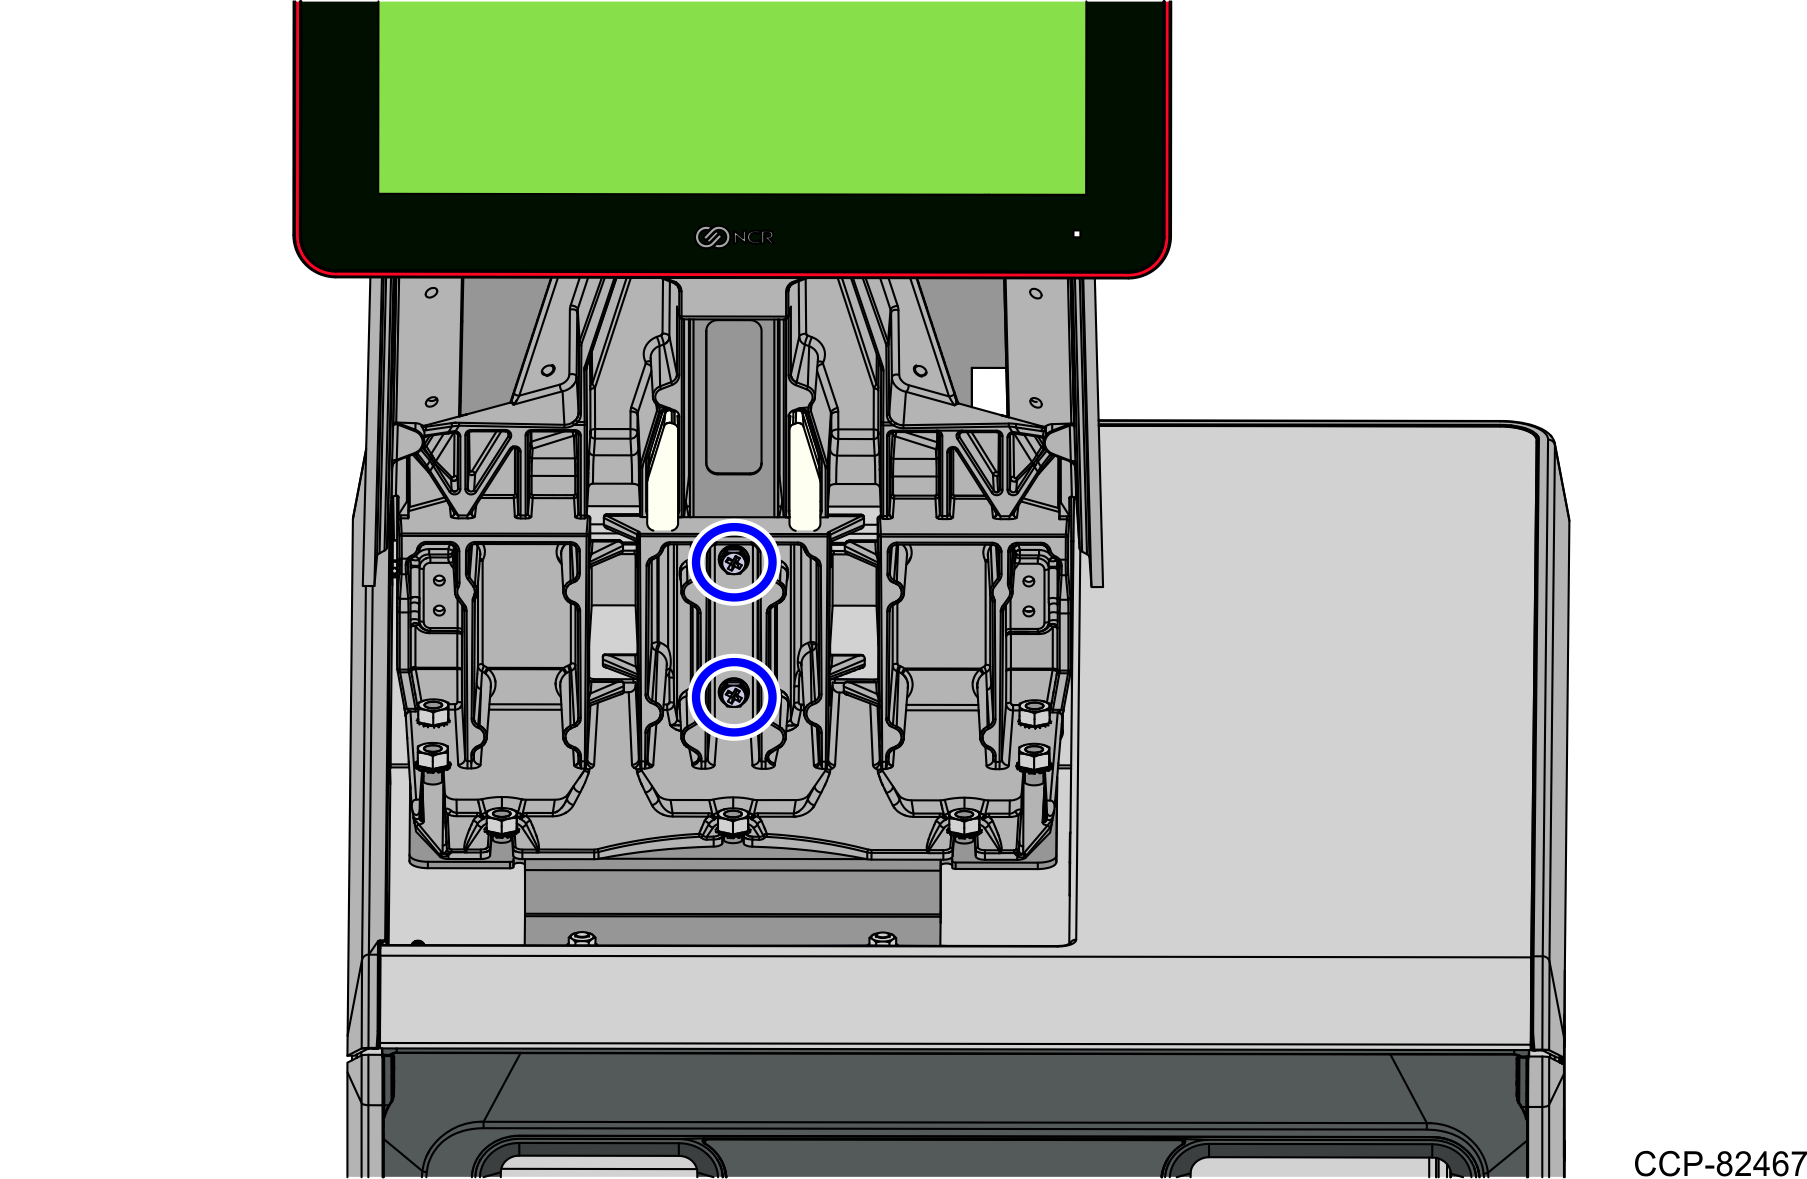
- Secure the pole to the tower with two (2) screws.
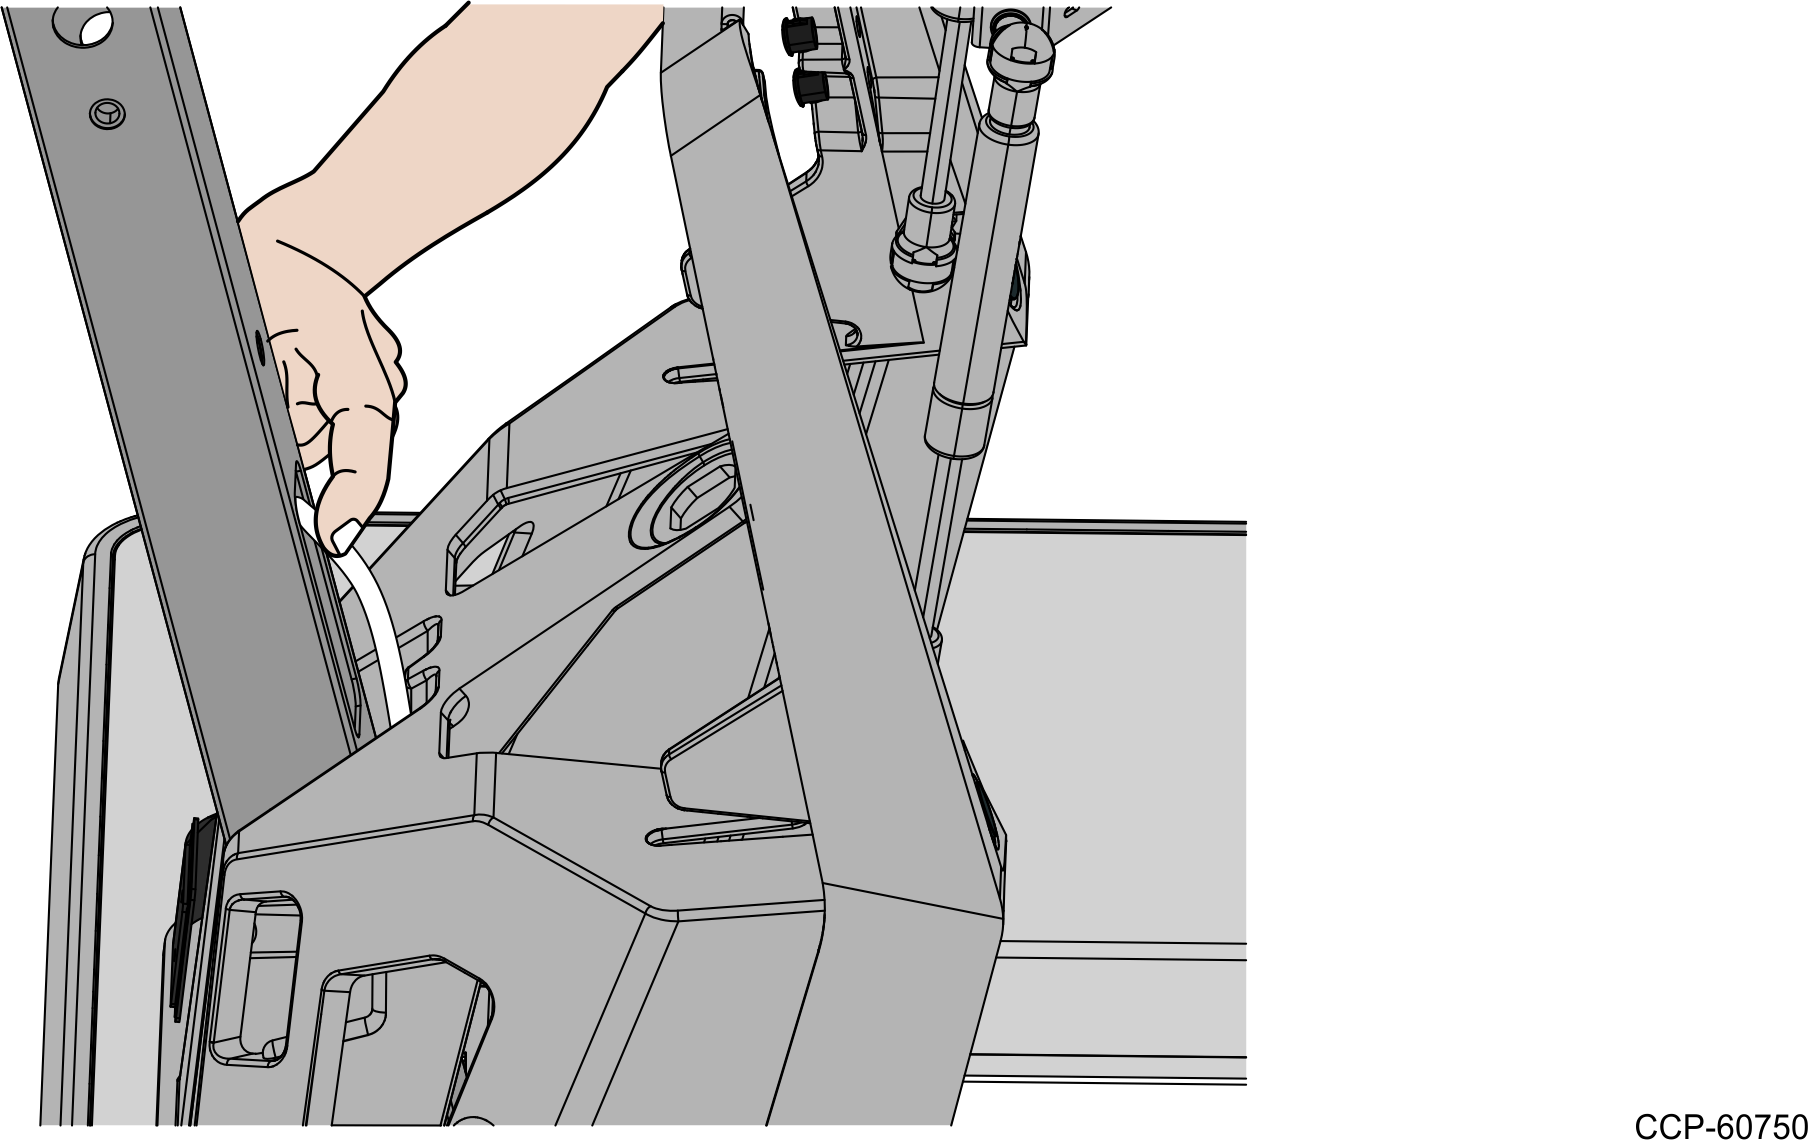
- Insert the excess cables into the opening on the Tri-Light/Lane Light Pole so that cables will not interfere with any outer items.