Installation Procedure
To install the Remote Scale Display Mount (NCR 7895 Scanner/Scale), follow these steps:
- Shut down the ncrNCR FastLane SelfServ™ Checkout software and hardware systems.
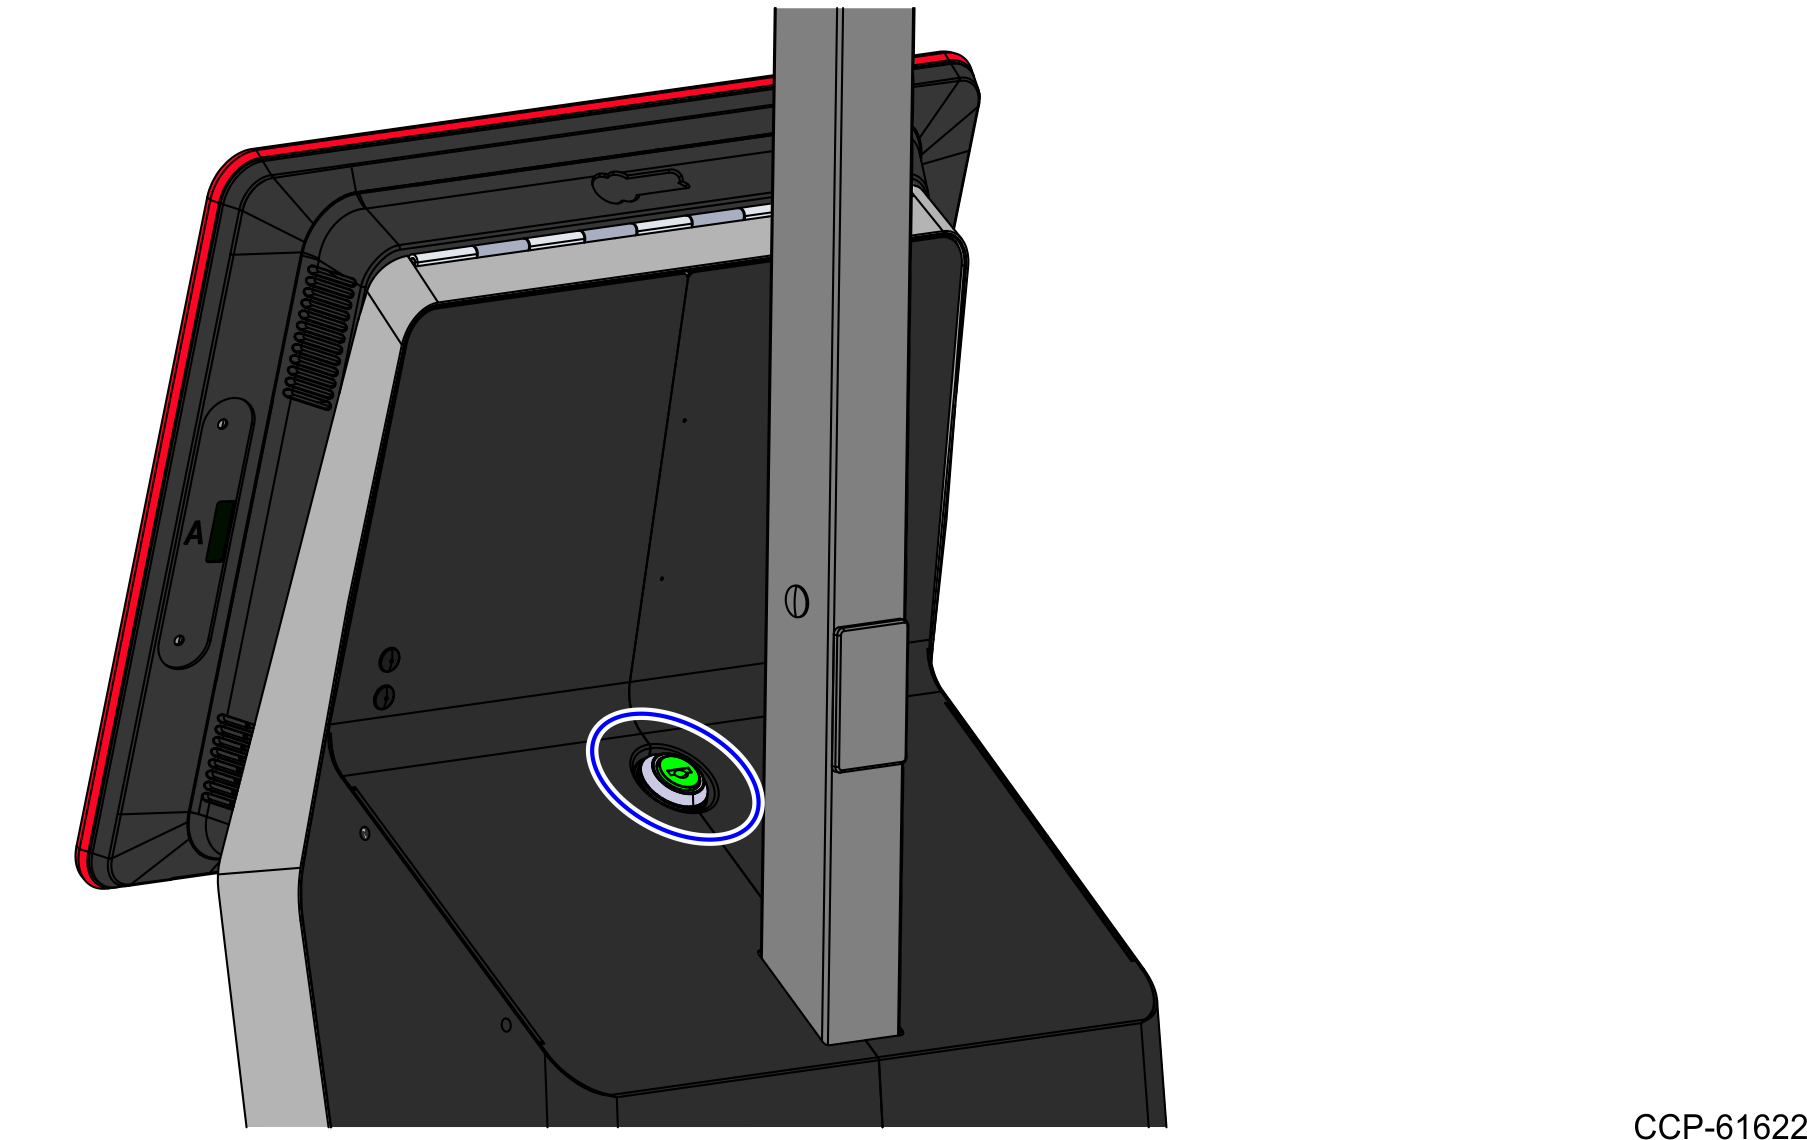
- Unlock the Tower frame from the back panels using a key.
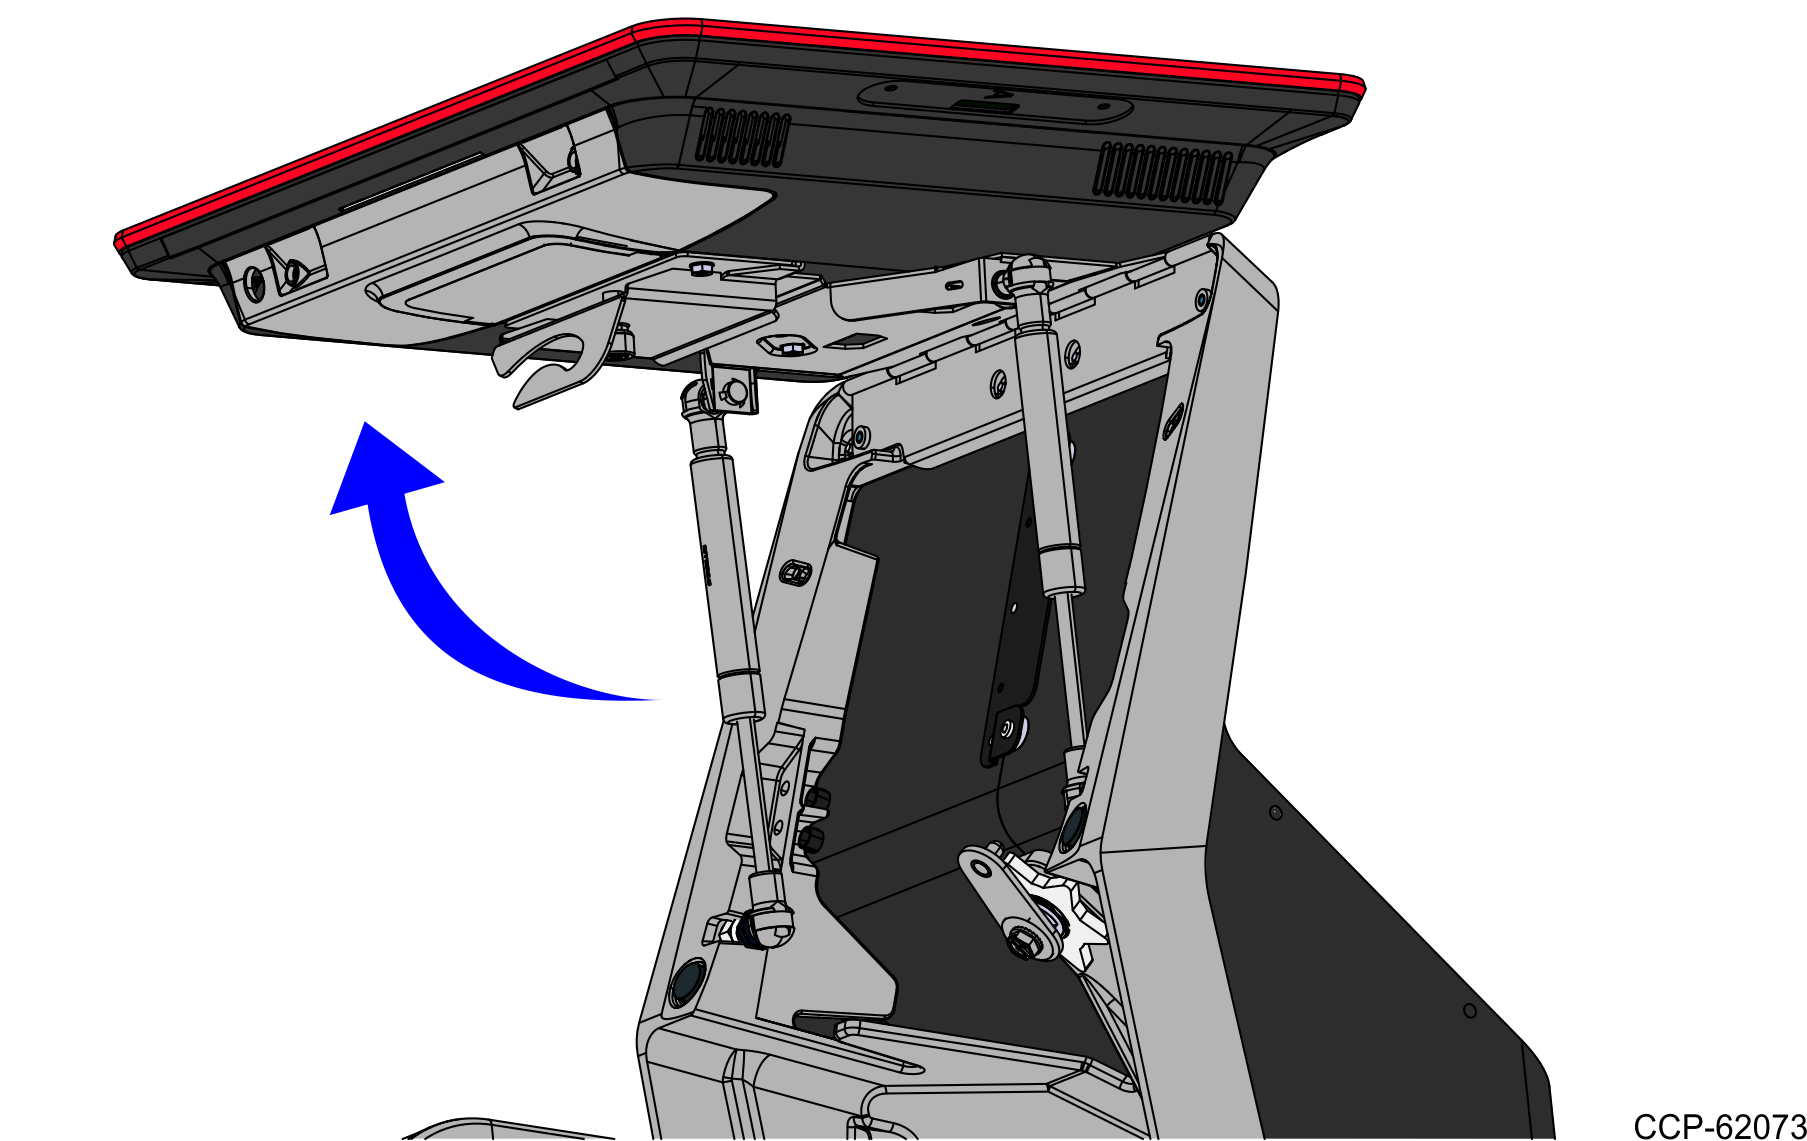
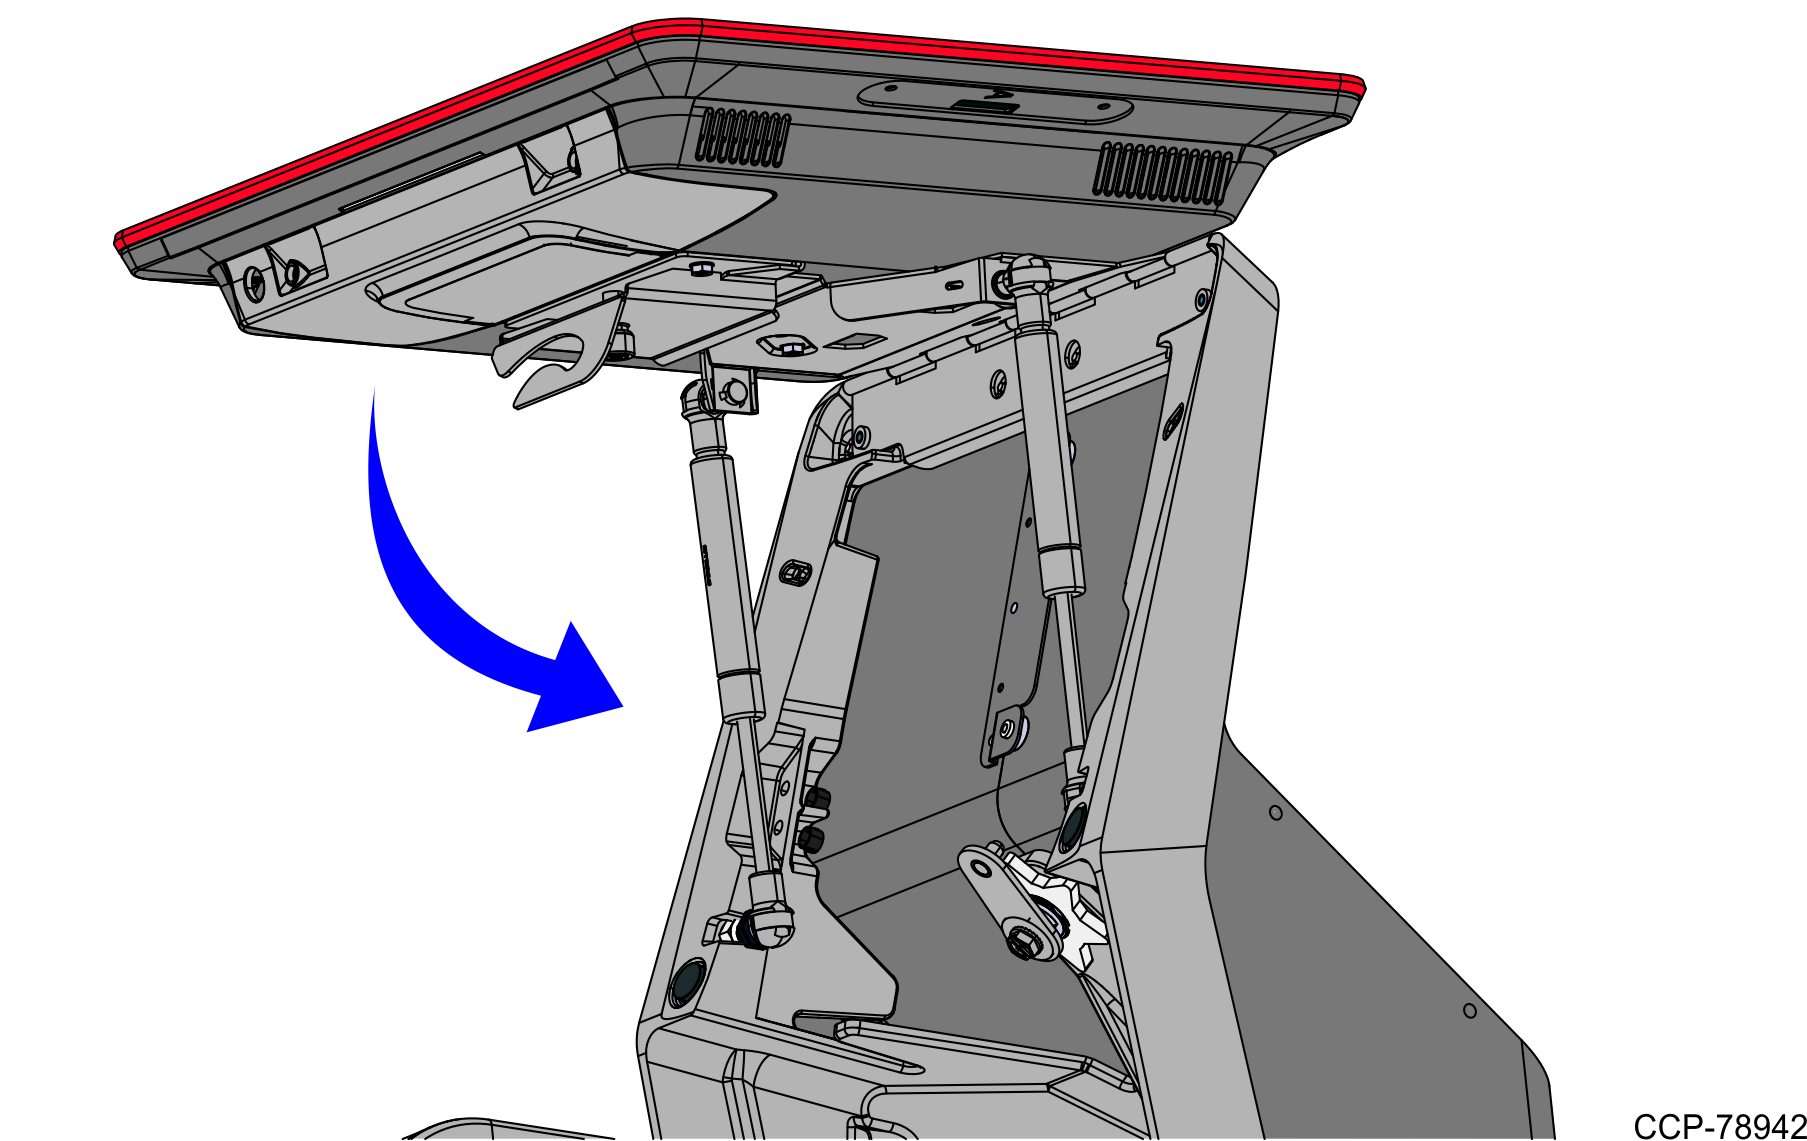
- Lift the Terminal Display from Tower frame.
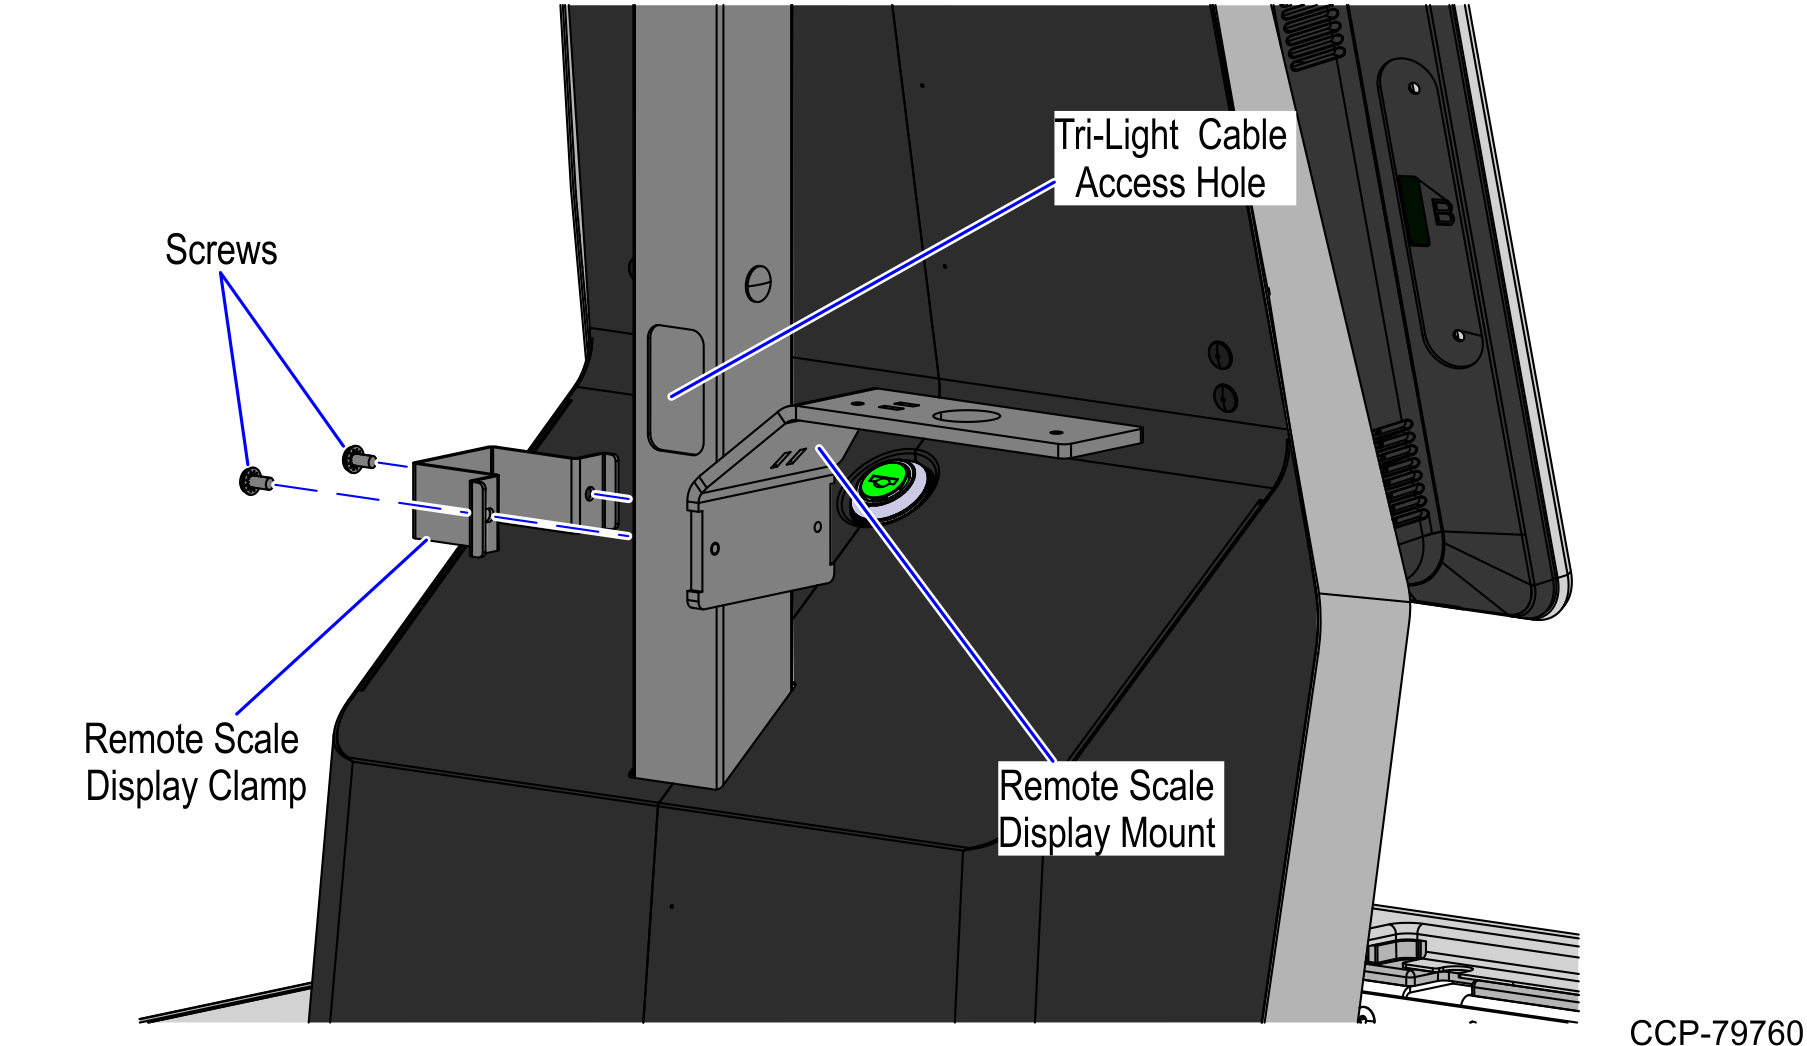
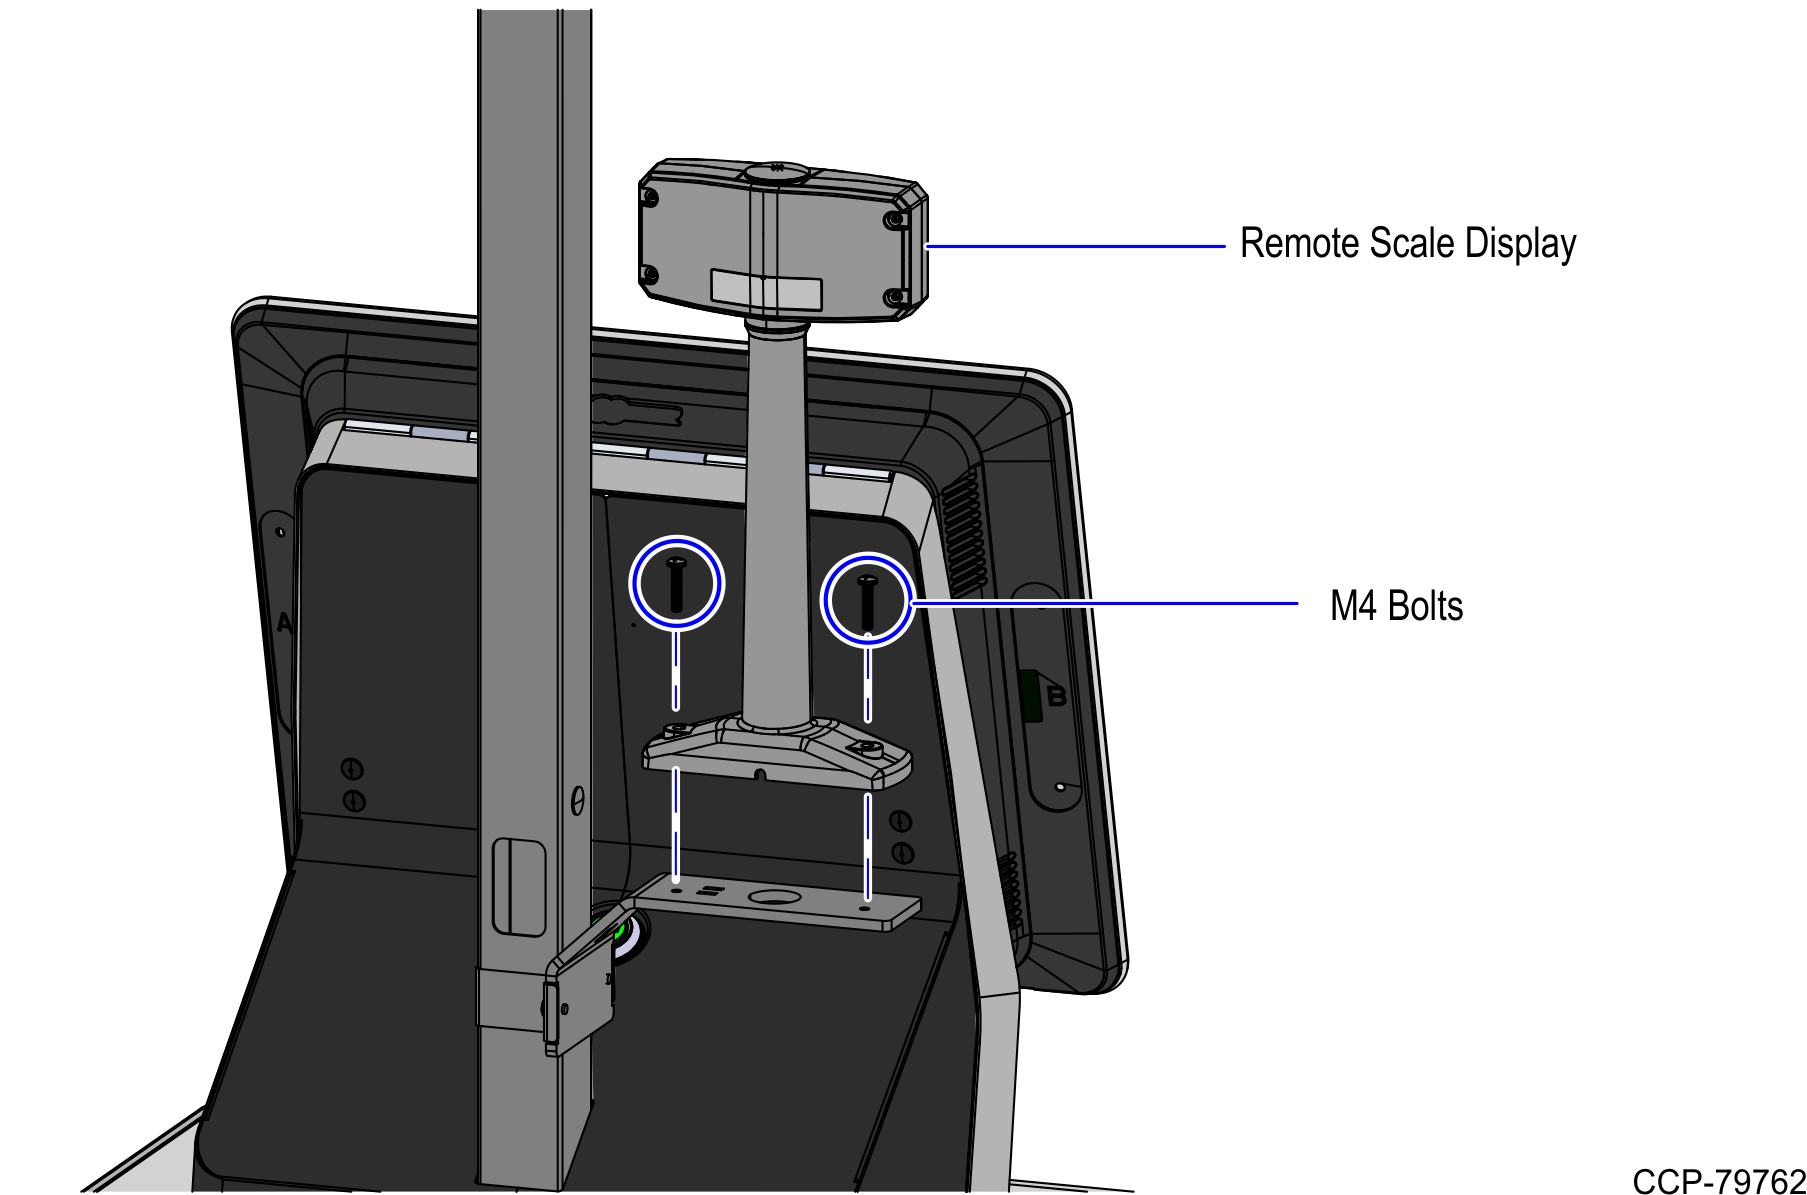
- Align the screw holes of the Remote Scale Display Mount with the Remote Scale Display Clamp just below the cable access hole of Tri-Light Pole and secure both parts using two (2) screws, as shown in the image below.
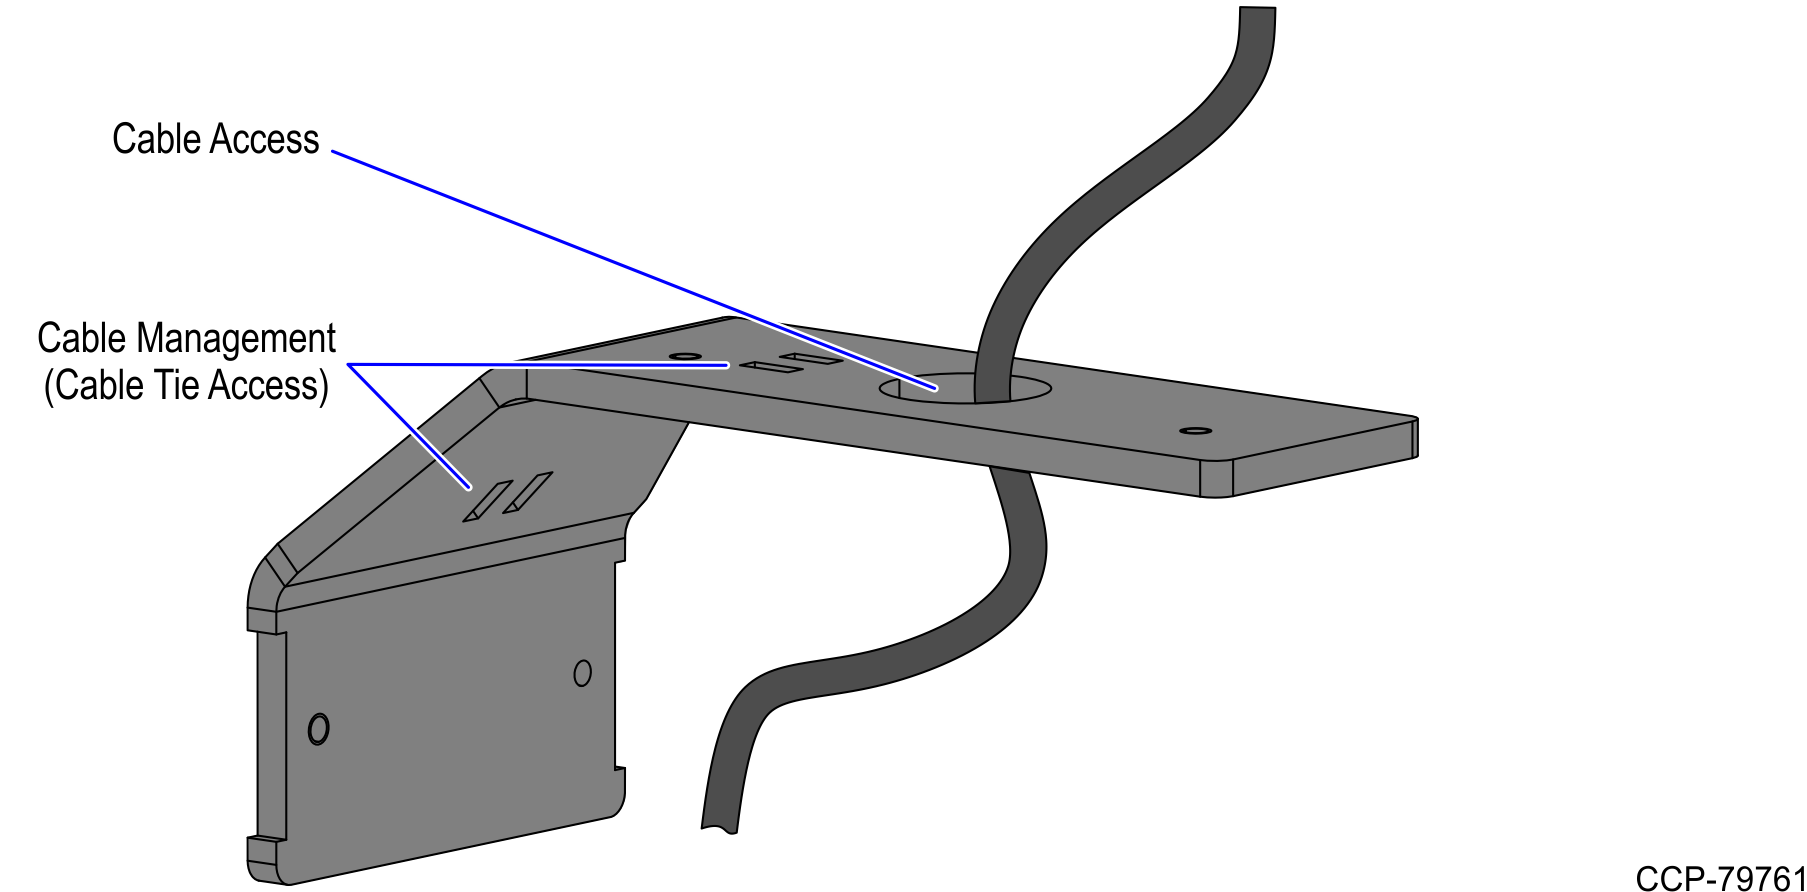
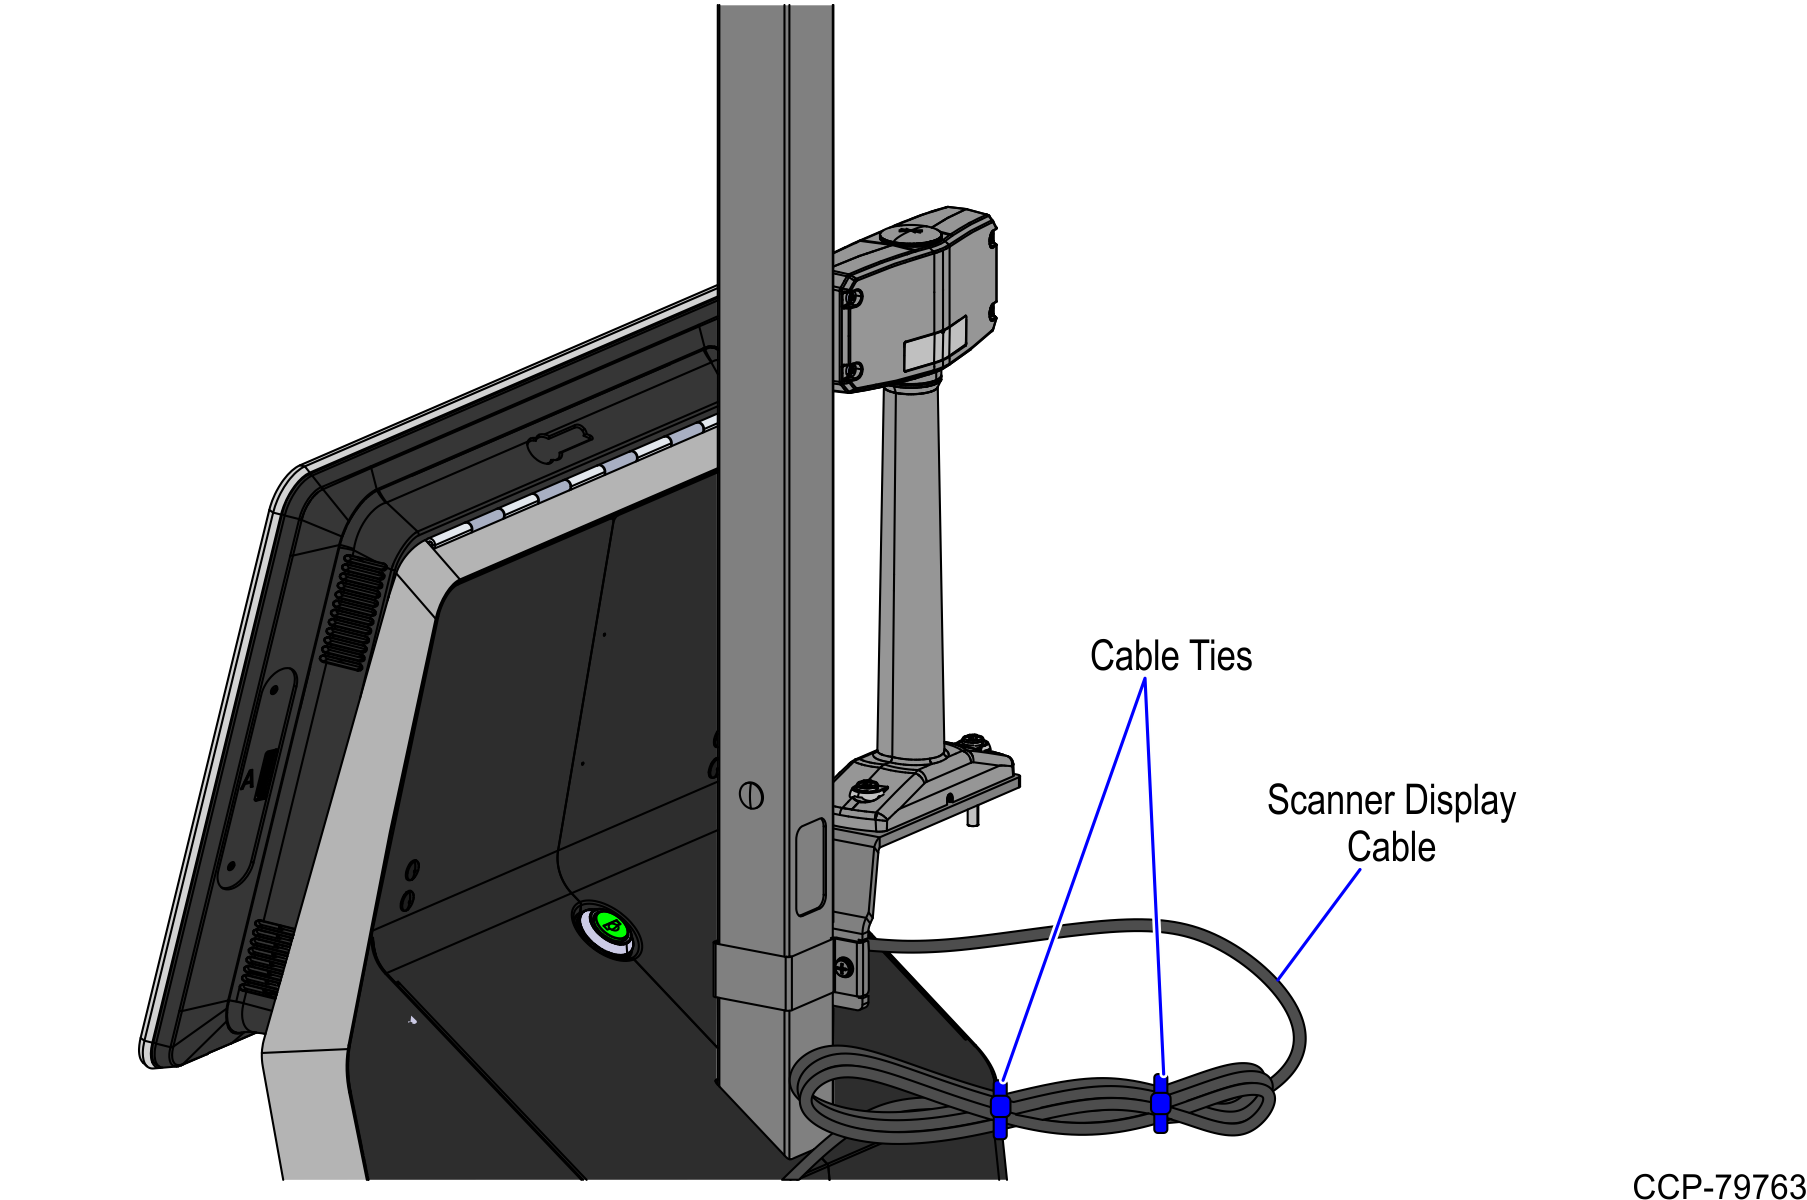
- Insert the Scanner Display Cable through the cable access hole of the Remote Scale Display Mount and secure it with two (2) cable ties.
- Secure the Remote Scale Display using two (2) M4 bolts and two (2) nuts on the Remote Scale Display Bracket.
- Bundle the excess cable length of the Scanner Display Cable and secure it with two (2) cable ties.
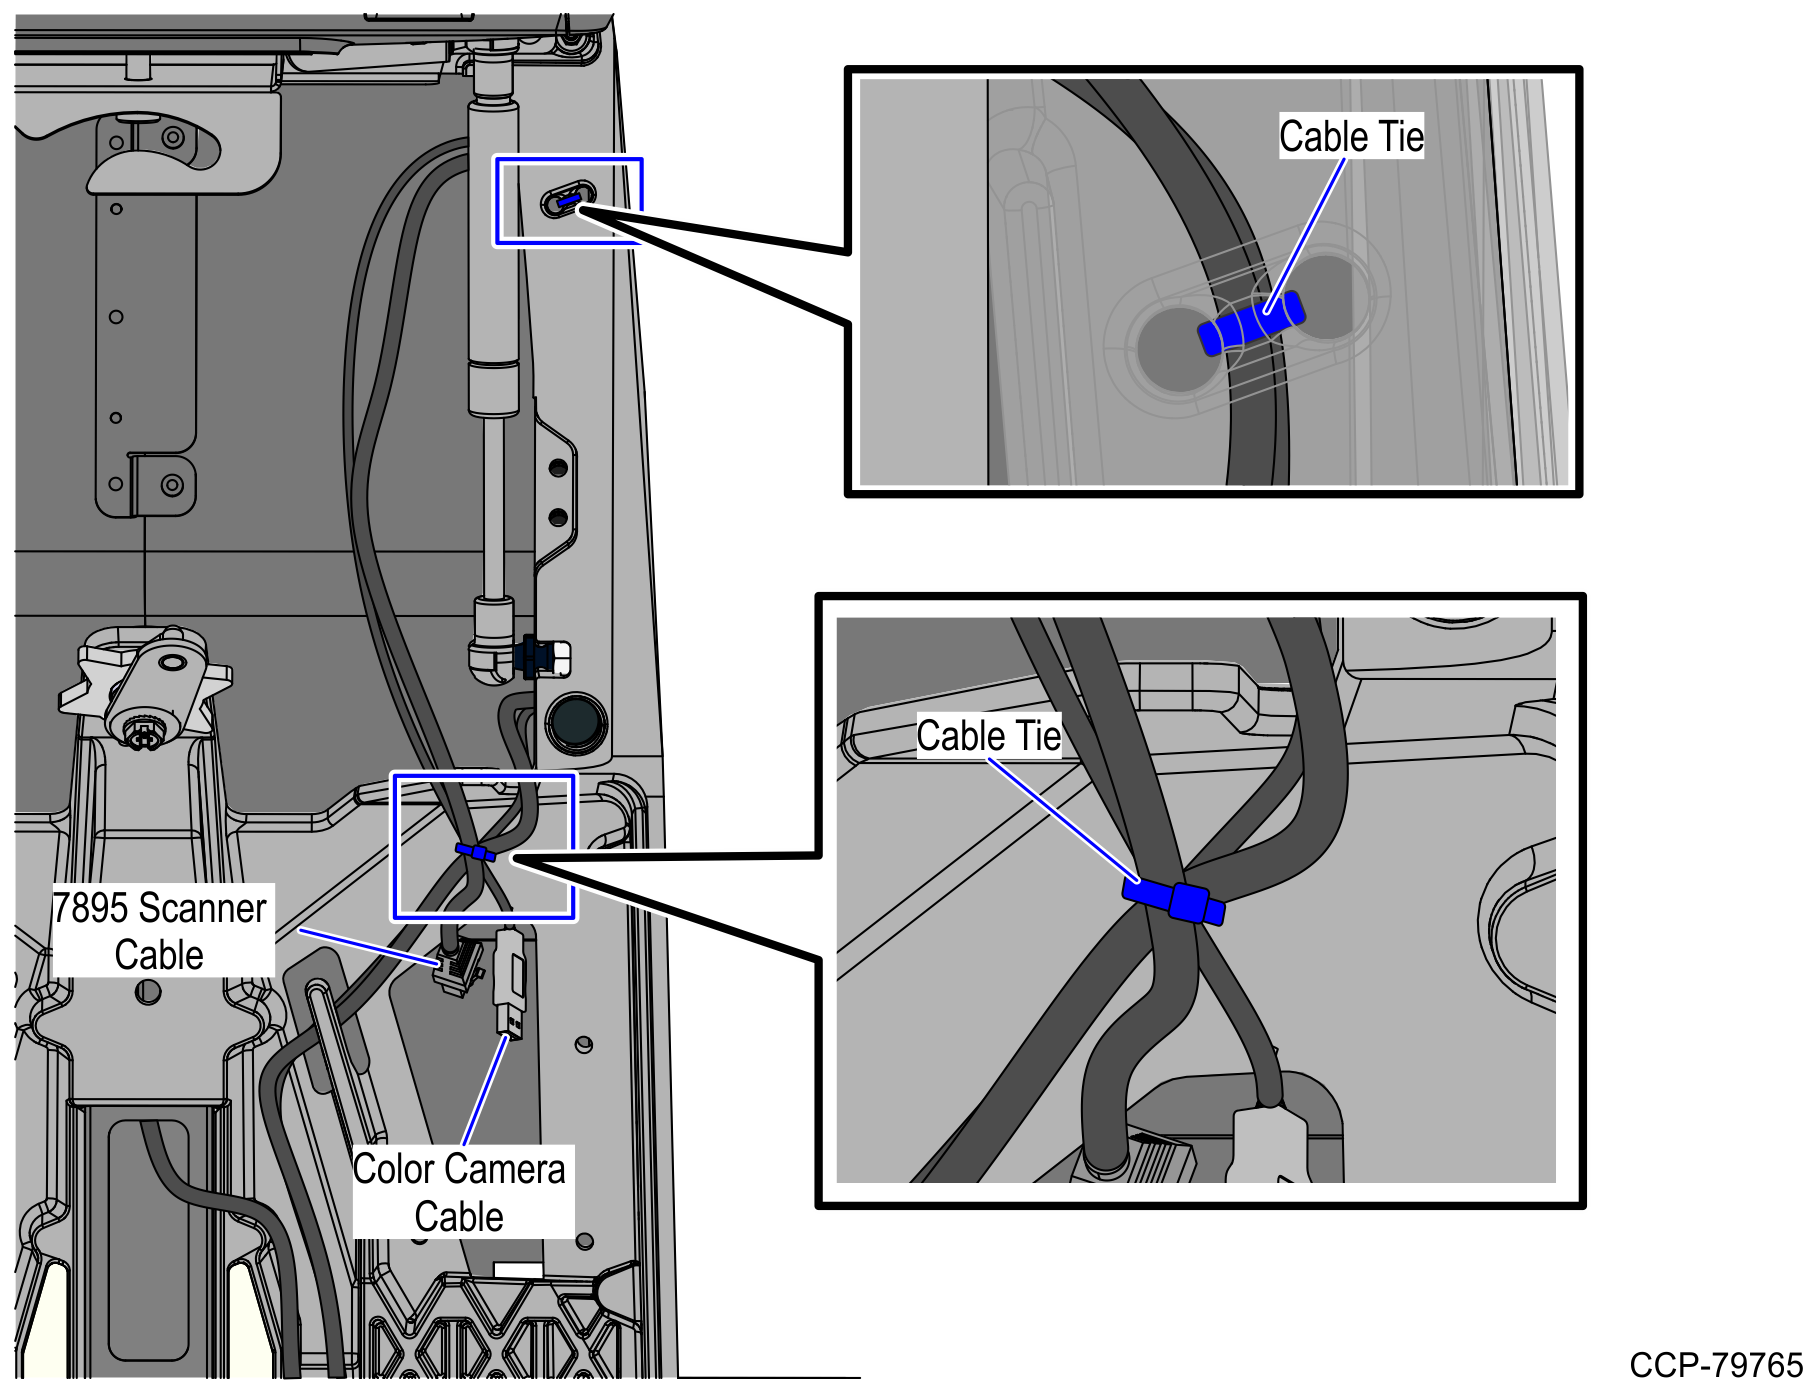
- Insert the bundled excess cable into the Tri-Light Pole access hole and secure the extra length under the Remote Scale Display Bracket with two (2) cable ties, as shown in the image below.

- Route the 7895 Scanner Cable and the Color Camera Cable on the left side of the Tower Cabinet and secure it with a cable tie, as shown in the image below.Note
Ensure that there is enough length on the cables to reach the POS panel.
- Connect the scanner cable to the USB Client port on the NCR 7895 Scanner/Scale.

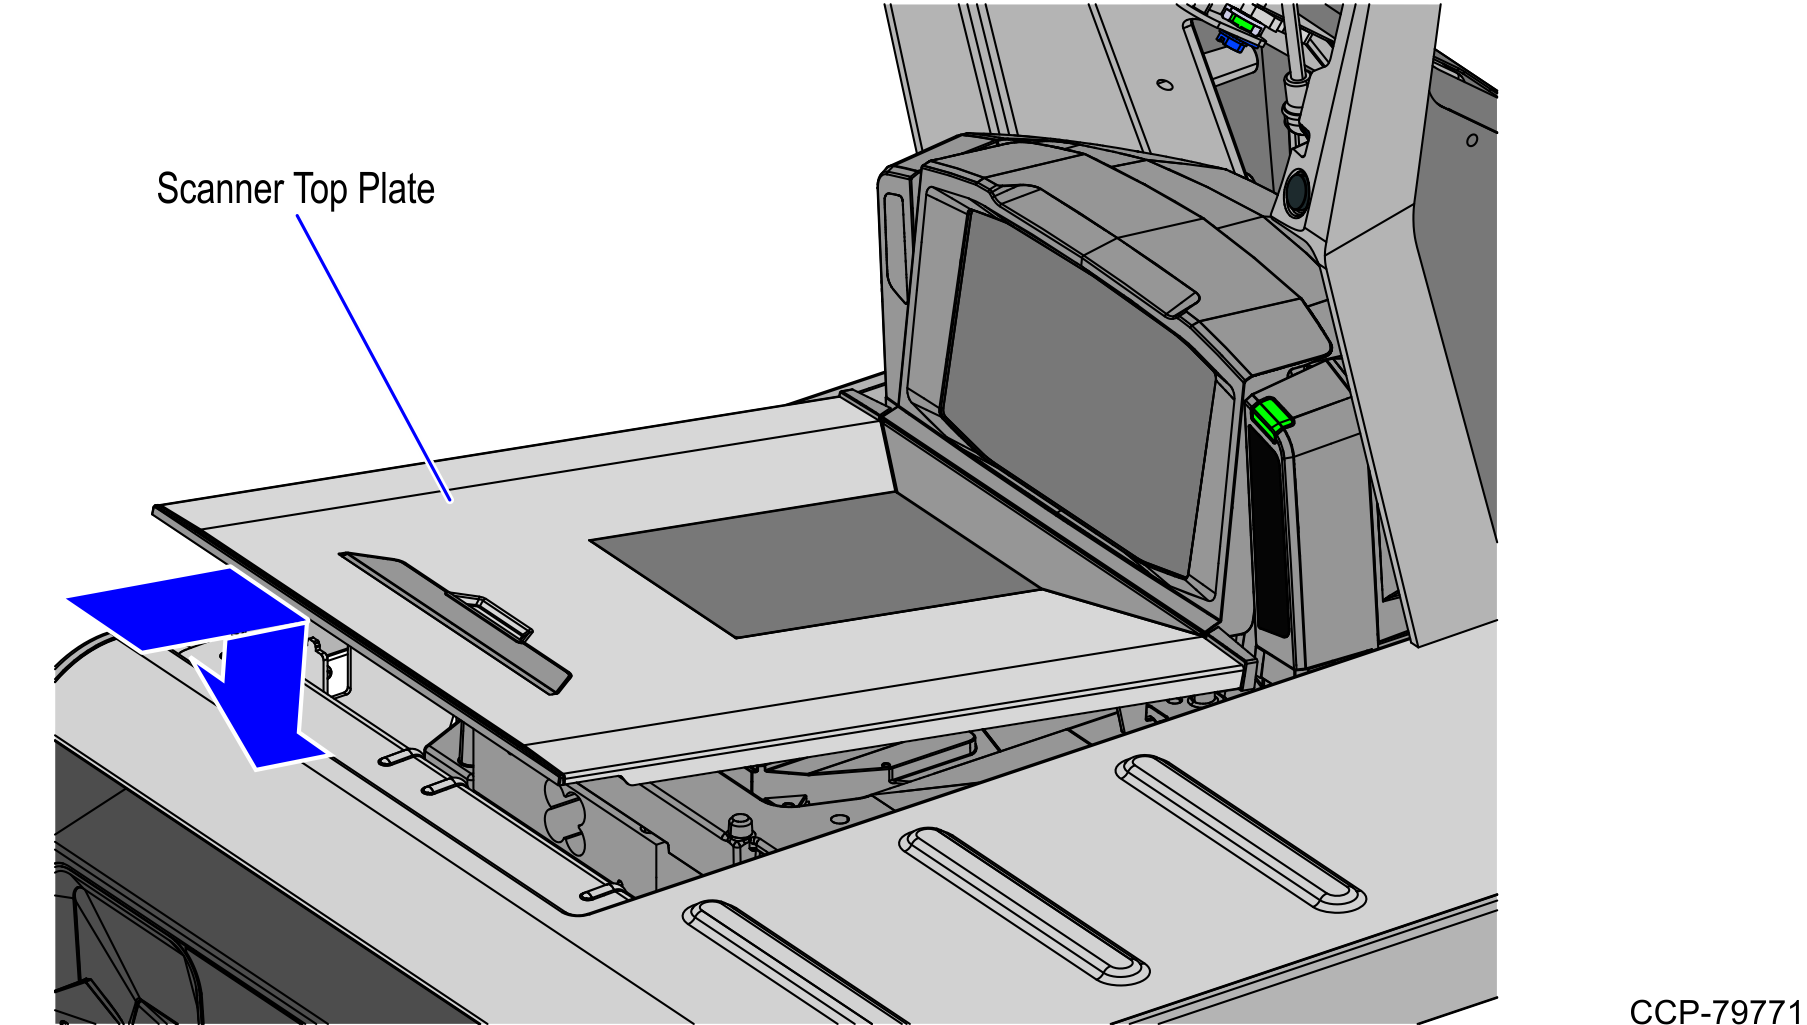
- Place the Scanner/Scale in the scanner bucket.
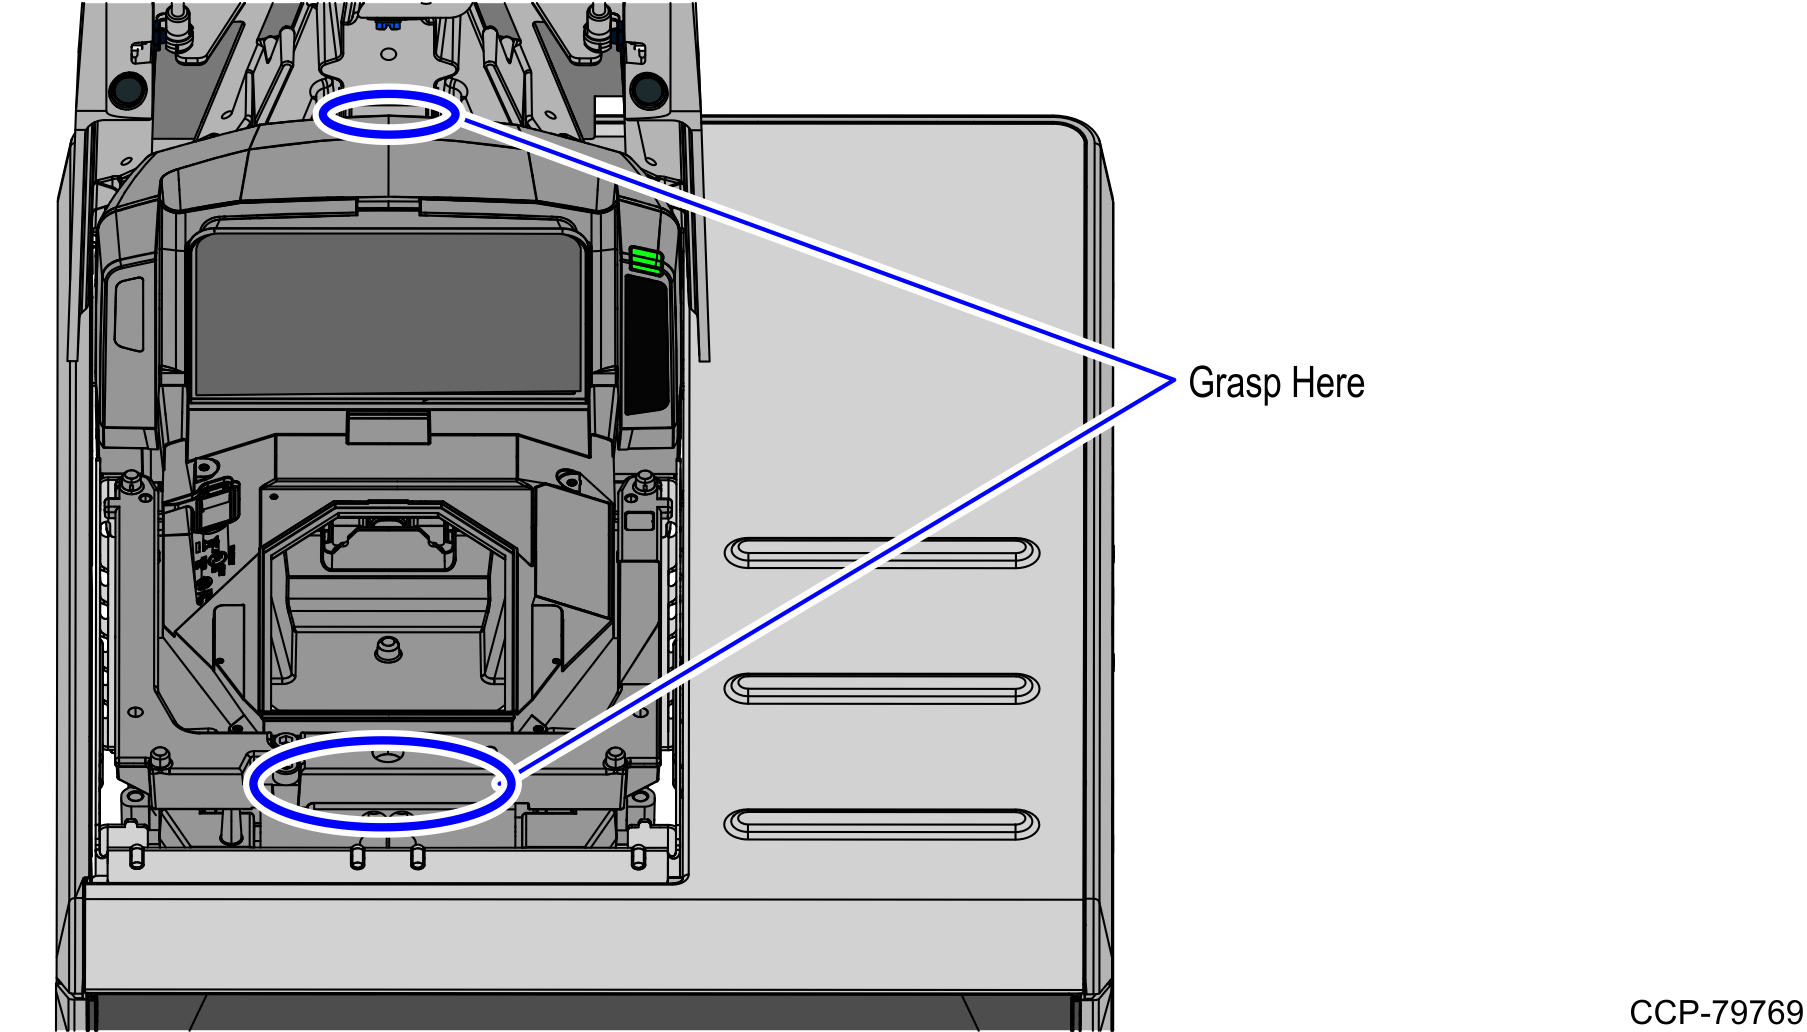
- Lower the Top Plate as shown below:
- Close the Terminal Display and lock the Tower Frame to the back panels.
- Ensure that the devices are working properly by powering up the NCR FastLane SelfServ™ Checkout software and hardware systems.
