Programming Instructions
Programming the Imaging Assembly and the 7878 scanners involves the following procedures:
1.Identify the 7878 firmware version.
2.If needed, re–flash the required firmware.
3.Program the 7878 for the Imager Module.
4.Program the Imager Module.
Imager Module Firmware Functionalities
The cashier–facing Imager Module of the 7878 scanner provides several functionalities to interact well with the 7878.
Imager Interlock
The Imager Interlock is a feature of the Imager that activates whenever both the imager and the laser see the same bar code at the same one time. Only one bar code is sent to the POS by the scanner. This feature must not be confused with the EAS Interlock or Same Item Lockout.
Laser Gate Control
The Laser Gate Control is a configurable feature of the Imager in which the laser does not enable or activate the imager unless the laser sees activity in the laser scan field.
Note: In the 7878 scanner, this feature is enabled at factory default.
Firmware Requirements
Note: The minimum firmware version is 497‐0472618.
Before performing any programming procedures to the 7878 and Imager Module:
1. Make sure to identify the firmware version of your 7878.
2. If the firmware installed on your scanner is not the required version, re–flash the required firmware to the scanner,
•using a PC or a host terminal — requires Flash Tool
• using a USB flash drive — requires Flash Drive Prep Tool
The procedures are explained in the following sections.
Identify the Firmware Version of 7878
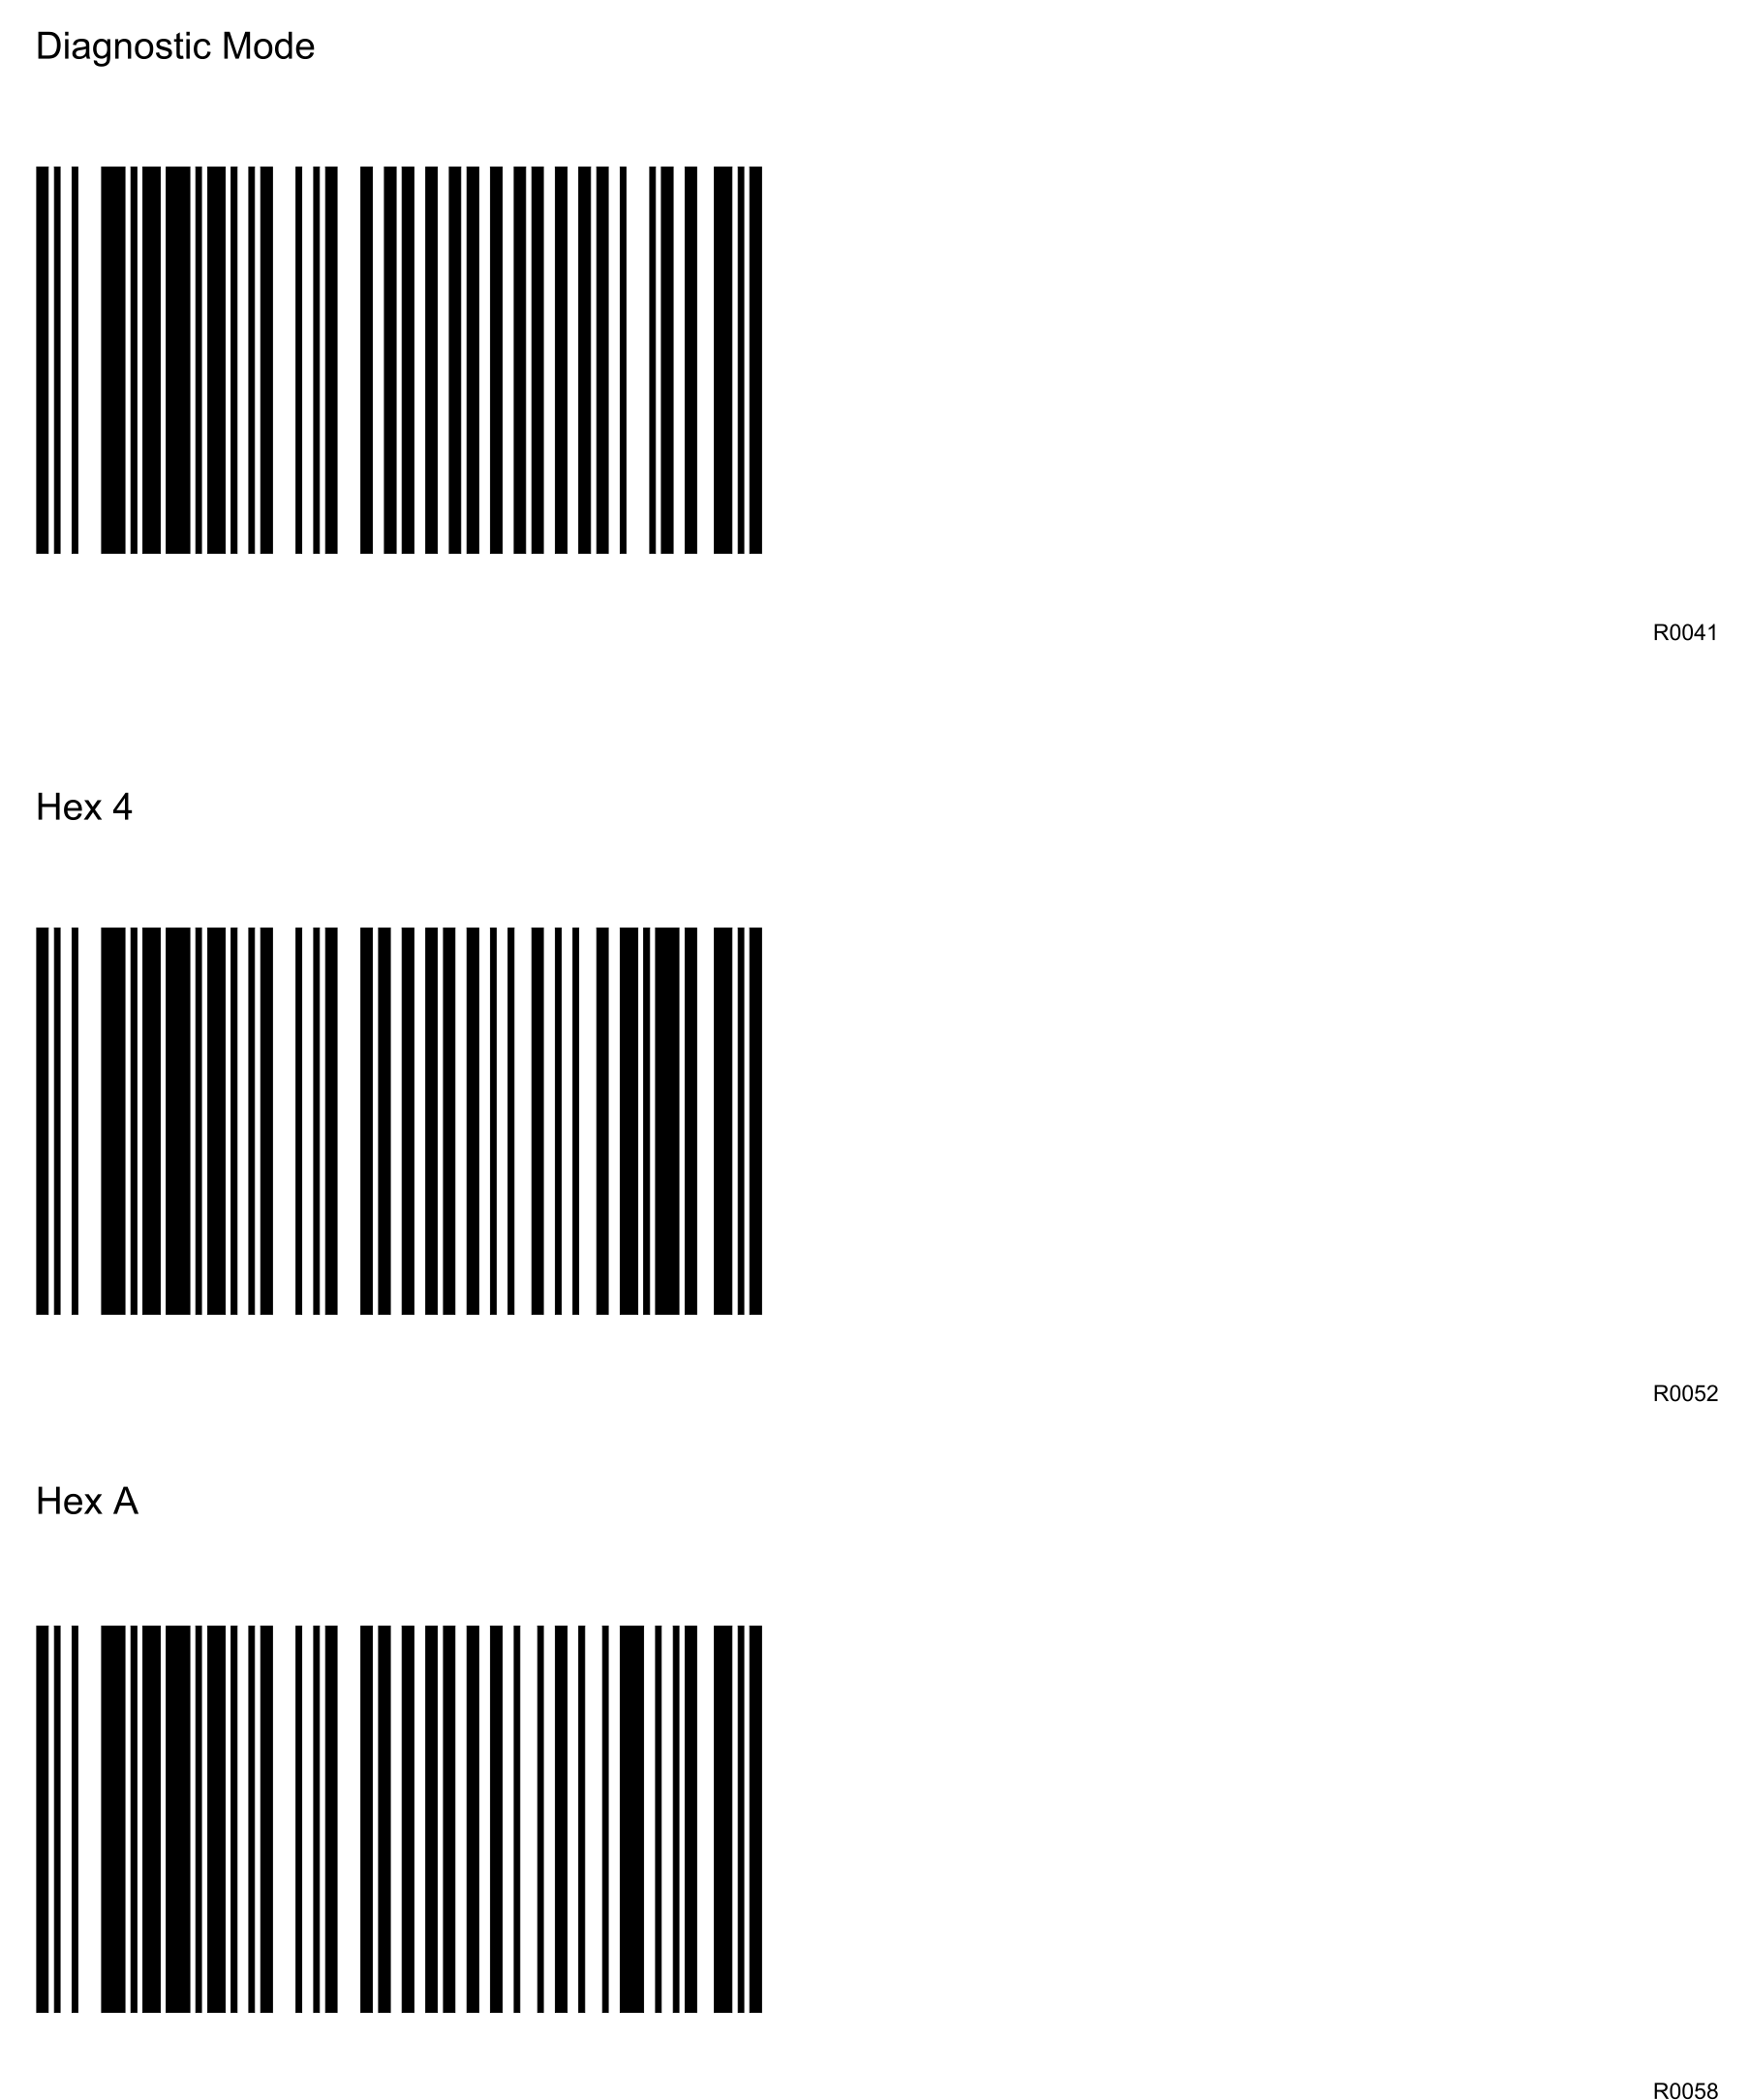
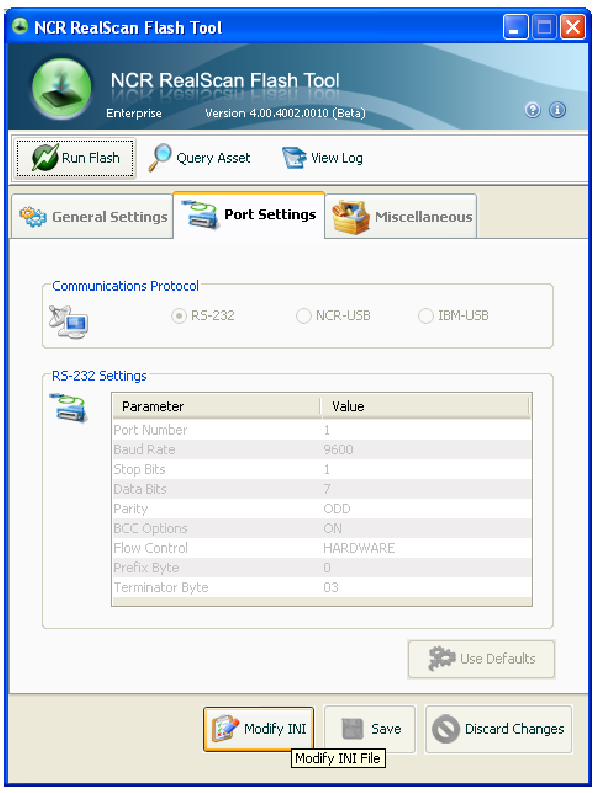
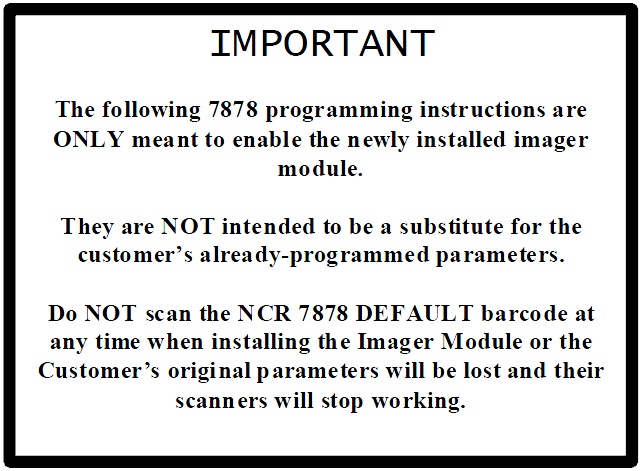
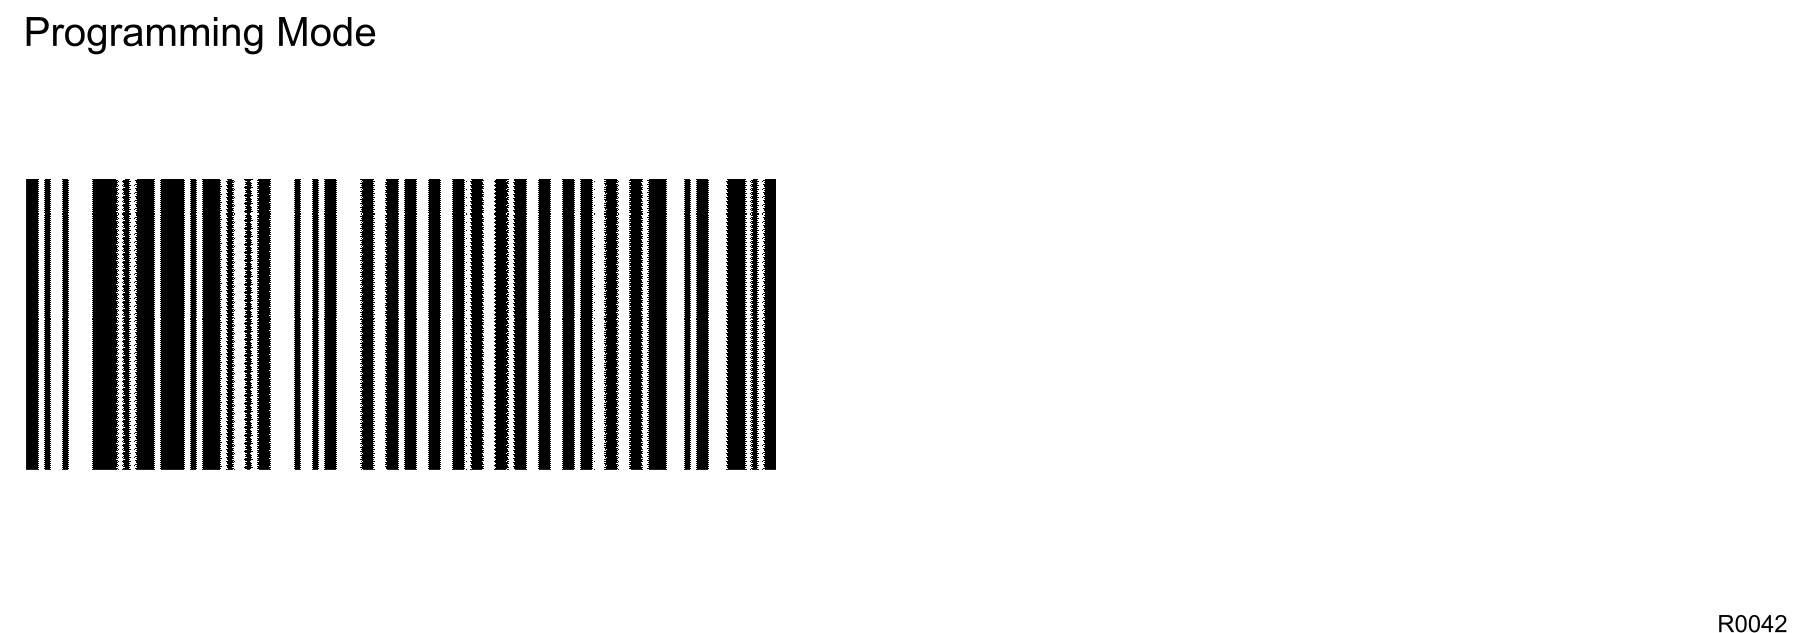
To identify the firmware already in the scanner, scan the Diagnostic Mode, Hex 4, and Hex A programming tags. These must be the first tags scanned after applying power to the unit. The 7878 gives a voice message containing the 497–xxxxxxx number of its firmware. Power‐Cycle your scanner when you are done.
Re–flash the Required Firmware to the 7878
You can perform firmware flashing using a PC/host terminal or a USB flash drive. The procedures are explained in the next sections. For detailed information, refer to the following:
•NCR RealPOS™ Scanner Tool Suite Guide (B005–0000–1883) on https://info.ncr.com/POSGen
• NCR RealScan™ 78 Bi–Optic Scanner/Scale (7878) User Guide (B005–0000–1724) on https://info.ncr.com/POSGen
•http://www5.ncr.com/support/support_drivers_patches.asp?Class=retail_RealScan
This website contains the software tools needed for firmware flashing. For additional documents, go to the "Other Helpful Links" section and select 7878 Scanner Flash Kit #603-5023425 instructions.
Firmware Flashing using a PC or Host Terminal
1.Apply power to the 7878.
2.Connect the scanner to the host terminal using an RS‐232 cable or USB cable appropriate for 7878 scanner.
•RS232 cable — part number 497‐0300422 (1416‐C019‐004)
•USB cable — 497‐0445079 (1432‐C158‐0040)

3.Run Flash Tool by double‐clicking on the NCR Flash Tool icon on the desktop.
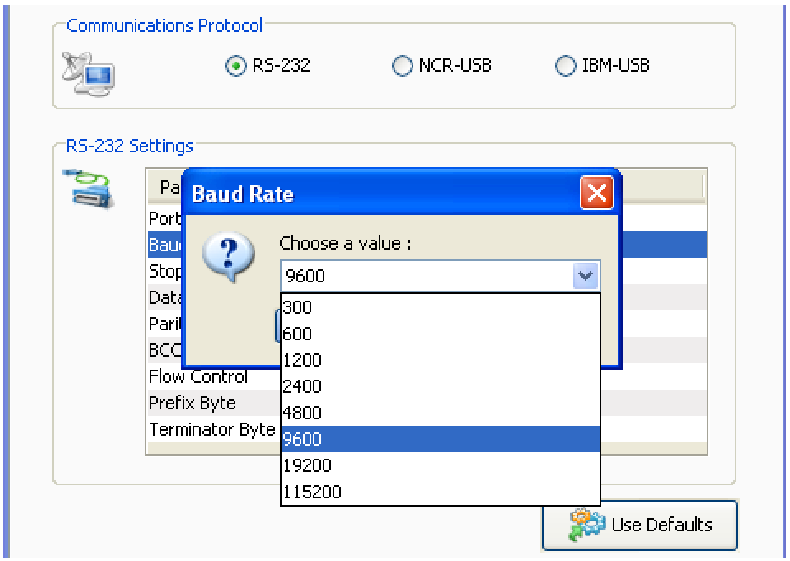
4.Port settings must be configured first before flashing firmware to the scanner. Select Port Settings in the main window and select the Modify INI button.
5.Select one of the radio buttons under the Communications Protocol Group within the Port Settings tab. For RS‐232 communication protocol, you can configure more settings under the RS‐232 Settings group. Right-click on one of the cells in the table to either change the parameter value or restore it to its default value.
6.Select Save after making changes to the settings.

7.Select Use Defaults if default settings are preferred. A message box will display informing that all settings will be set to default. Select Yes to confirm.

8.After configuring the necessary port settings, choose the scanner you want to flash the firmware to.

9.Select Modify INI after a scanner model has been chosen. Select the Update Firmware checkbox and choose the firmware BIN file you want to flash to the scanner. For your preference you may enable Flash Override and Section Override by selecting their checkboxes. Select Save to save and apply these settings.
10.Select Run Flash from the main toolbar to start flashing the firmware to the scanner.

11.The application will initialize communication with the scanner in the port you have specified in the settings. When initialization is successful, the following window will display and show the progress of the flashing process.
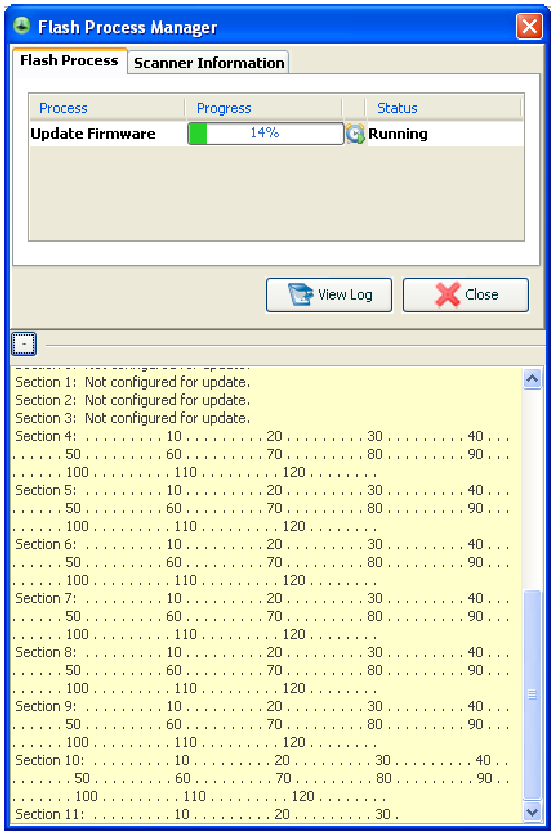
12.Exit the NCR Flash Tool application and disconnect the scanner from the host terminal once firmware flashing is finished.
Firmware Flashing using a USB Flash Drive
In order to minimize the need for a PC at the scanner site, the Flash Drive Prep Tool preps a flash drive sothat the scanner could understand its contents and performs the tasks defined inside the device prepared by the host terminal software. This flash drive could then be taken to each scanner to perform its tasks without changing anything on the flash drive in between scanners.
Servicing or installing a scanner by flash drive is not a remote operation. A technician will be needed on‐site to attach the flash drive to the scanner. A flash drive firmware upgrade is the fastest available means for upgrading the firmware of a scanner.
1.Select the Flash Drive Prep Tool icon. The following window displays.
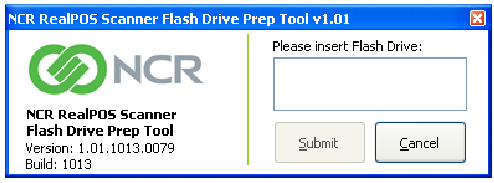
2.Insert the flash drive to be used. The application automatically detects the flash drive installed.
3.Select Submit. The following window displays.
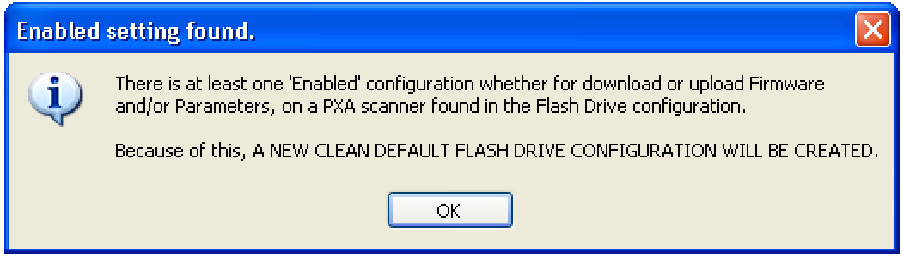
4.Select OK. The following window displays.

5.On the Target Scanner tab, select 7878.
6.On the FIRMWARE groupbox, select the checkbox under Update scanner with:.
7.Select the Firmware from the dropdown menu.
8.Select the Prep Flash Drive button. The application then preps the flash drive. The following message box displays after a successful flash drive prep.
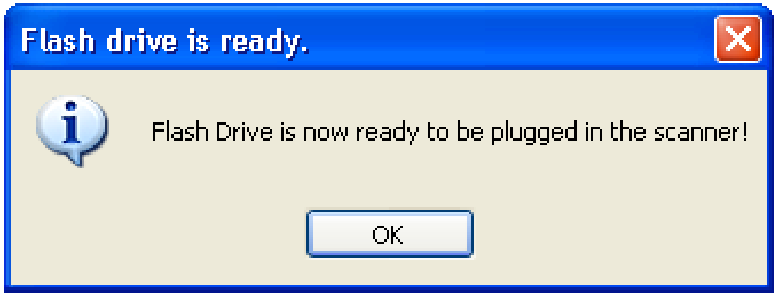
The Down arrow of the 1st line in the Scanner Configuration Preview Panel for the 7878 highlights.
9.Right‐click the Safely Remove Hardware icon on the system tray to safely remove the flash drive. A Safe to Remove Hardware balloon message displays near the system tray.
10.Plug the flash drive in the scannerʹs USB peripheral port. The following lists the different actions the scanner initiates:
a.The scanner gives off a triple beep of ascending frequency, indicating that the USB peripheral port recognized the flash drive and was able to enumerate. The triple beep sound off regardless of the contents of the flash drive. If the scanner fails to give off the triple beep, this indicates a USB peripheral port failure or the USB peripheral port was not able to communicate with the flash drive.
b. The scanner speaks ʺLoad program in 3 seconds...2...1...0...ʺ. The scanner resets after this message.
c. The scanner beeps and a triple beep of ascending frequency follows.
d. The five LEDs light up from bottom to top (for the 7878) while in flash mode. The scanner reboots after a successful firmware download.
e.The scanner beeps and a triple beep of ascending frequency follows.
f.The scanner gives off a low frequency triple beep, which indicates that the flash drive can be safely removed.
11.Unplug the flash drive from the scannerʹs USB peripheral port. The scanner then gives off a descending triple beep sound, which indicates a successful shutdown of the flash driveʹs firmware.
Program the 7878 for the Imager Module
The 7878 scanner must be programmed so it can perform the following:
•Beep whenever 7878 receives valid bar code data from the Imager module through the USB host port; by default, the scanner does not beep when the Imager receives bar codes.
• Permit the pass‐through of 2D data to the POS
•Enable Imager mode
To program the 7878 Scanner for the Imager Module, scan the following bar codes:
Activate Beep sounds during HH input
Enable 2D Bar Codes Pass–Through
Enable the Imager Kit
Enable 2D Pass-Through Function of all 2D types
Note: The passed‐through PDF data is transmitted in ASCII format when RS232 Serial or NCR USB is used. This data format is required by NCR OPOS for 2D barcodes.

Program the Imager Module
The Imager only provides a limited number of symbologies enabled from the factory which includes the following:
•UPC‐A
•UPC‐E
•EAN‐8
•EAN‐13
•PDF417
•GS1 Databar 14 (RSS‐14)
•GS1 Databar Expanded (RSS‐14 Expanded)
•GS1 Databar Coupons
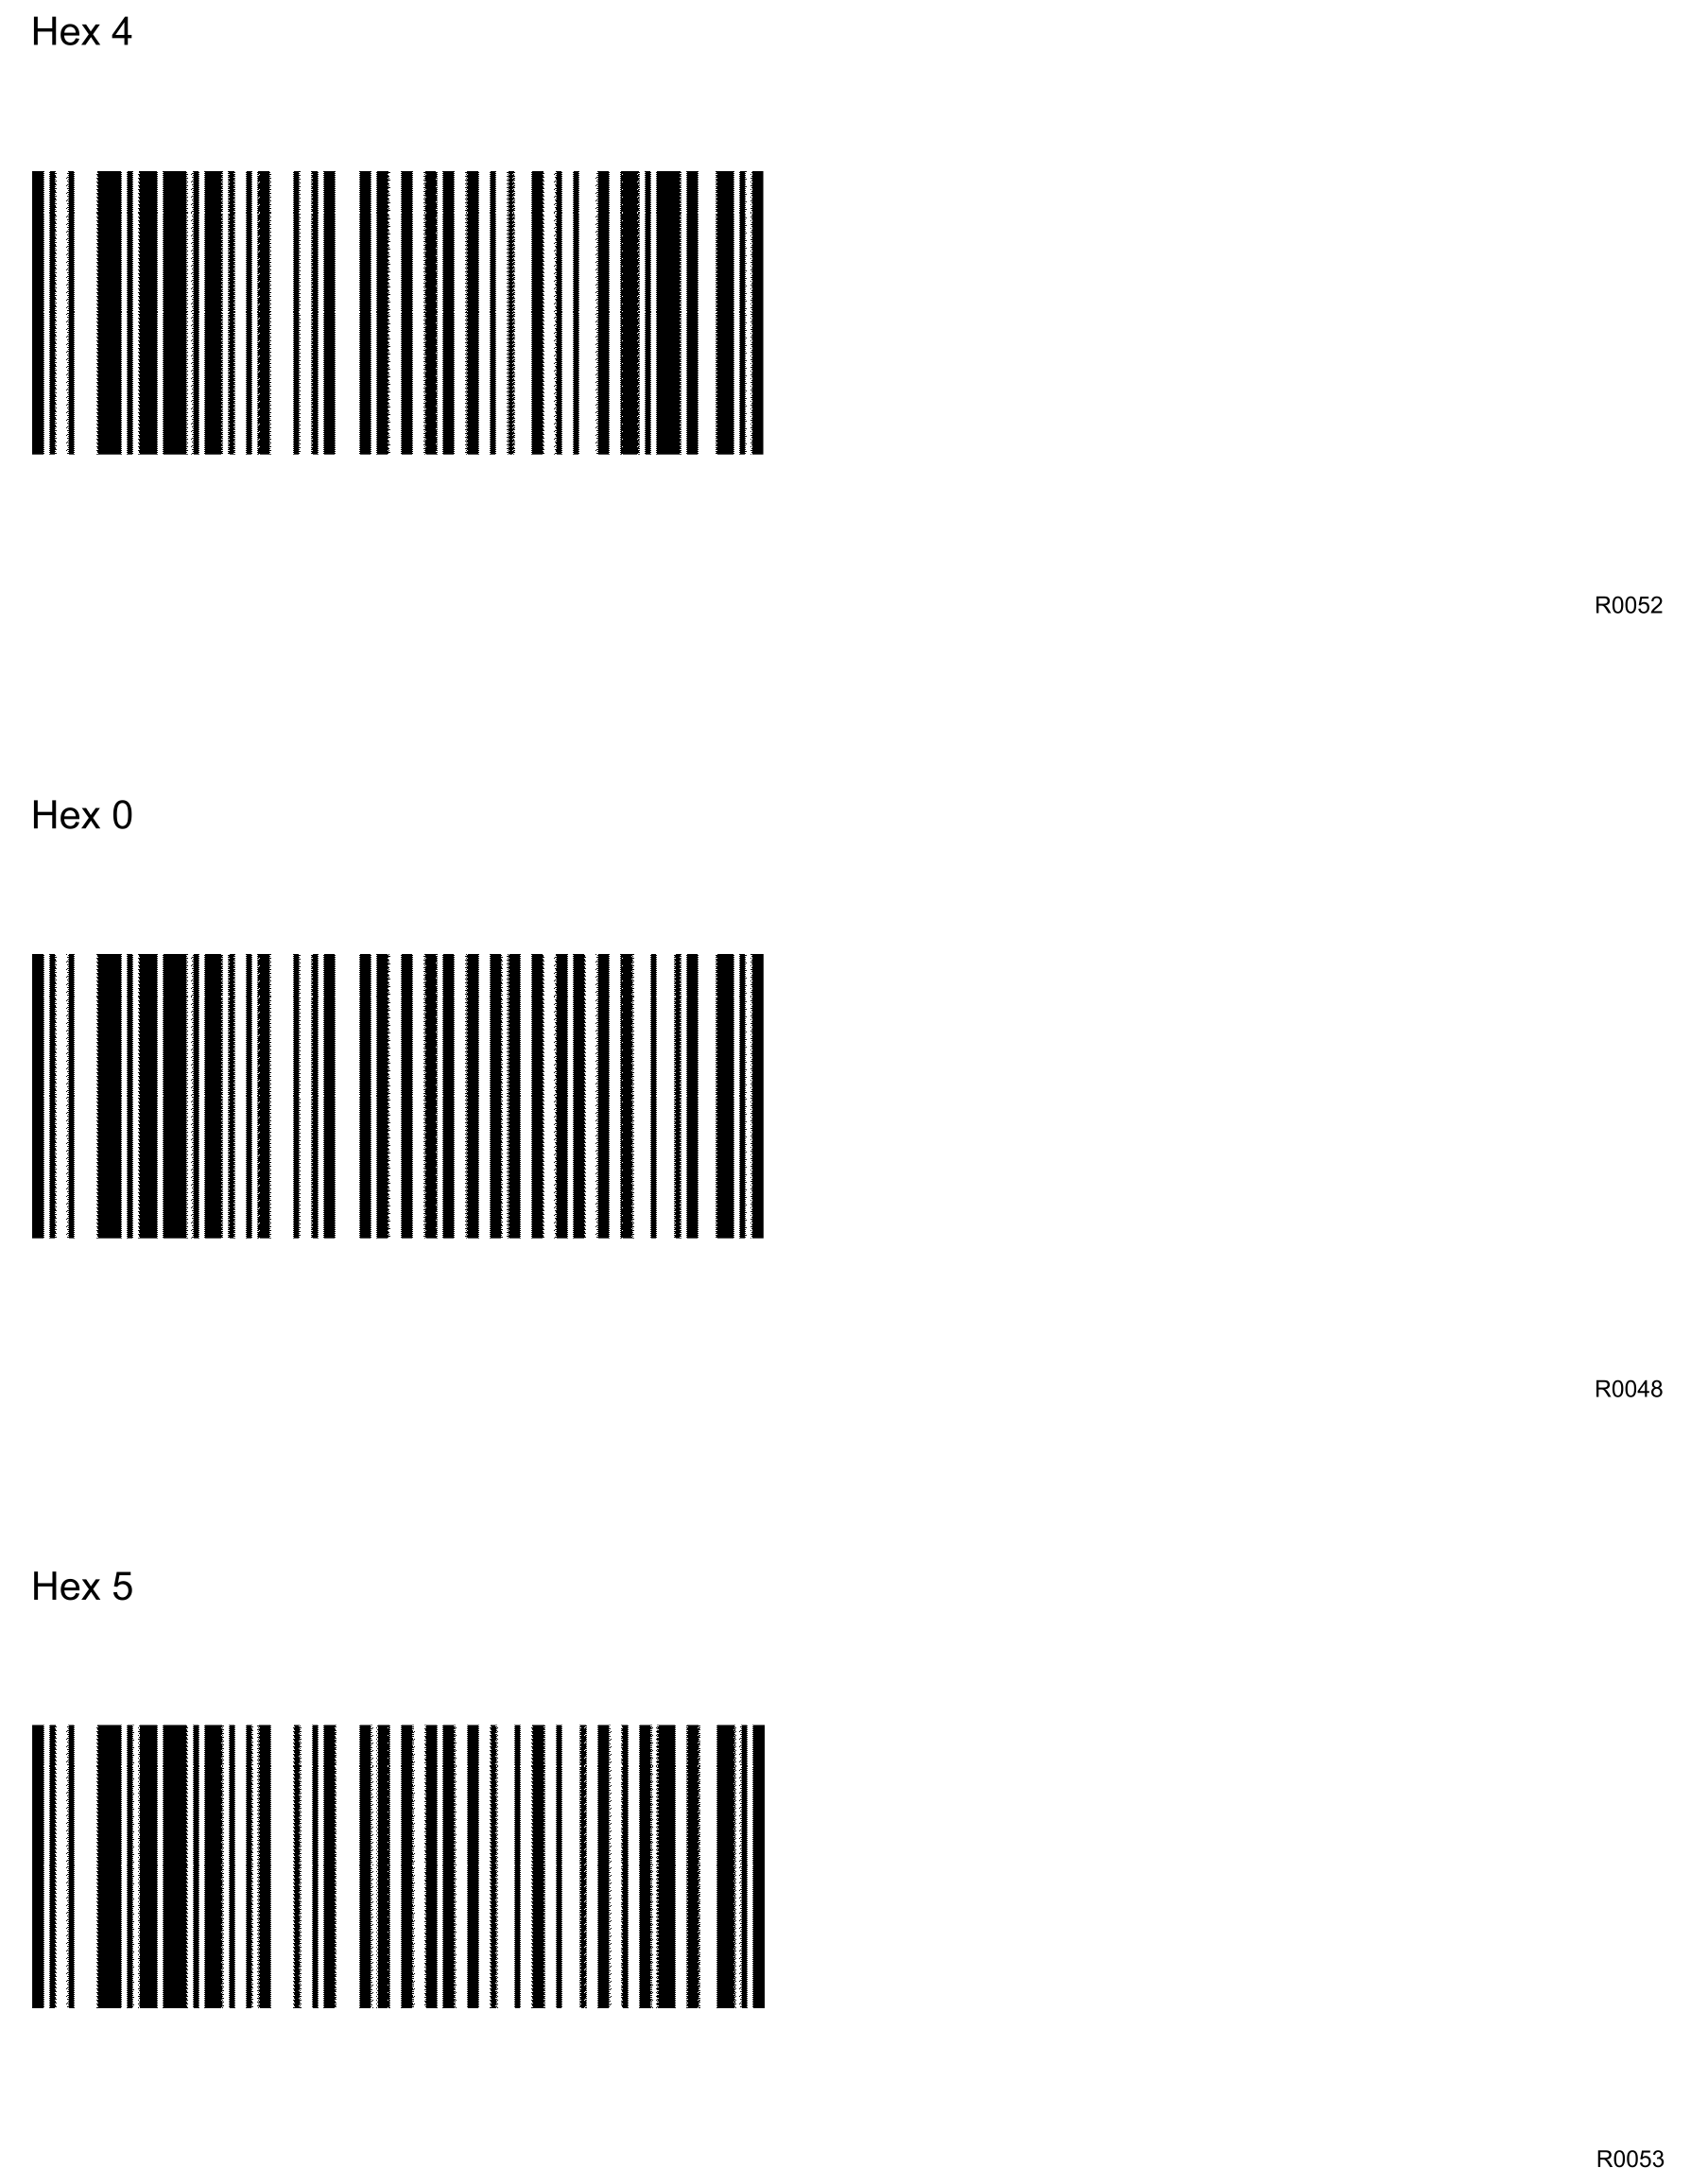
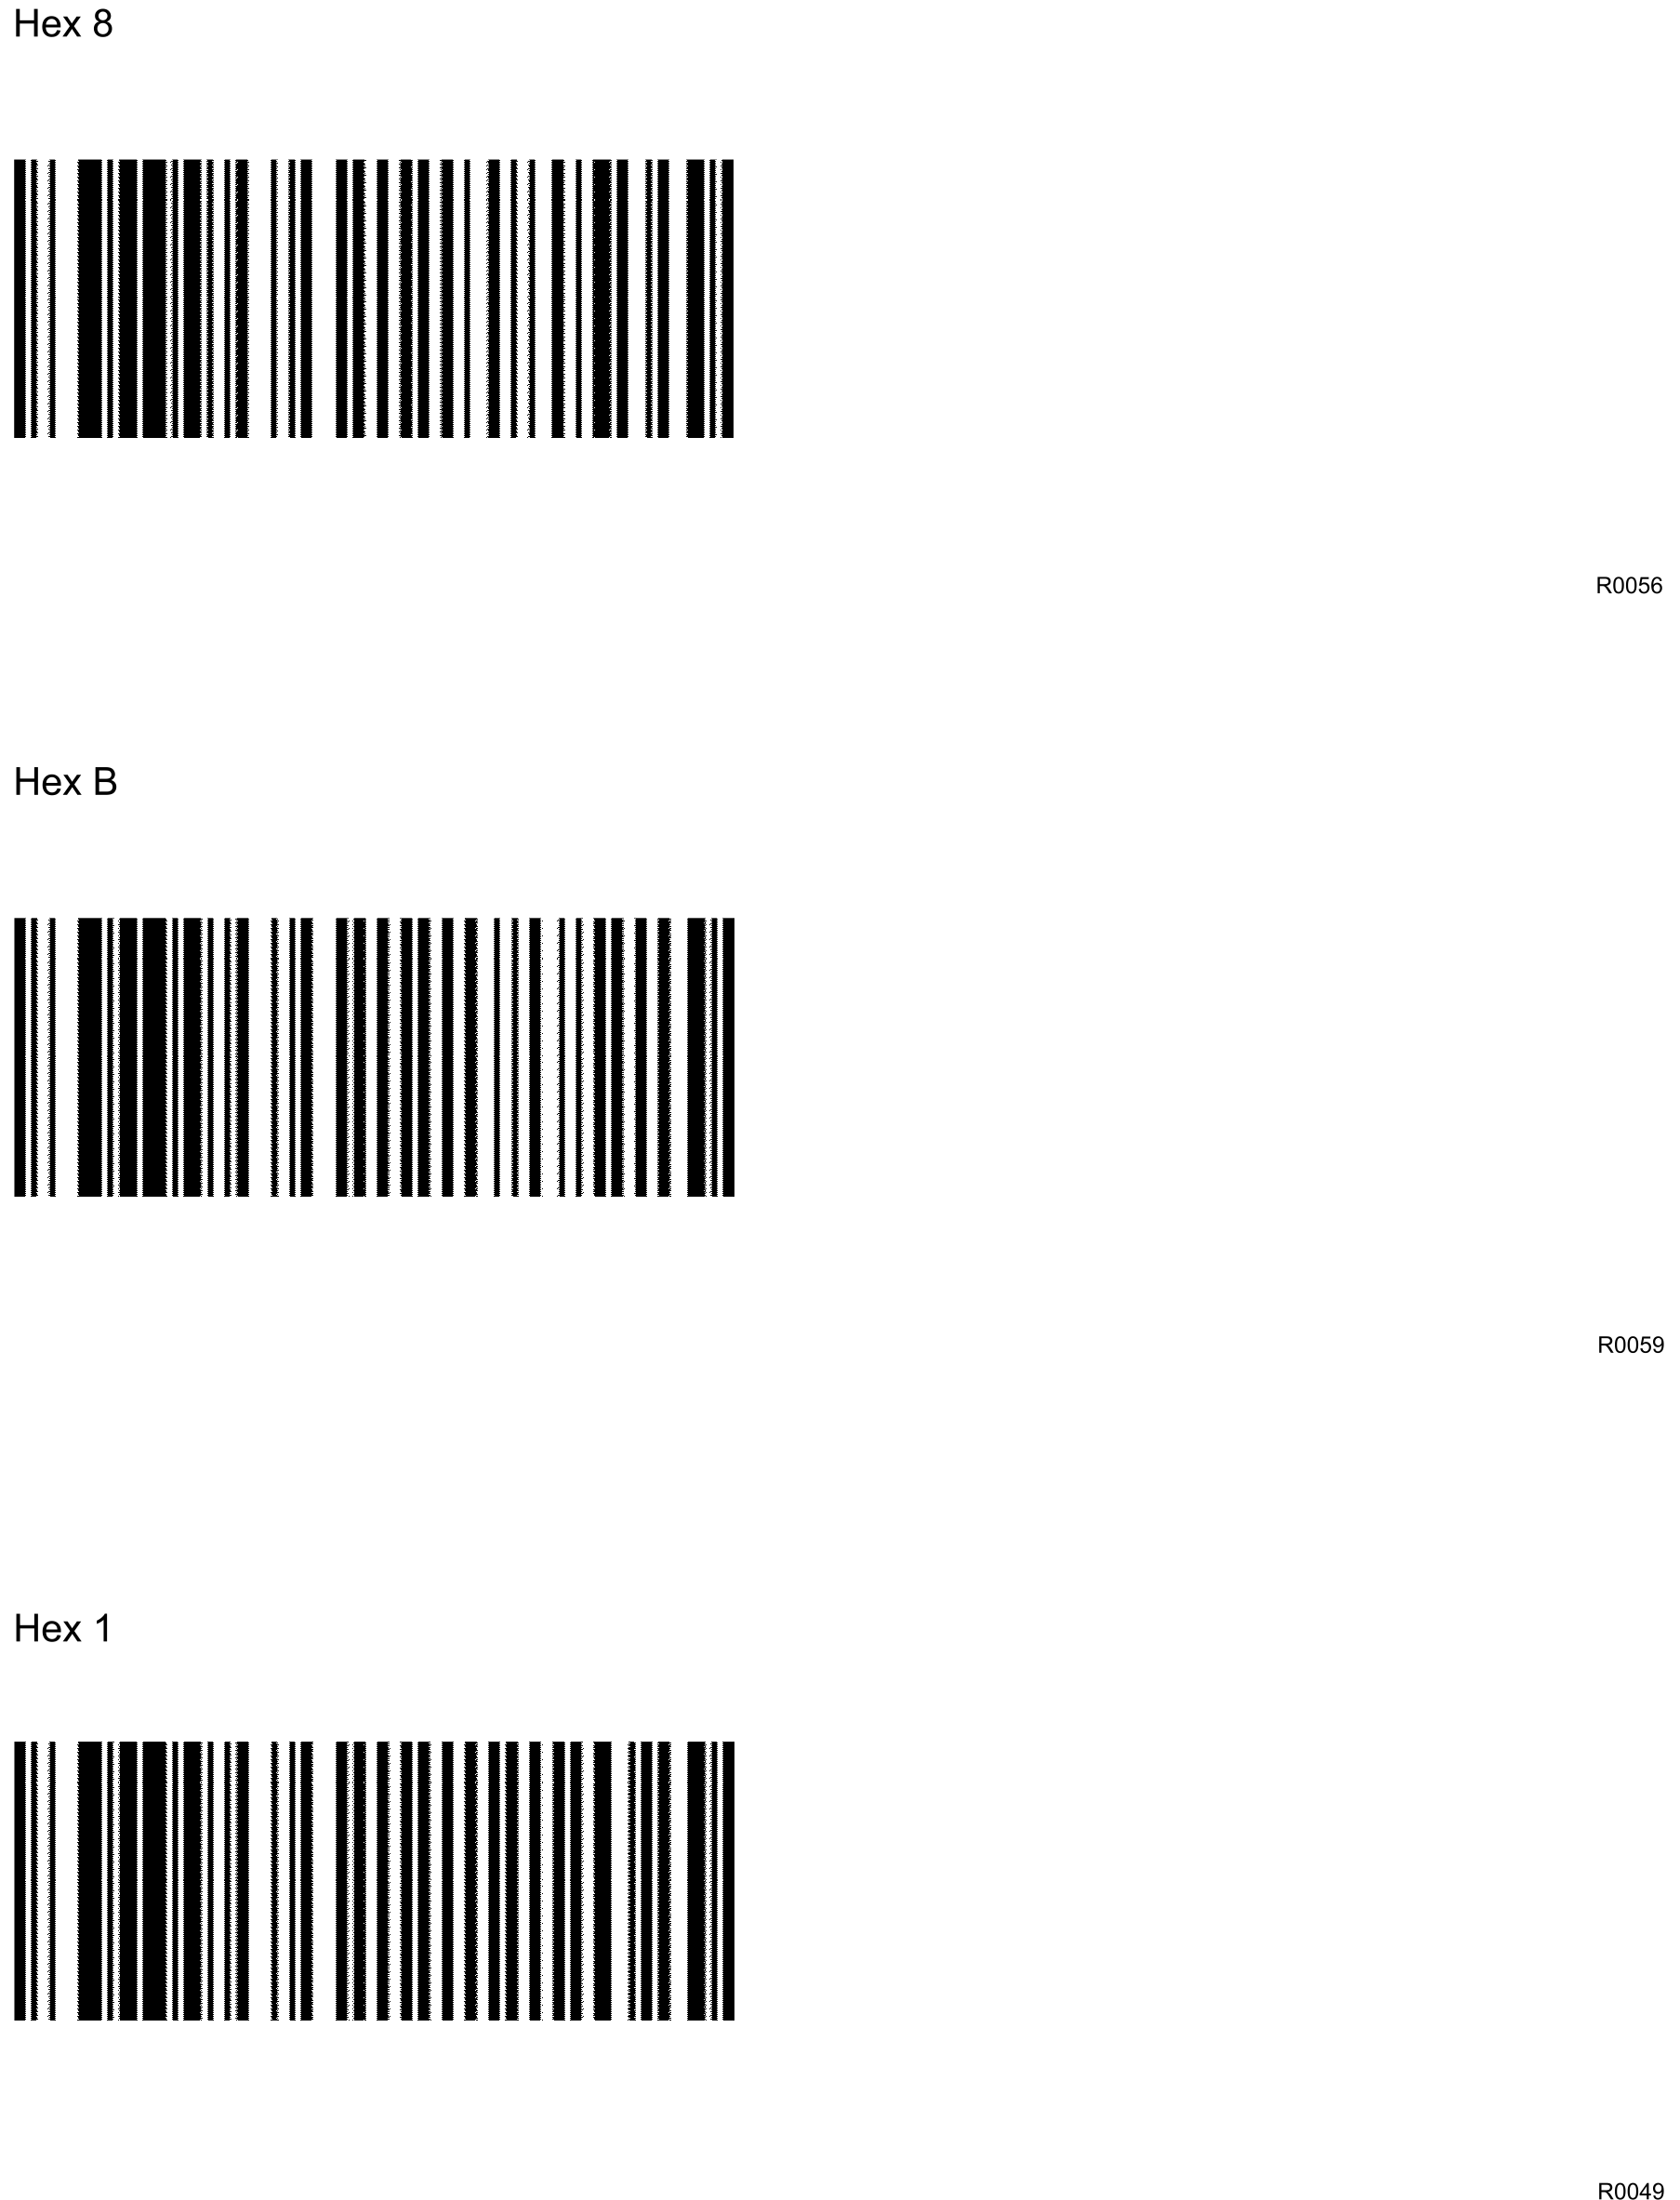
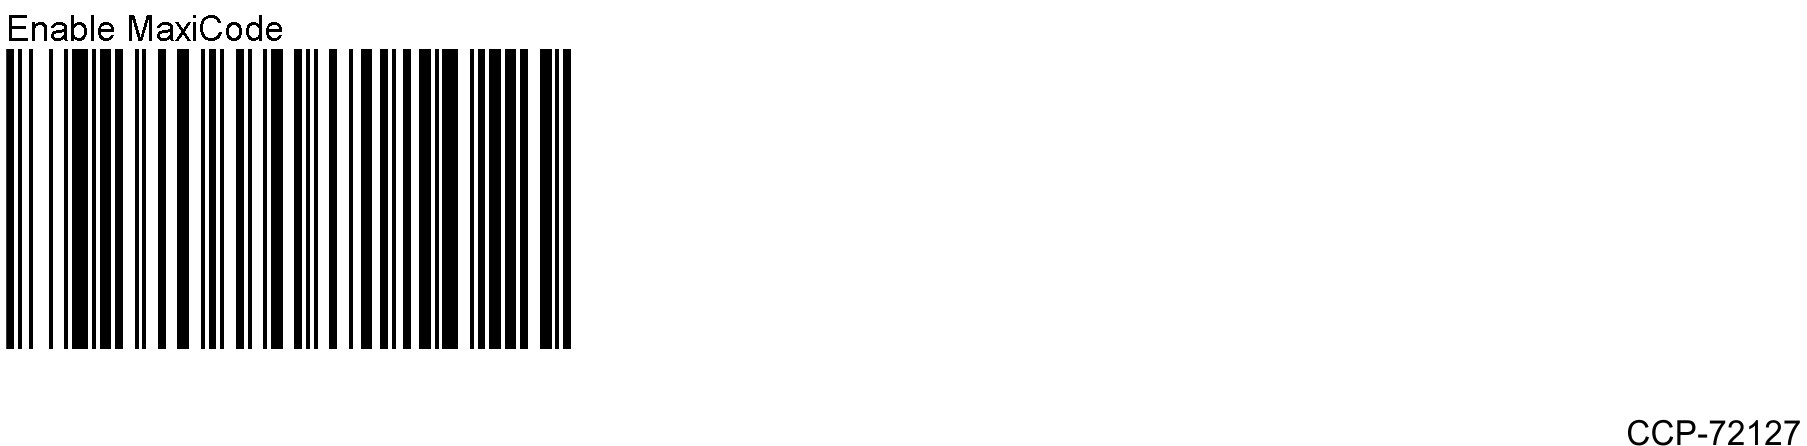
To enable other symbologies, you need to scan the corresponding bar codes in the following pages. Take note of the following reminders when scanning the bar codes.
• Scan the bar codes to the VERTICAL window of the 7878 so that the Imager can see and read them.
•You might need to print and fold these pages in such a way that only one bar code shows per page.
•You do not need to scan all these bar codes, scan the only ones you need.
•There is NO audible feedback (beep) when the Imager reads the bar code, so hold the programming bar code in front of the 7878 window for a couple of seconds.
•The Imager flickers when it successfully reads an Enable symbology bar code.
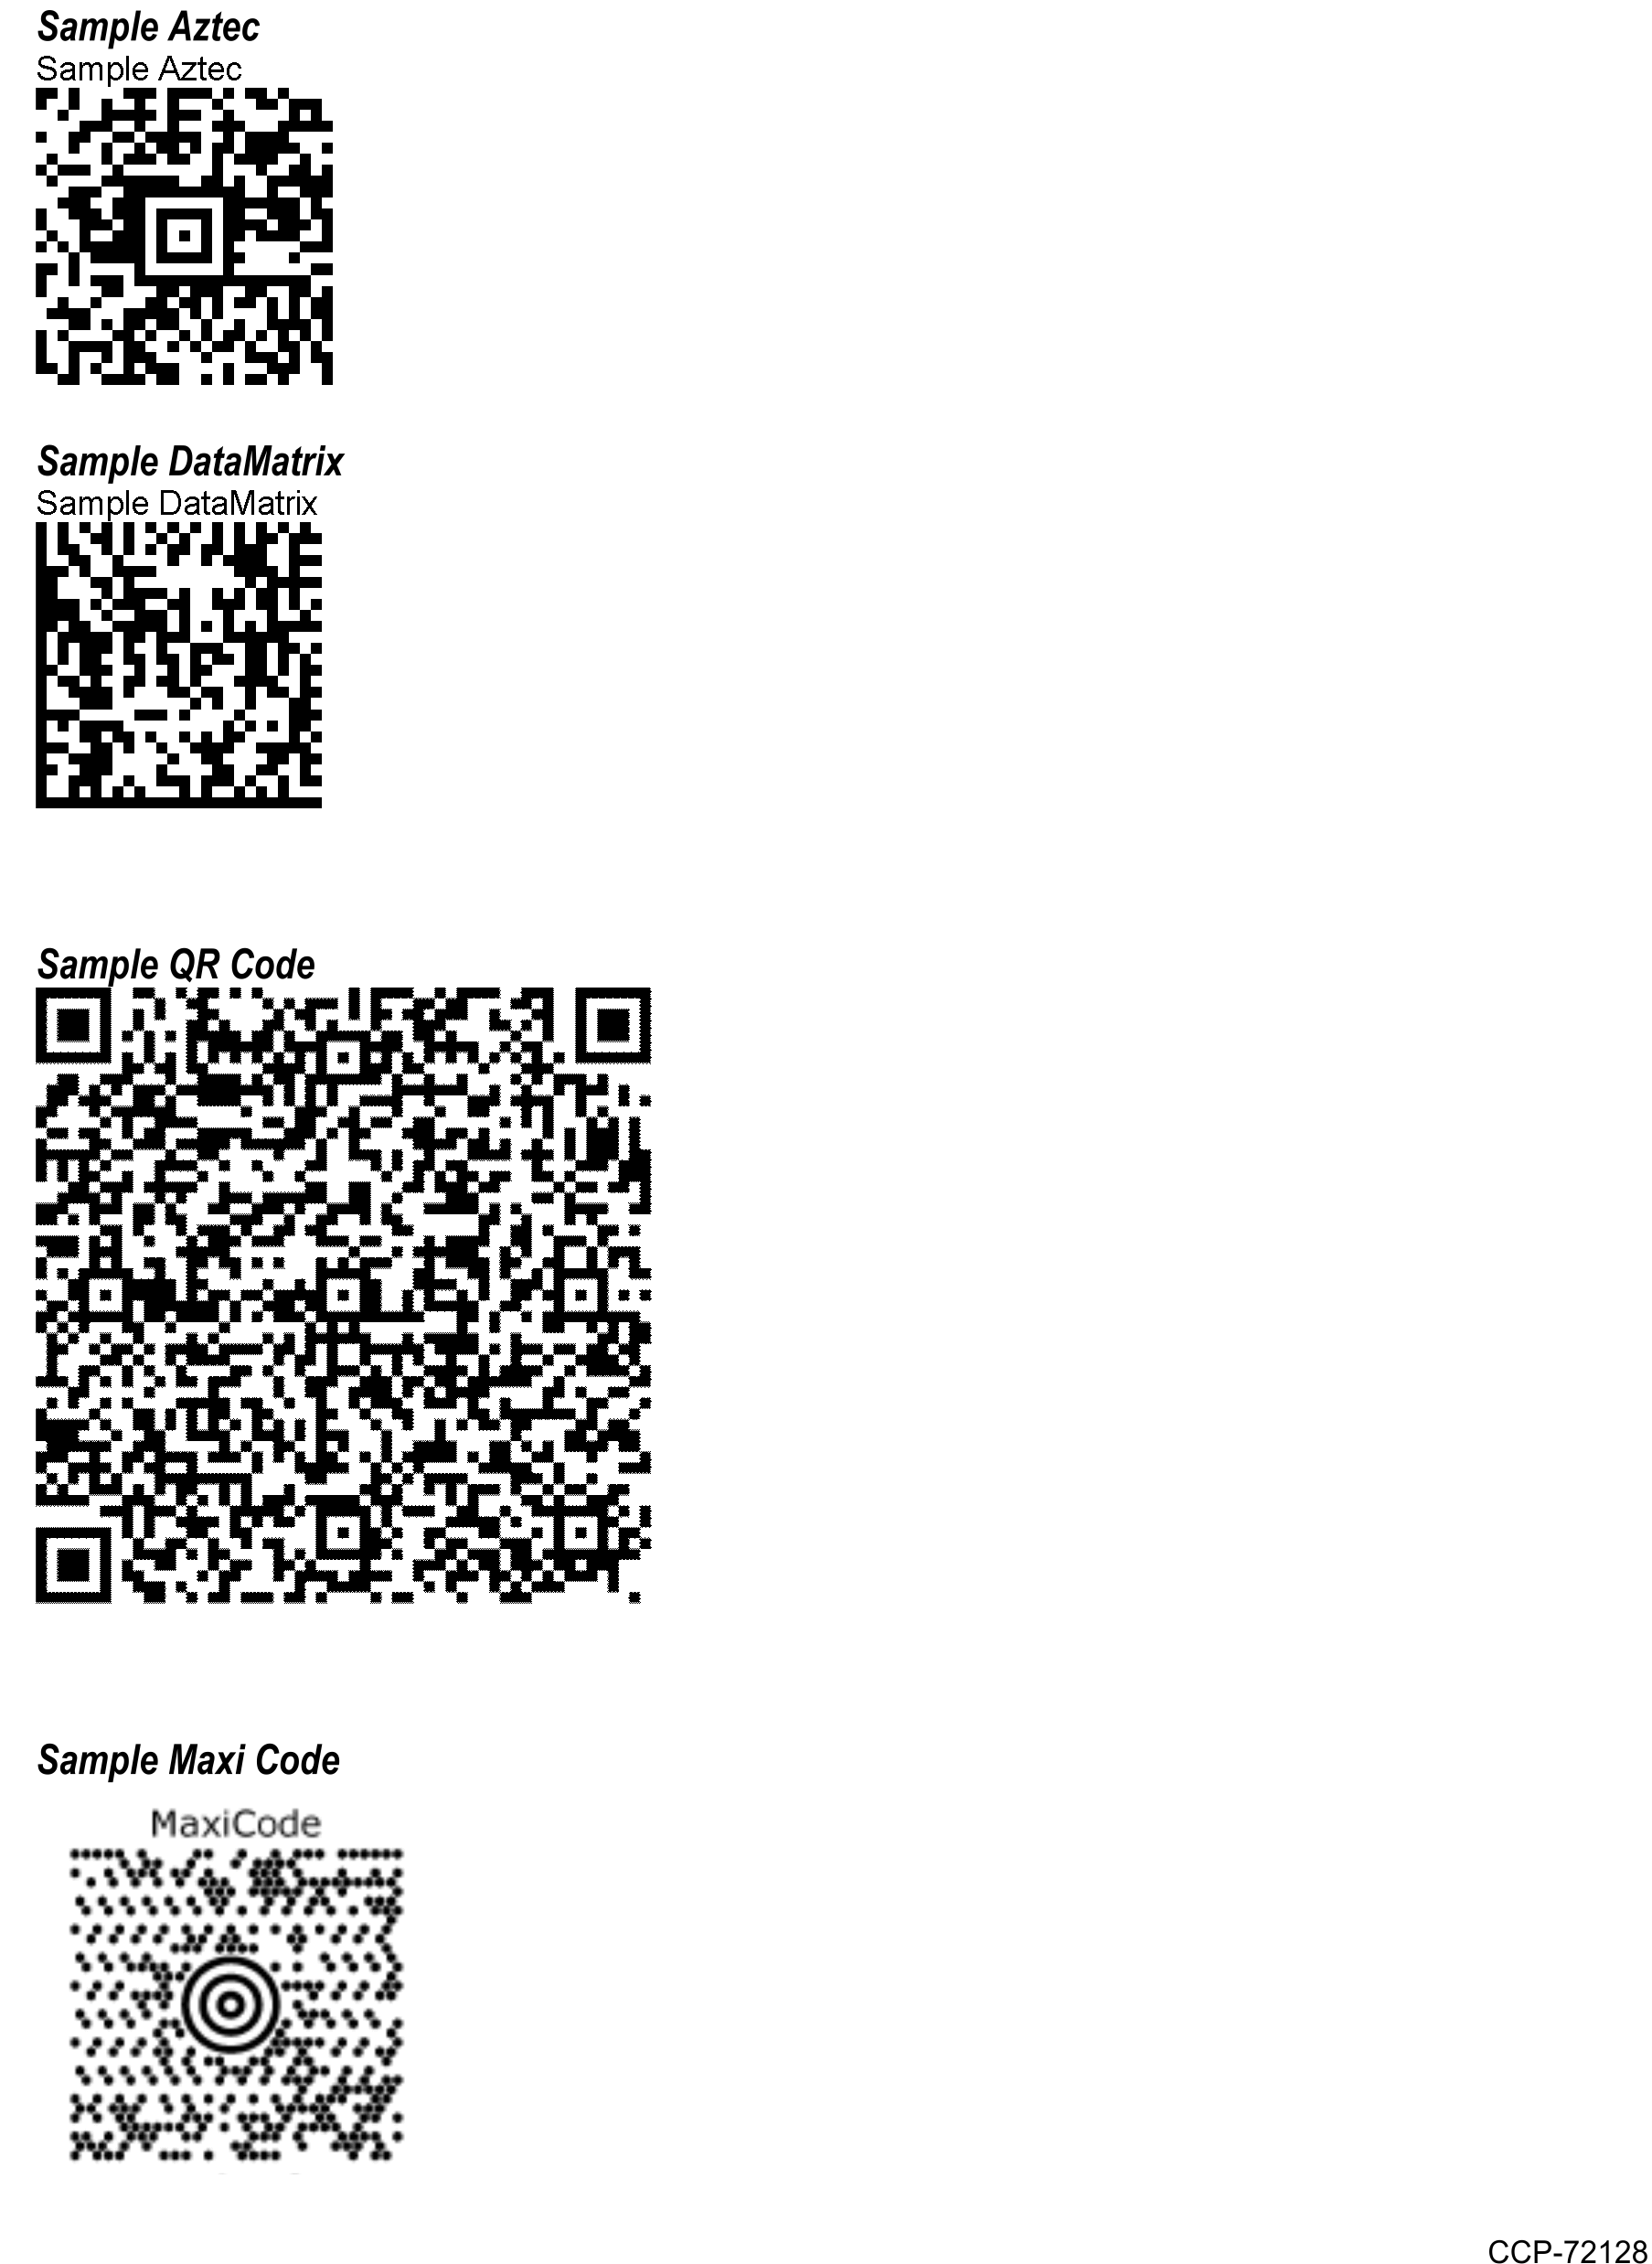
•To check if the symbologies are successfully read, scan the sample bar codes found in the section “Sample 2D Symbologies”.
Note: For advanced configurations, see NCR 7878‐K150/F150 Imaging Module User Guide (B005‐0000‐2166) on https://info.ncr.com/POSGen.
Enable other Bar Code Symbologies
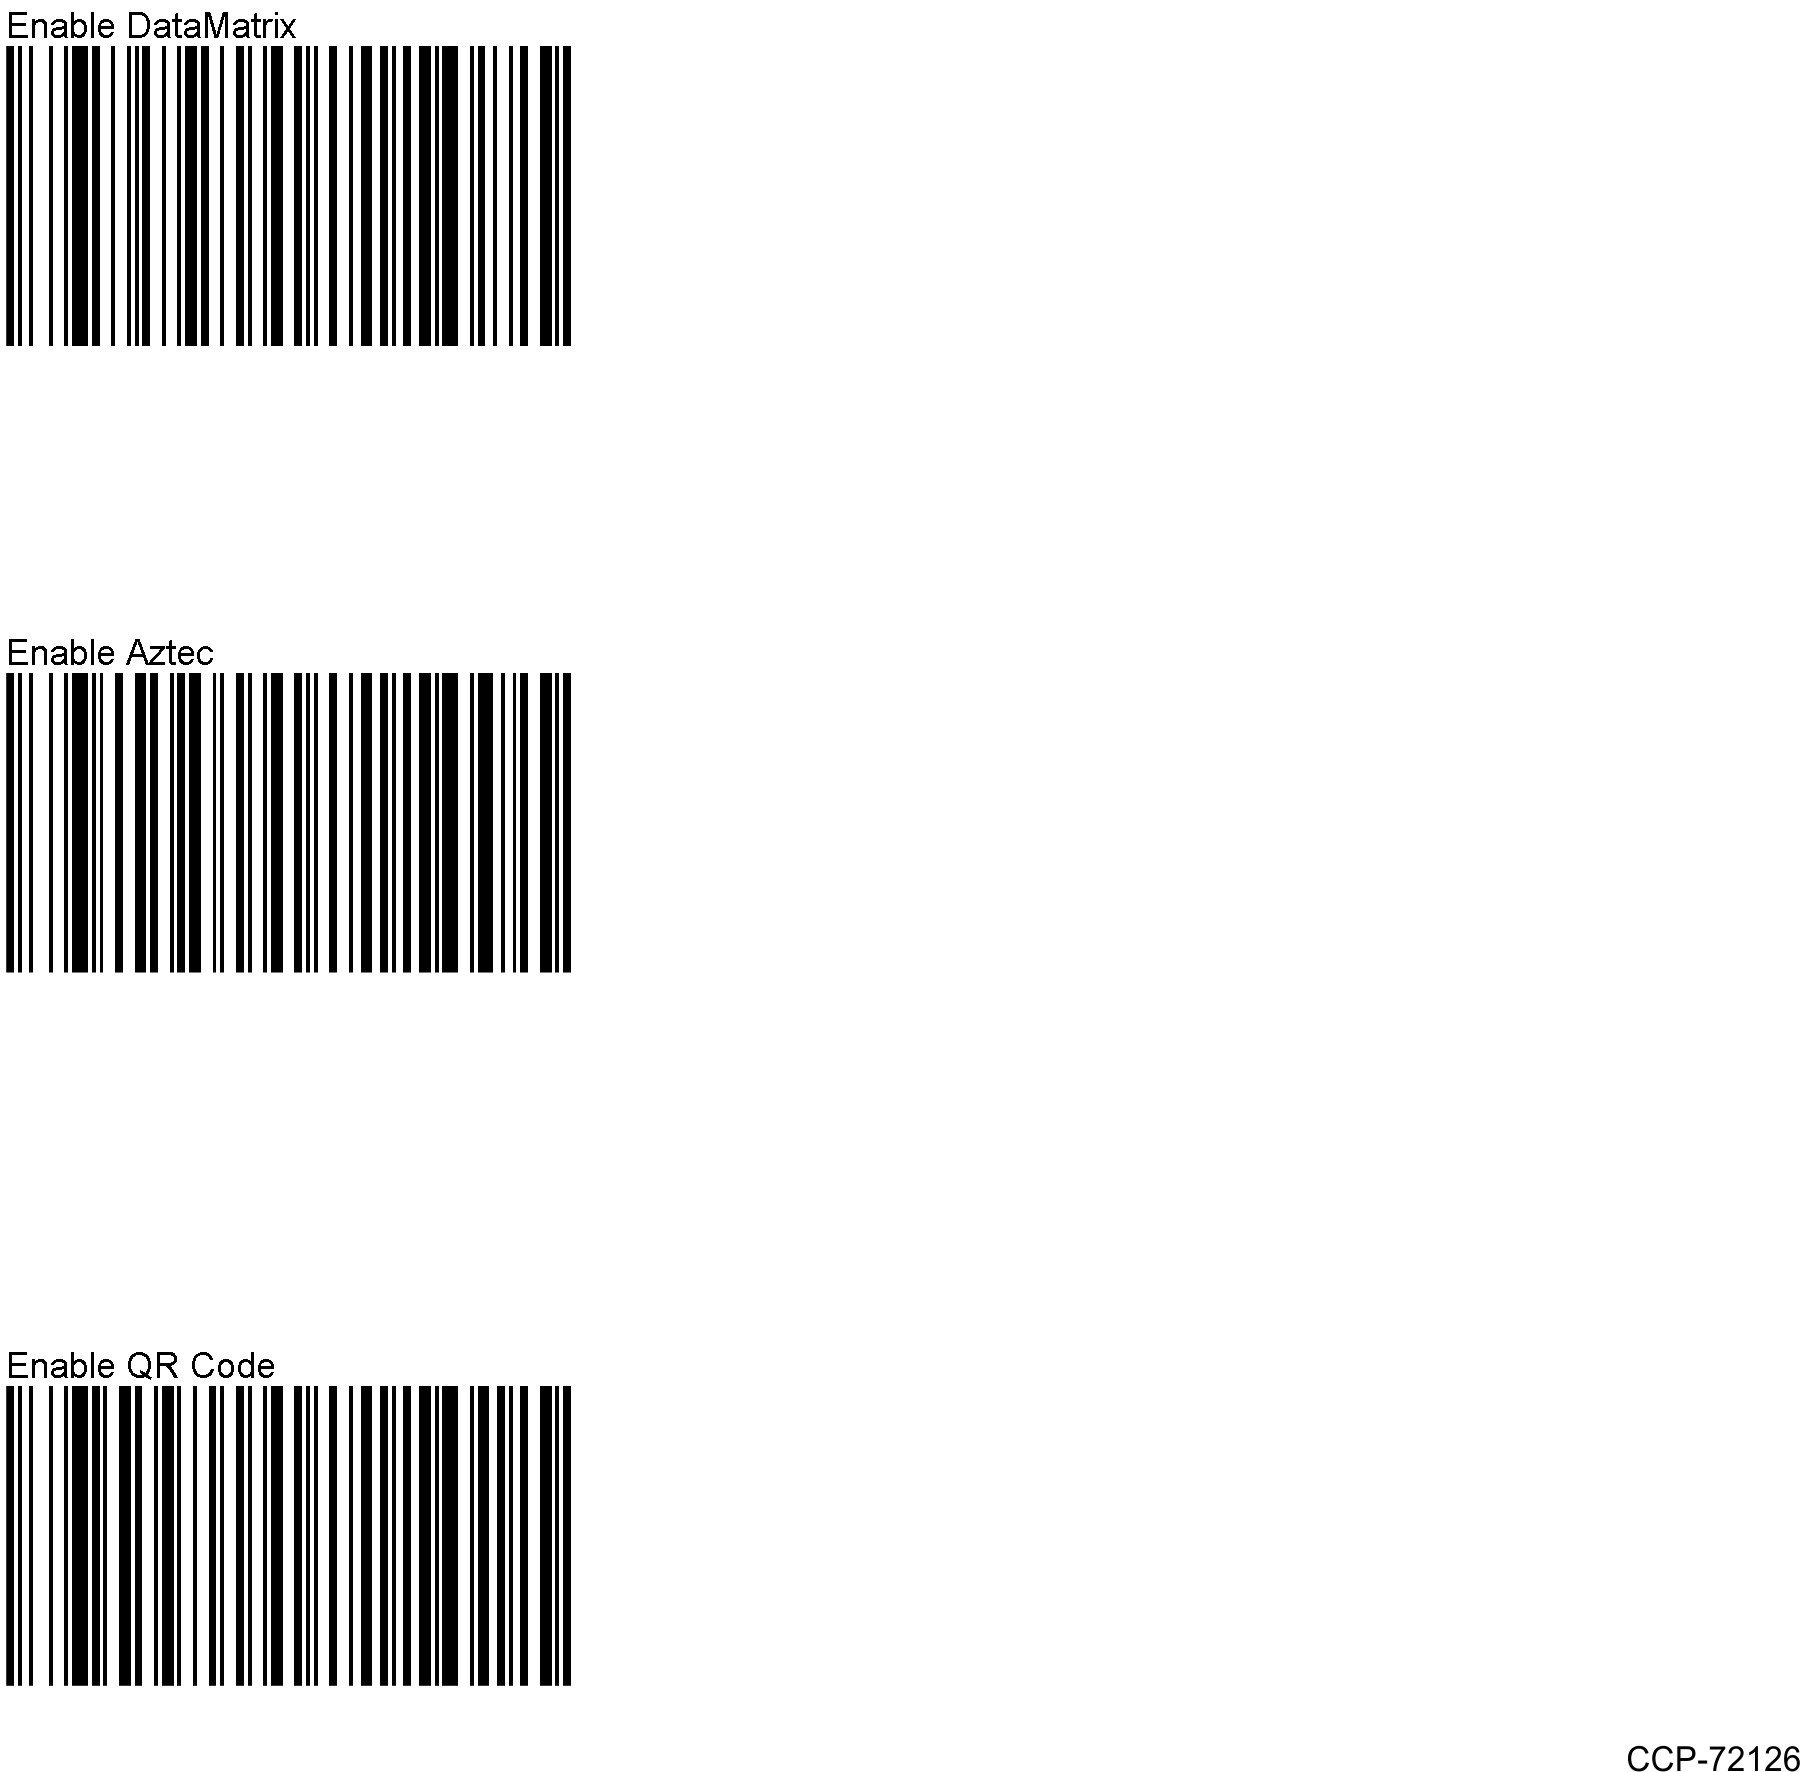
Note: This bar code also enables MicroQR.
Sample 2D Bar Codes