Uploading the scanner EEPROM data and viewing the settings
Note
Before performing this procedure, it is recommended to install the NCR RealScan Flash application. For more information, refer to NCR RealScan Flash.
This feature automatically uploads and displays on the NCR RealScan Configuration application the current settings and data present in the scanner EEPROM (for example, Enabled bar codes and Disabled bar codes).
To upload and view current settings of the scanner EEPROM, follow these steps:
- Verify that the scanner is powered ON and is connected to the host PC through RS–232, IBM–USB, NCR-USB, or other communication type available.Note
For more information, refer to the scanner user guide at https://onlinehelp.ncrvoyix.com.
- Do any of the following:
- From the Feature Level window toolbar, select the Upload scanner’s EEPROM data and view settings automatically icon. For more information, refer to Application Components.
- From the menu bar, select Tools > Upload scanner’s EEPROM data and view settings automatically.
- On the keyboard, press F7.
The following process occurs:
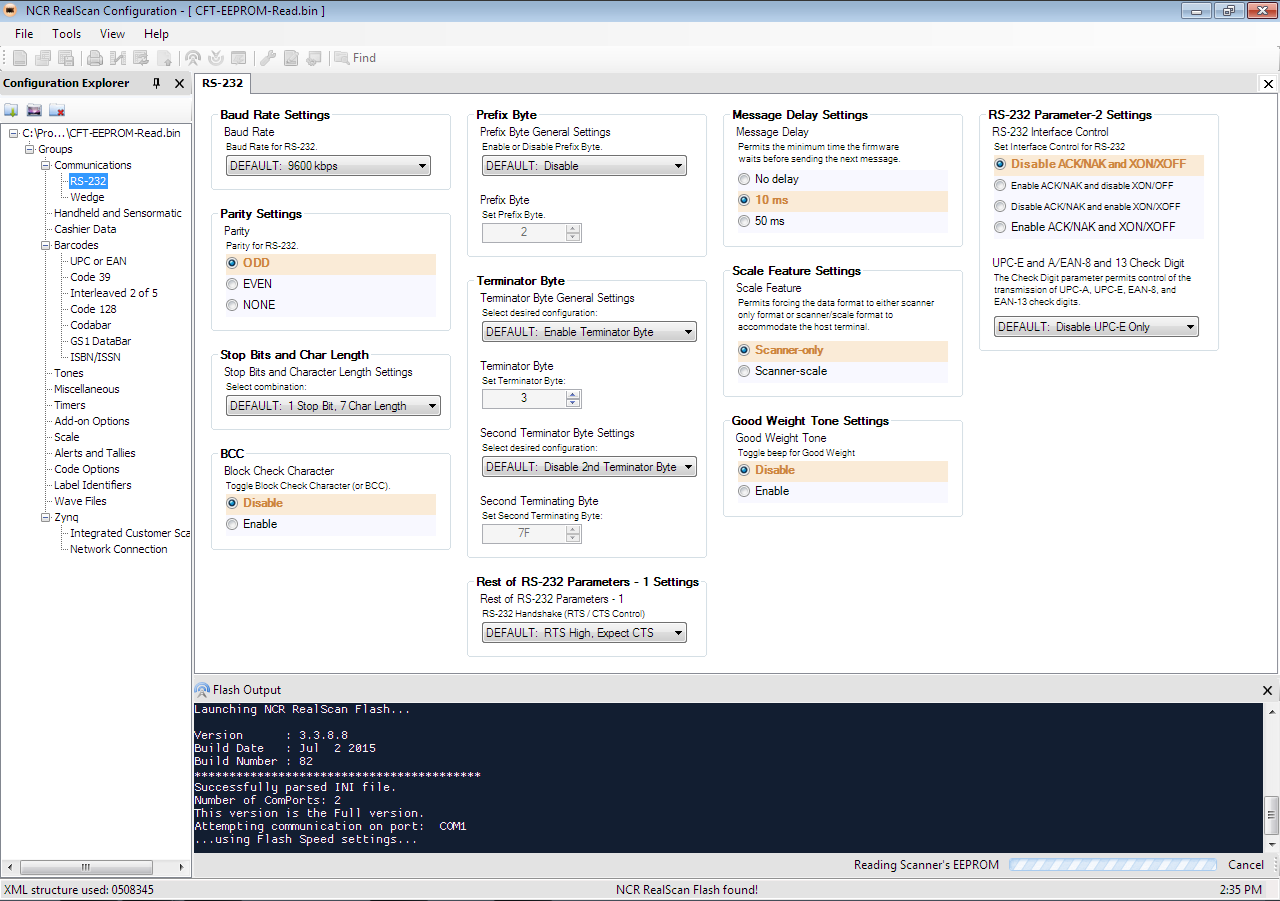
- The application automatically saves the current and other hidden settings into a temporary CFT-EEPROM-Read.bin file and directly loads the file into the application. The application displays the following window.
 Note
NoteIf the NCR RealScan Flash application is not installed in the system, the application displays a message stating that the NCR RealScan Flash needs to be installed.
- After the application successfully loads and displays the file, it deletes the temporary file CFT-EEPROM-Read.bin from the default directory of the NCR RealScan Flash application.
- For Windows 7, C:\ProgramData\NCR\NCRRealScan\Flash
- For Windows XP, C:\Documents and Settings\All Users\Application Data\NCR\NCRRealScan\Flash
