Installing the Scanner Wizard
To install the Scanner Wizard, follow these steps:
- Run the NCR RealScan Tool Suite installer.
- If running through the explorer, double–click the file named NCRRealScanToolSuiteWindowSetup.exe.
- If running through the console, enter NCRRealScanToolSuiteWindowSetup.exe [-noedgeport] in the command prompt.
NoteThe parameter -noedgeport excludes Edgeport driver installation. To include Edgeport driver installation, remove [-noedgeport] from the command line.
The application displays the NCR RealScan Tool Suite Setup window and prompts the user to enter the product key.
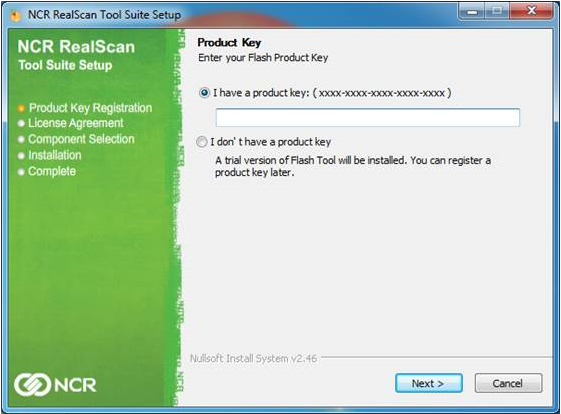
- Do any of the following:
- To register the product key, select I have a product key, enter the product key in the text field, and then select Next.
- To use the trial version or to register the product key later, select I don’t have a product key, then select Next.
The application displays the License Agreement.
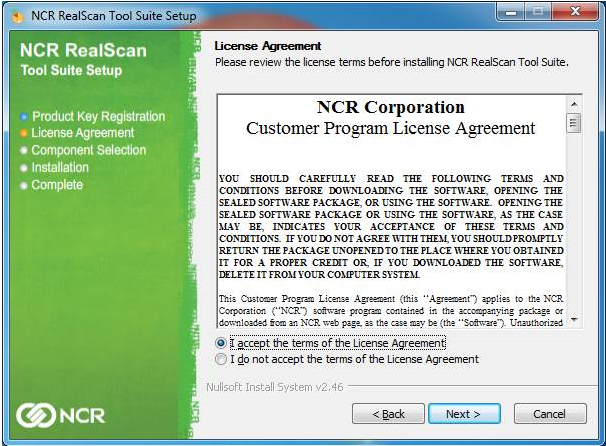
- Select I accept the terms of the License Agreement, and then select Next. The application prompts the user to select features to install.

- To select the features, do one of the following:
- To install the NCR RealScan Flash only, select Default, and then select Install.
- To install other features, select Custom, select the features, and then select Install.
The application starts the installation process.
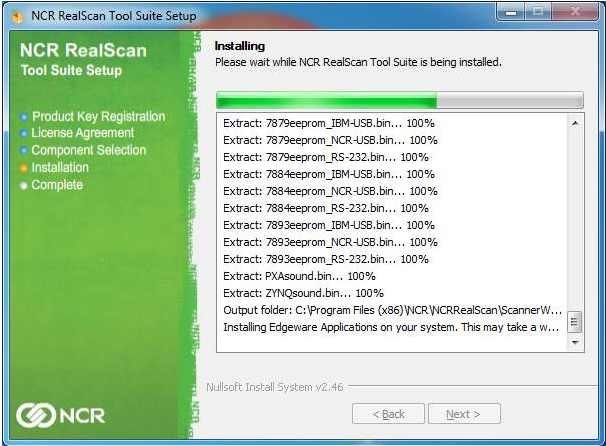
When the process is complete, select Finish. The application closes the NCR RealScan Tool Suite Setup window and adds a shortcut icon on the desktop.
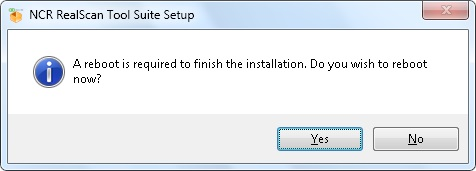
NoteIf the Edgeport driver installation option is included, the application prompts the user to reboot after installation. To reboot the computer, select Yes.