Managing Authorizations Using Windows Authorization Manager
The following sections discuss how to manage authorizations for users in Active Directory (AD).
Note
Authorization Manager (AzMan) has been deprecated as part of the AD security solution for Advanced Store. This section is provided for reference purposes only.
Creating the authorization policy store
To create the authorization policy store, follow these steps:
- Select Start > Windows System > Run. The application displays the Run dialog box.
- Enter azman.msc in the Open field, and select OK. The application displays the Authorization Manager window.
- Select the Authorization Manager node.
- From the Action menu, select Options. The application displays the Options window.
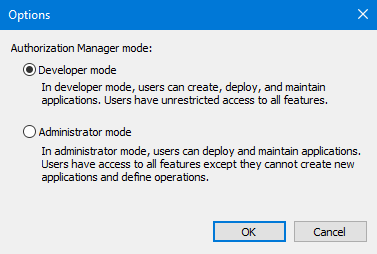
- Select Developer mode, and select OK. The application closes the Options window.
- From the Action menu, select New Authorization Store. The application displays the New Authorization Store window.

- Select the following options:
- Active Directory or Active Directory Application Mode (ADAM)
- Schema version 1.0
- In the Store name field, enter the name of the AD authorization store and the domain name, using the following format.Example
CN=AzManStoreAD,CN=Program Data, DC=weboffice,DC=local
NoteMake a note of the Store name, which will be used when configuring the web.config file during EOM and ETS installation.
- Select OK. The following screen is displayed.
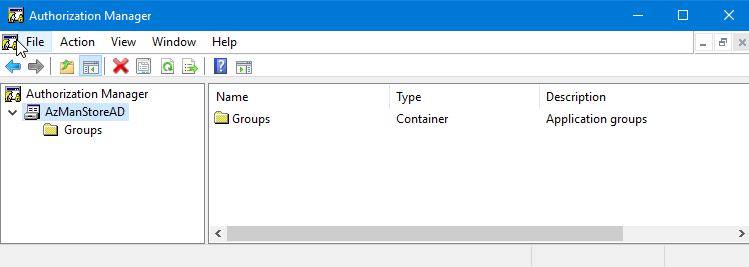
- Right-click AzManStoreAD, and then select Properties. The application displays the AzManStoreAD Properties window.
- Select the Security tab.
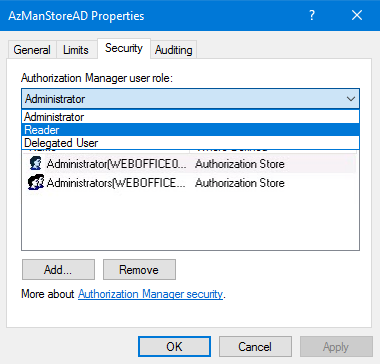
- On the Security tab, select Reader from the Authorization Manager user role drop-down list.
- Select Add and then search for the account the ASP.NET uses, for example NETWORK.
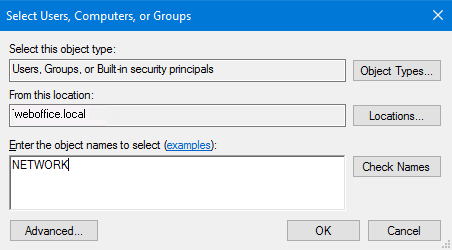
- Select OK.
- Close the AzManStoreAD Properties window.
- In the Authorization Manger window, right-click AzManStoreAD, and then select New Application. The following window is displayed.
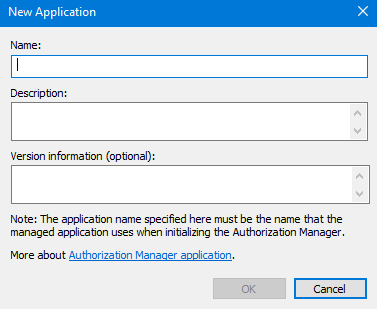
- Enter an application name in the Name field (for example ADAzManApp), and then select OK. The process is now complete.