Accepting Charity Donations
The POS application accepts donations to the customer’s chosen charity during a sales transaction. The charity donation is considered as a non-taxable item and is added in the receipt along with other items.
Configurable features
The POS application can be configured with the following features.
- Enable the charity donations feature.
- Specify a time frame to display a charity donation confirmation message.
- Predefine a donation amount on the Charity Donation screen.
For more information, refer to Charity Donation.
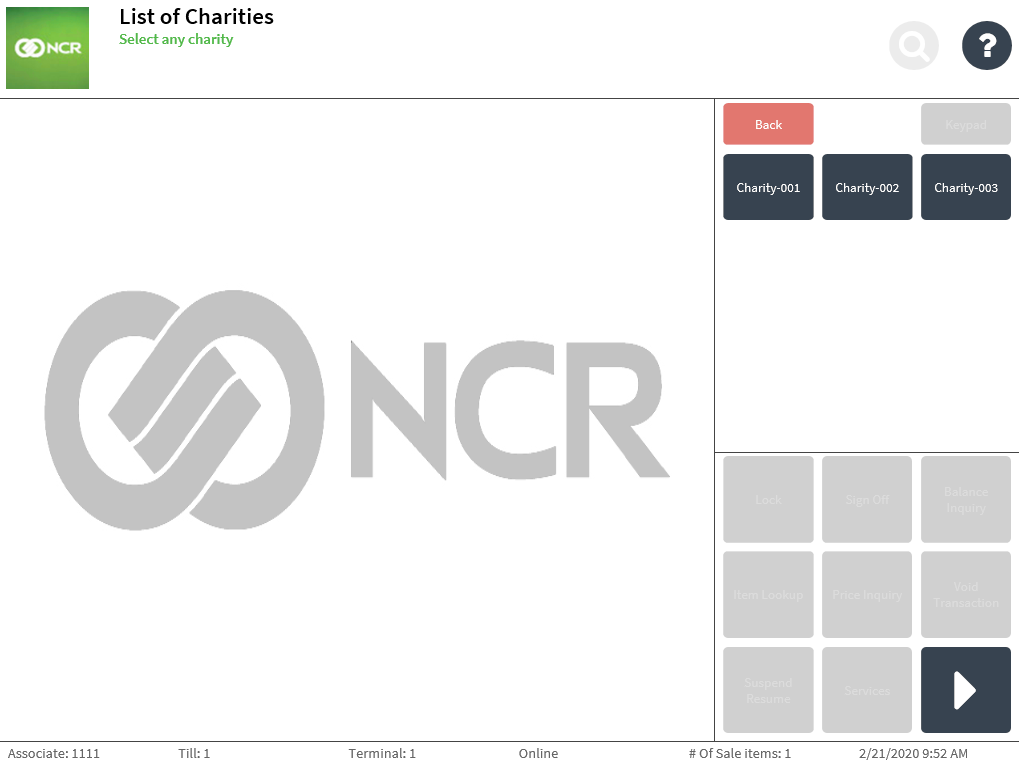
- Specify a list of charities on the List of Charities screen. The buttons can be configured to display the name of the charities.
For more information, refer to Charities List.
To accept charity donations, follow these steps:
- Perform a sales transaction. For more information, refer to Making a sale.
- After scanning or keying in an item, select Pay. The application displays the List of Charities screen.
 Note
NoteIf a transaction occurs outside the configured time frame for the charity donations function, the POS application will not display this screen and will proceed to the Tender Menu screen.
- Select a charity. The application displays the Charity Donation screen.
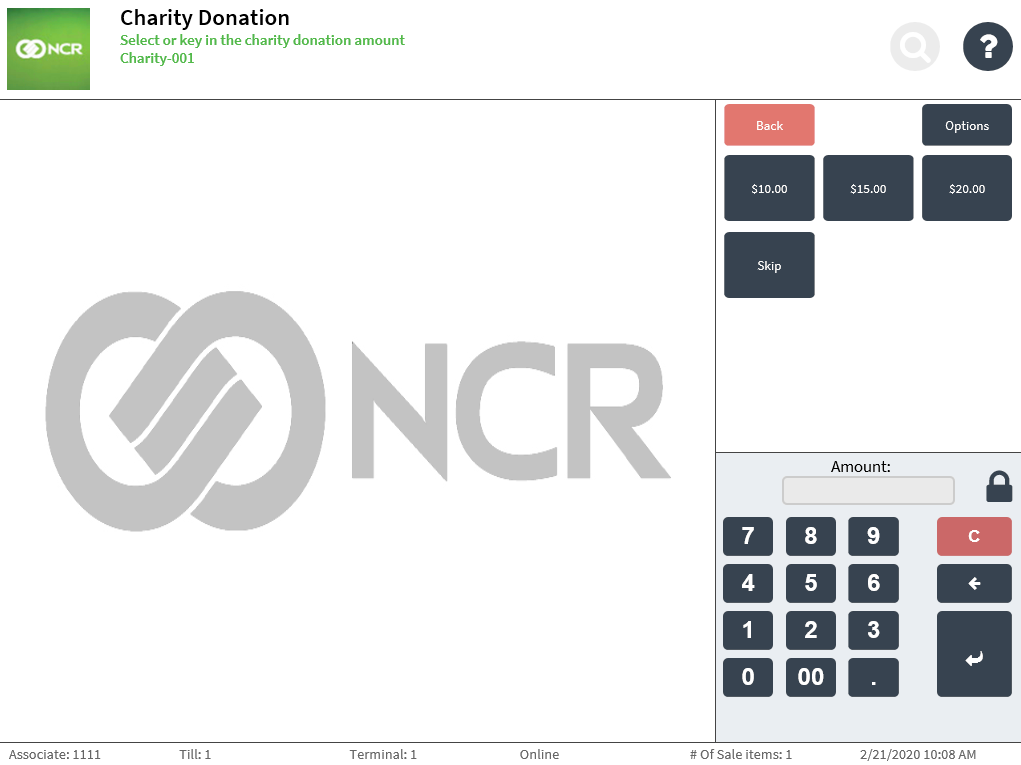
- Do one of the following:
- Select a suggested donation amount from the list.
- Enter the amount on the keypad, and then select Enter.
The application displays the Tender Menu screen.
- Complete the transaction. The application prints the receipts.
- Close the cash drawer.
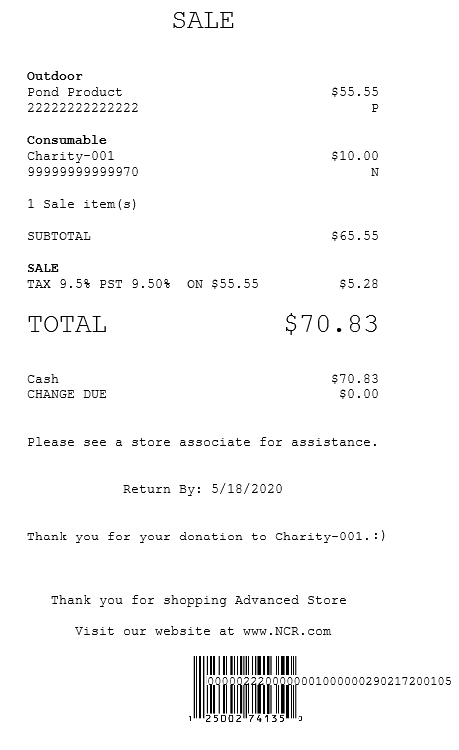
Sales receipt with charity donation