Adding related items
This section describes how related items are added to a transaction:
- Adding coordinate items—the POS displays available items in a coordinate group when one of the items in the group is sold. For example, the POS displays matching silverware pieces like forks and knives when the customer purchases a set of spoons. The customer has the option to purchase only one of the items or the entire set.
- Adding add-on items—the POS displays add-on items associated with the sold item in a transaction. For example, the POS displays different warranties or lens types as add-on items when a customer purchases a camera. The customer has the option to purchase the add-on items.
- Adding linked items—the POS displays linked items sold along with the original item in a transaction. For example, the POS can automatically add a bottle deposit fee when a customer purchases bottled carbonated beverages. The customer pays for the items linked to the original item.
Adding coordinate items
The Coordinate Items feature suggests related items that match a purchase. Coordinate items have a code configured in the Product Catalog that links related items together. Scanning an item that belongs to a coordinate item group displays a list of other available items from that coordinate item group.
To suggest and sell coordinate items to customers, follow these steps:
- Scan or enter the item code on the keypad, and then select Enter. The application displays the item with a CoordItem item description.
 Note
NoteThe POS only displays the CoordItem item description for items that belong to a coordinate item group in the system.
- Select the coordinate item. The application displays the item-related options.
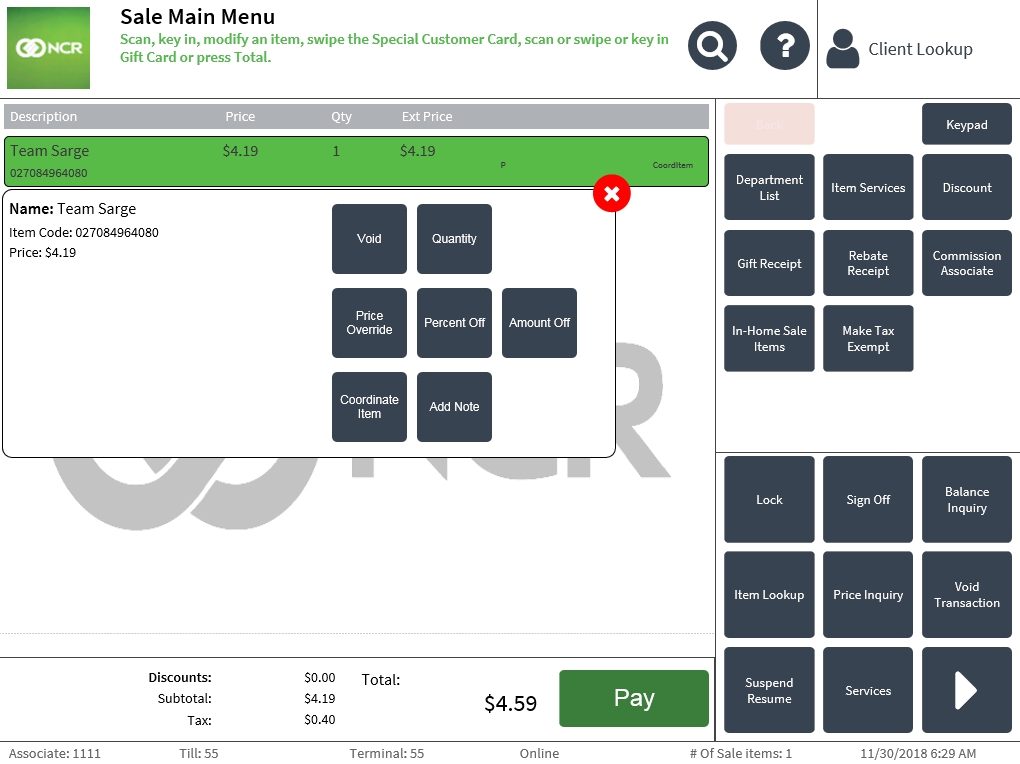
- Select Coordinate Item. The Coordinate Items screen displays a list of coordinate items. Note
The list of available coordinate items displays only when the item entered or scanned has a coordinate item code in the system.
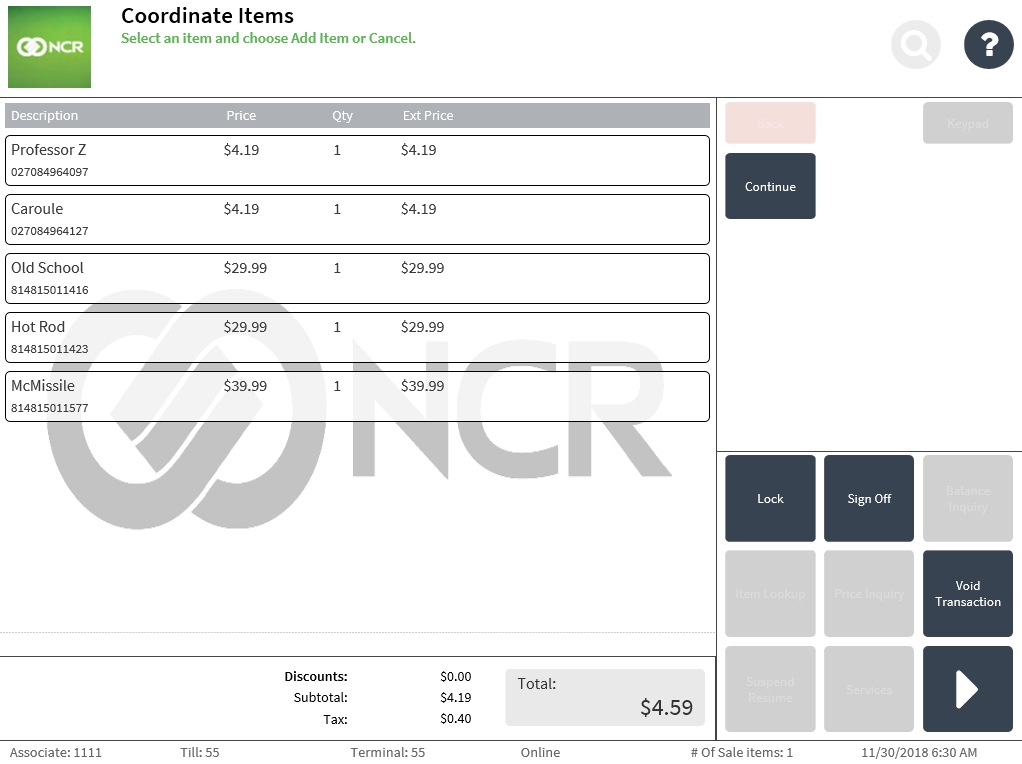
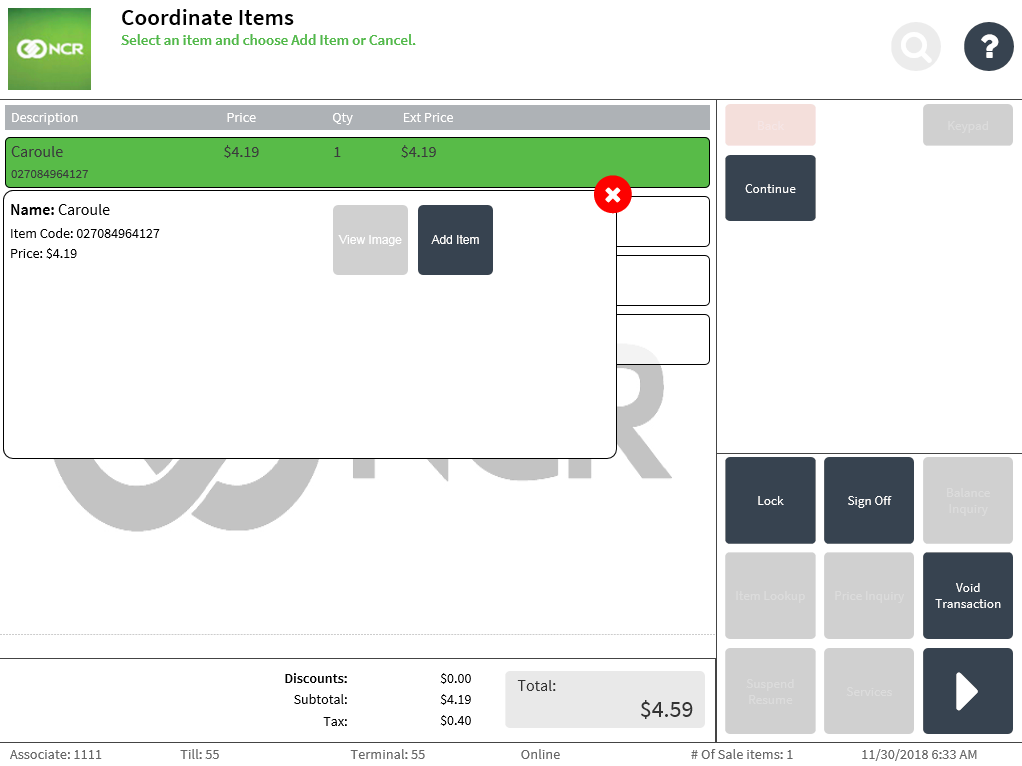
- Select the coordinate item to add to the transaction. The application displays the item-related options.
 Note
NoteTo view the image of the coordinate item, select View Image. If the coordinate item has no image available, the View Image button is disabled.
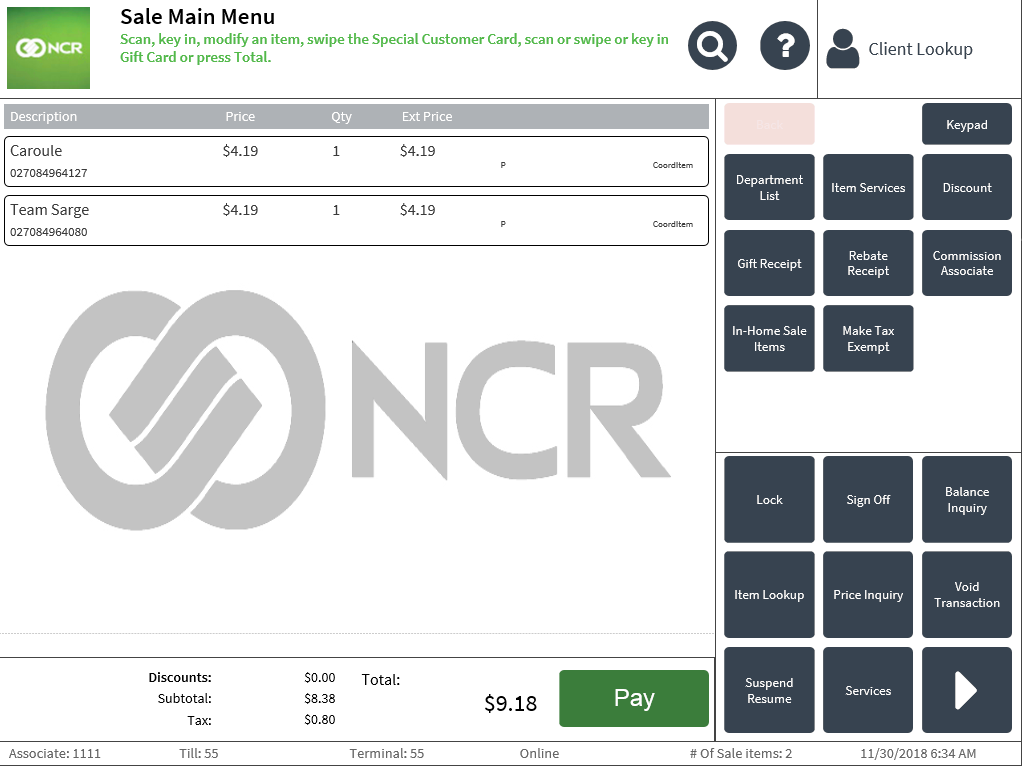
- Select Add Item. The application displays the selected coordinate item to the Sale Main Menu screen.
 Note
NoteTo purchase more than one coordinate item, select and add each item separately.
- Complete the transaction.
Adding add-on items
An add-on item is an item grouped together with other items in the item database. Retailers can use the Add-On Items feature when they want the POS to link items together in one transaction but offer the customers an option to choose which add-on items they want to include in the transaction.
To suggest and sell add-on items to customers, follow these steps:
- Scan or type the item code and then select Enter. The application displays the Add On Items screen.
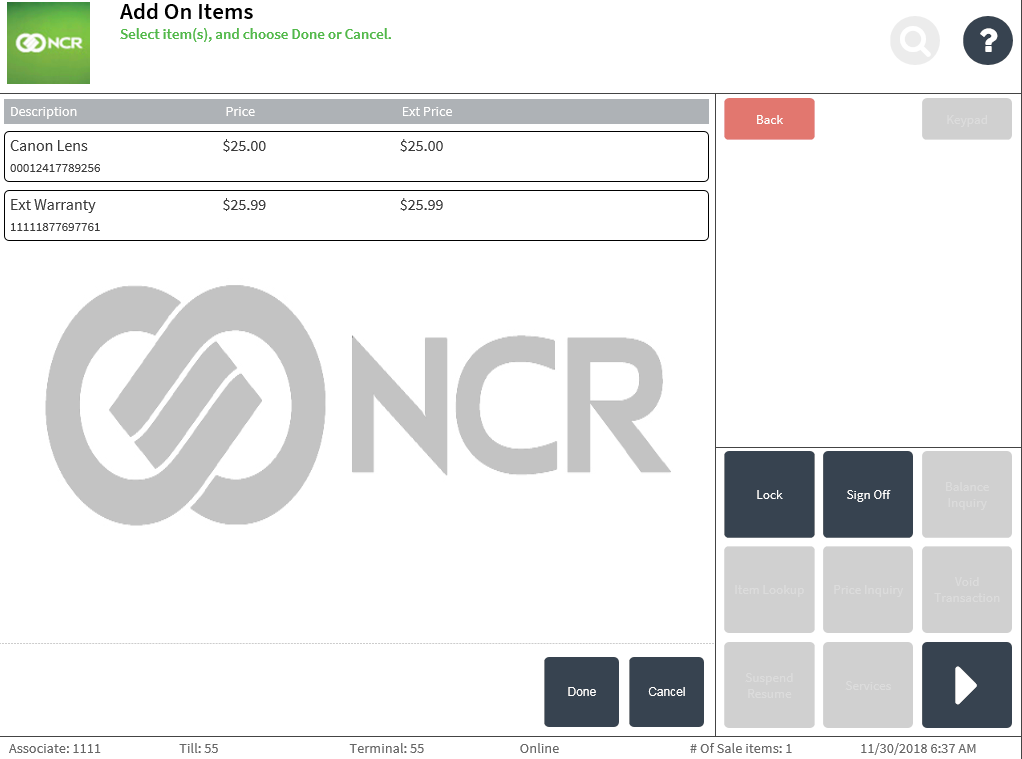
- Select the add-on item to be added to the transaction.
- Select Done. The application displays the Sale Main Menu with the original item and the add-on items.
 Note
NoteThe AddOn description only displays for items that belong to an add-on group in the system.
- Complete the transaction.
Adding linked items
A linked item is an item or items that are required to be purchased along with the original item. The POS automatically adds linked items to the transaction when a base item is sold. Items can be linked to each other in the product catalog at the enterprise level, store level, or by geographical region. An example of a linked item is an bottle deposit fee.
Linked items are sold or returned together. If a linked item is marked as non-returnable, it will not be added to the return when the base item is scanned or entered.
Linked items cannot be voided individually. When a base item is voided, the POS removes all the linked items belonging to the base item.
Retailers can configure linked items using the Products API. For more information, refer to Adding Product Features. Only one item can be linked to a base item. If the base item requires multiple linked items, link the second item to the base item, the third item to the second item, and so on. For example, if a mobile phone is the base item, link the phone charger to the mobile phone and the headphones to the charger.
To sell linked items, follow these steps:
- Scan or type the item code, and then select Enter. The application displays the scanned item and all linked items.
 Note
NoteThe Void button for the linked item is grayed out.
- Complete the transaction.