Linking menus to an Active Directory group
This section describes linking menus to an Active Directory group.
To link menus to an Active Directory group, follow these steps:
- From the expanded Authorization Policy Store (AzManStoreAD) node, right-click the Role Assignments node and then select New Role Assignment. The following screen is displayed.
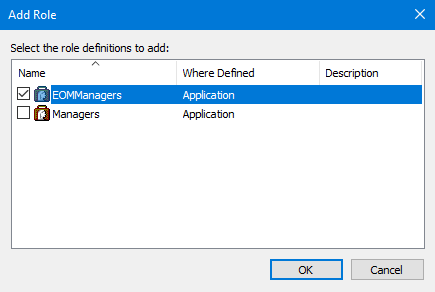
- Select the role to be configured, and select OK.
- From the Role Assignments node, right-click the selected role, and then select Assign Users and Groups > From Windows and Active Directory. The application displays the following window.
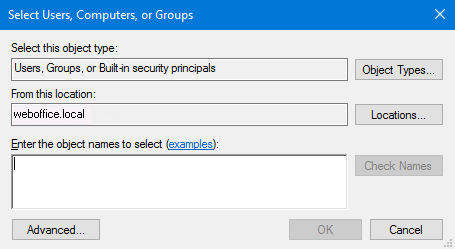
- Find the desired group or enter a group name, and select Check Names.
- Select OK to finish the process.
Active Directory groups and authorization roles
There is a link between the authorization role and the active directory groups assigned to that role. The role name (for example, EOMManagers) must match the group name.
- If the store number is being validated (that is, ValidateStore = true), then only the first portion of the group until the separator character must match. In this case, an Active Directory group of Managers_111 matches the authorization role of Managers.
- If the store number is not being validated (ValidateStore = false), then the entire group must match.Example
Active Directory group EOMManagers matches the authorization role EOMManagers.
- If the store number is being validated, only the users in the Active Directory group that matches the store number in the WebOffice options database are permitted to access the WebOffice menus. The store number is the data in the Active Directory group after the separator character.Example
A user in the Managers_111 group would only have access to the Manager tasks in store 111 but would not have access to any WebOffice tasks in store 222.