Configuring WebOffice EOM for Active Directory authentication
If using Active Directory for user authentication with Authorization Manager, configure the EOM or ETS server for compatibility with Active Directory. For more information, refer to Active Directory Concepts.
Authorization Manager (AzMan) has been deprecated as part of the AD security solution for Advanced Store. This section is provided for reference purposes only.
To configure the server for Active Directory compatibility, the following configuration files are modified.
| Server group/File name | Application/Directory |
|---|---|
| App Authorization Configuration | Configuration Management in Advanced Store - Administration Console |
| Authorization Definitions | Configuration Management in Advanced Store - Administration Console |
| web.config | %PROGRAMFILES(X86)%\NCR\WebOffice |
Editing the authorization files
To configure the server for Active Directory compatibility, follow these steps:
- From the list of applications on the server, select NCR > Administration Console. The application displays the Advanced Store - Administration Console window.
- On the System Definition panel, select Advanced Configuration.
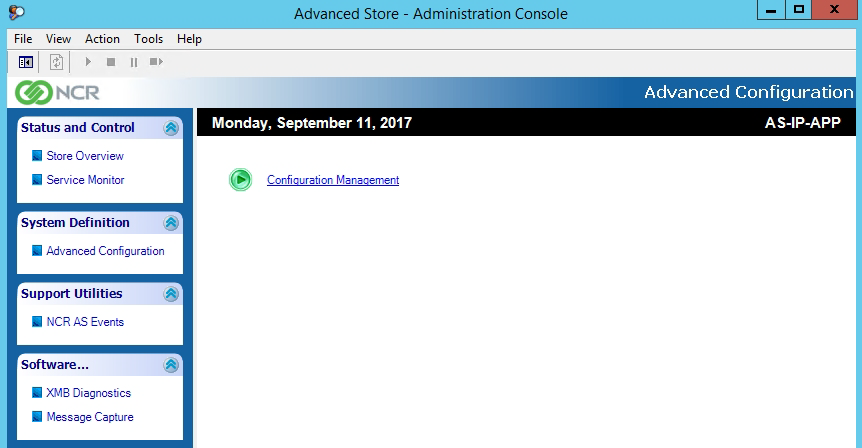
- On the right pane of the window, select Configuration Management. The application displays the Configuration Management window.
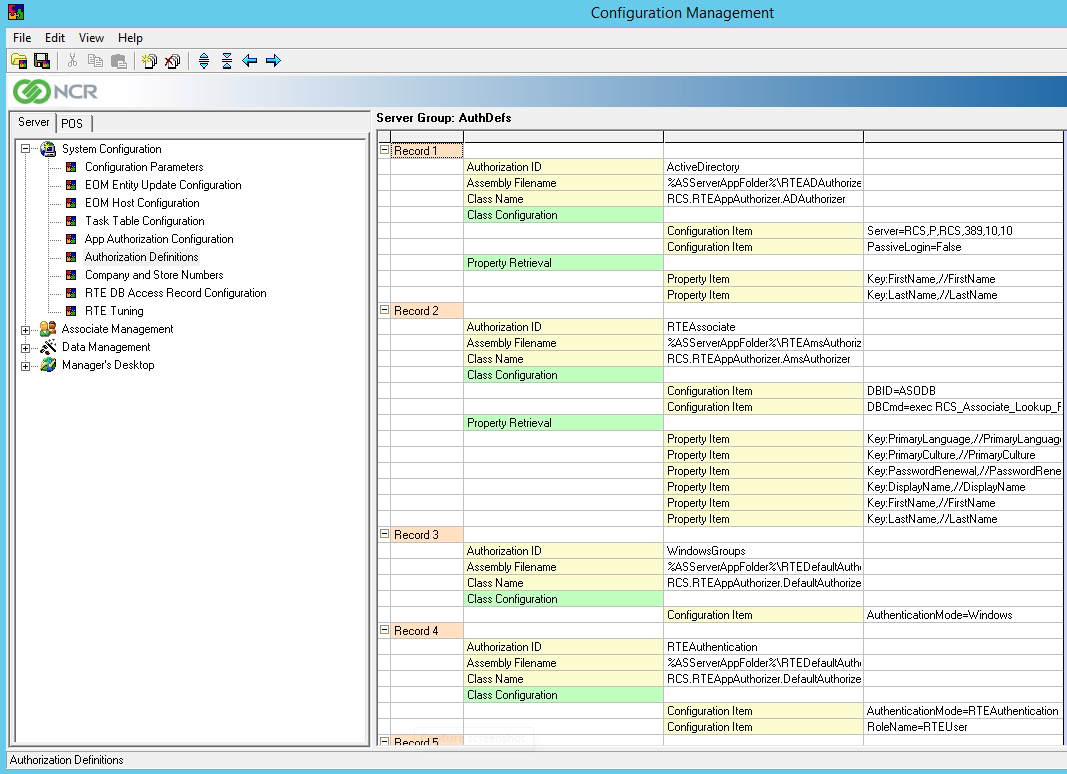
- On the Server tab in the Configuration Management window, select System Configuration > App Authorization Configuration. The application displays the AuthControl records and options on the right pane.
- Validate and edit the values of the following options.
Record number Control record ID Option name Change value Description From To 1 GLOBAL Login Mode ID WindowsGroups ActiveDirectory Configure to Active Directory. 2 AdminConsole Login Mode ID Blank or No Value Blank or No Value Leave this option empty to persist global settings. 3 CfgMaint Login Mode ID Blank or No Value Blank or No Value Leave this option empty to persist global settings.
- Save the file.
- On the Server tab in the Configuration Management window, select System Configuration > Authorization Definitions. The application displays the AuthControl records and options on the right pane.
- In Record 1, ActiveDirectory, edit the values of the Configuration Item options.
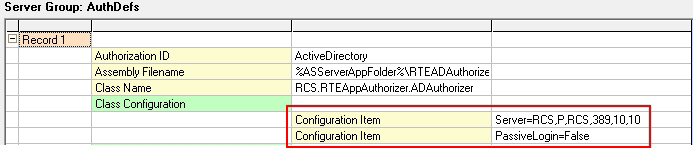
Use the following table to edit the values of the Configuration Item options in the ActiveDirectory record.
Default value Description Server=RCS,P, ComputerName,389,10,10
Specifies an Active Directory server. The settings are comma-separated and contain the following information: Value Example Domain Name Server=weboffice.local Host Type P NoteLeave the default value.
Computer Name mycomputer.weboffice.local Port Number 389 NoteLeave the default value.
Server Timeout (seconds) 10 Connection Timeout (seconds) 10 PassiveLogin=False If this value is set to True, then it is configured for silent authentication. When configured, the POS application does not require the associate Username and Password during sign on. - Save the file.
Editing the Web Configuration file
To configure the Web Configuration file with Active Directory settings, follow these steps:
- Open the web.config file.
- Use the following table to search for the tags and attributes, and then edit its values.
Tag Enable this attribute/key Attribute/Key Default value Change to this value appSettings MenuDefinitionProvider UserPreferenceDB AzManConnection SecuritySettings RemoteSettings DirectSettings connectionStrings add name ActiveDirectoryConnection connectionString LDAP://weboffice.local/CN=Users,DC=weboffice,DC=local add name AzManConnection connectionString msldap://CN=AzManStoreAD,CN=ProgramData,DC=weboffice,DC=local membership membership defaultProvider SqlMembershipProvider ActiveDirectoryMembershipProvider add name SqlMembershipProvider ActiveDirectoryMembershipProvider providers defaultProvider AspNetSqlRoleProvider AzmanStoreProvider add name AspNetSqlRoleProvider AzManStoreProvider applicationName / ADAzManApp connectonStringName UserPreferenceDB AzManConnection - Save the file.