Installing the NCR DSR Enterprise Application Server
This section describes how to install the NCR DSR Enterprise Application Server and required components.
To install the NCR DSR Enterprise Application Server, follow these steps:
- On the Application Server, run the NCR DSR Enterprise Server.msi installer. The application displays the Welcome screen.
- Select Next. The application displays the Destination Folder screen.
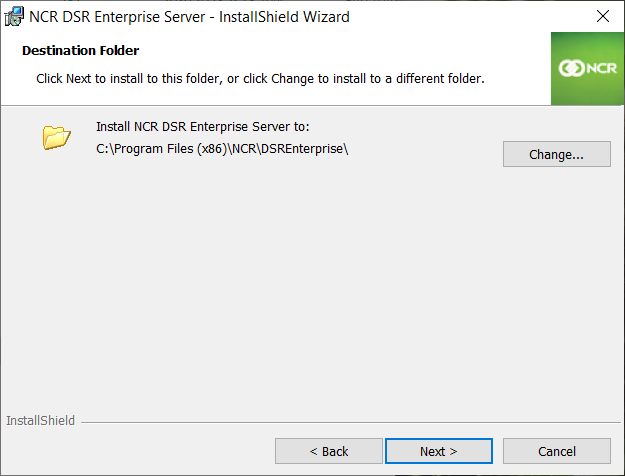
- If necessary, select Change to specify a different installation folder.
- Select Next. The application displays the Custom Setup screen.
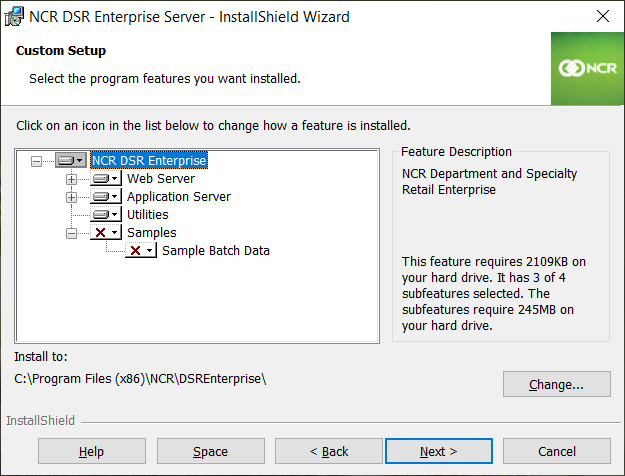
- Select the Application Server and select This feature will be installed on local hard drive.
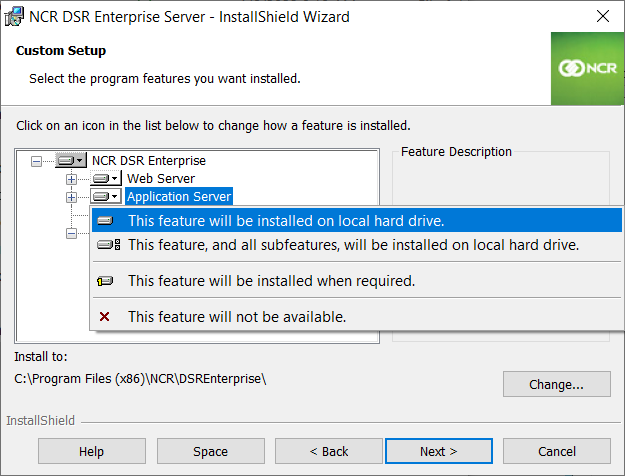
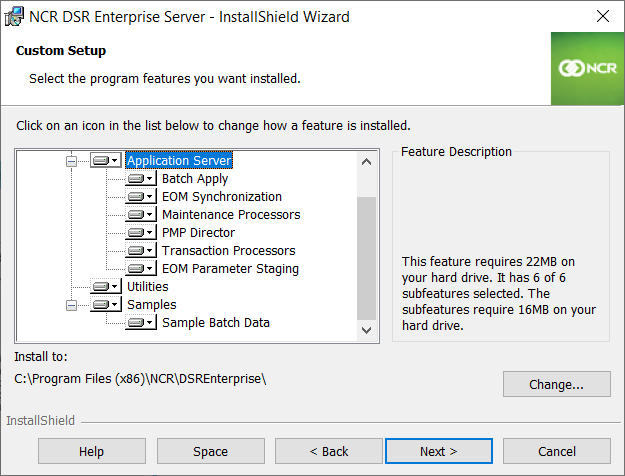
- When installing on additional application servers, select This feature will not be available for the following Application Server subfeatures:
- Batch Apply
- EOM Synchronization
- PMP Director
- EOM Parameter Staging
 Important
When using a distributed application server configuration, these features must be installed on only one application server. It is recommended to install them on the general application server and not on the application servers that are specialized for the Maintenance or Transaction Processors.
- Select This feature will not be available for the following features:
- Web Server
- Utilities
- (Optional) If using Sample Data batch files, select the Sample Batch Data subfeature, then select This feature will be installed on local hard drive.
- Select Install. The application proceeds with the installation. When the installation is complete, the application displays the InstallShield Wizard Completed screen.
- Select Finish. The application exits the installation wizard.
- Restart the server.