Locking a terminal
If associates need to leave the terminal in the middle of a transaction, locking the terminal preserves the current state of a transaction and secures the terminal.
To lock a terminal, follow these steps:
- On the Sale Main Menu screen, select Lock. The application displays the Unlock screen.
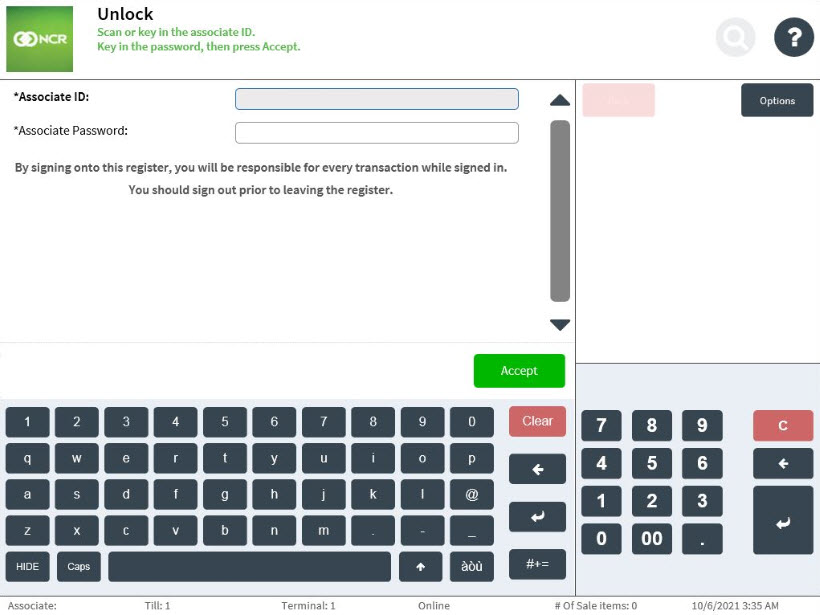
- Do one of the following:
- Scan the ID.
- Enter the Associate ID and Password on the respective fields, and then select Accept.
The associate who locks a terminal must be the same associate who unlocks the terminal. The application displays the Authorization Required screen given the following conditions:
- If the associate who unlocks the terminal is not the associate who locked the terminal.
- If the associate who unlocks the terminal does not match the user role authorized to perform the function.