2x20 Customer Display (w/ Stand Mount Bracket and Cable)
Introduction
This kit provides a 2x20 Customer Display (w/ Stand Mount Bracket and Cable) for an NCR RealPOS XR3.
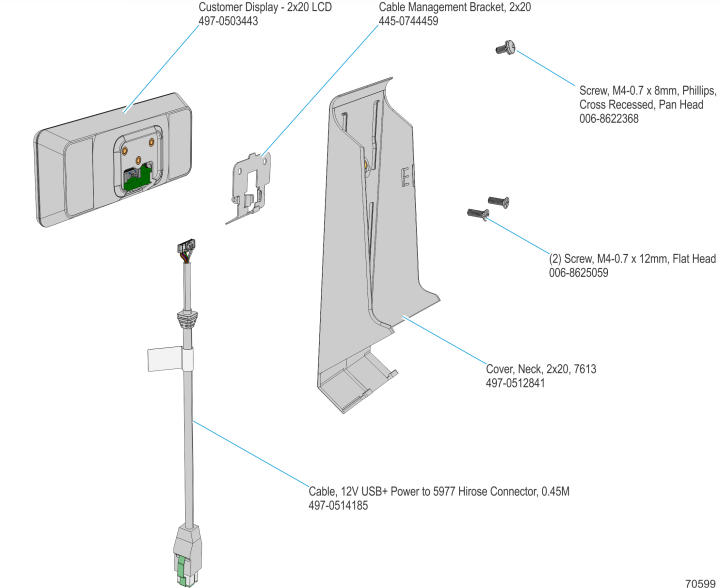
Kit Content
Installation Procedure
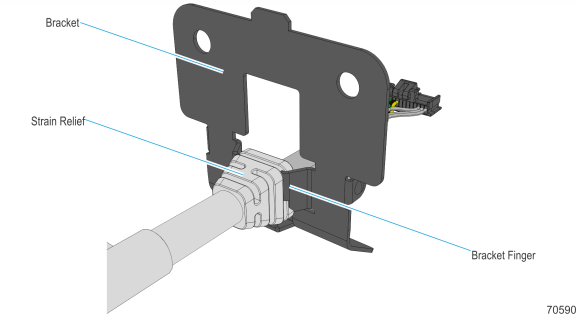
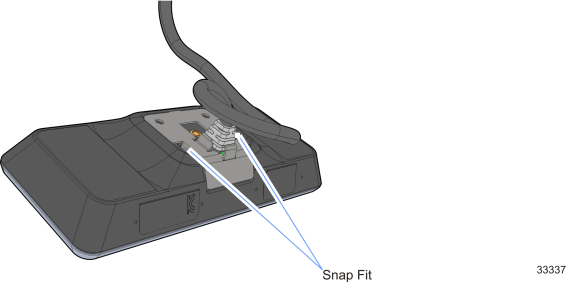
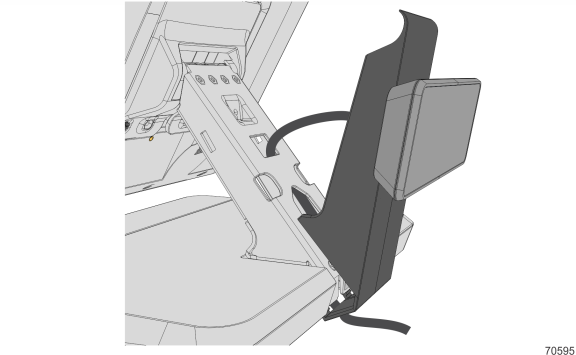
1.Route the 2x20 customer display cable through the bracket hole. Insert the bracket fingers into the strain relief.
2.Lay the 2x20 customer display face down on a flat surface.
Note: Always use a soft material (cloth, foam) to protect the display screen when placing the 2x20 customer display face down.
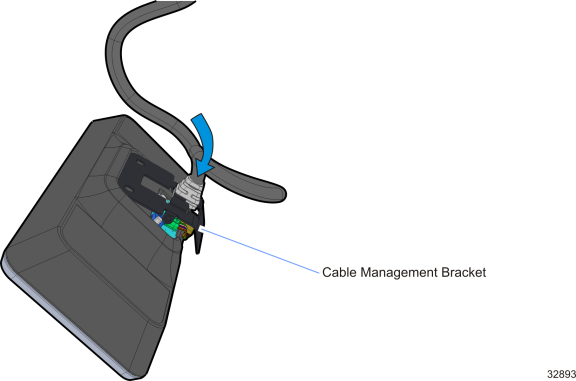
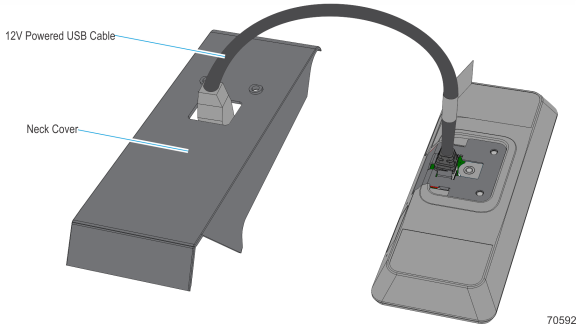
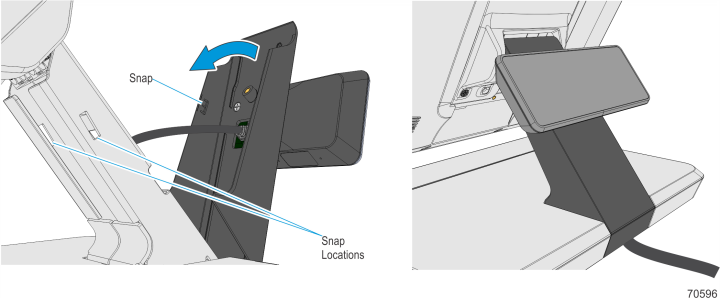
3.Connect the 12V Powered USB cable to the connector on the display.

4.Insert the tab in the edge of the Cable Management Bracket in the slot in the Rear Cover and pivot the bracket as shown until it snaps into position.
5.Route the 12V Powered USB Cable through the Neck Cover.
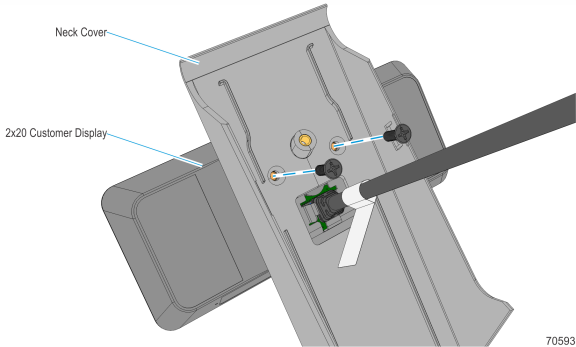
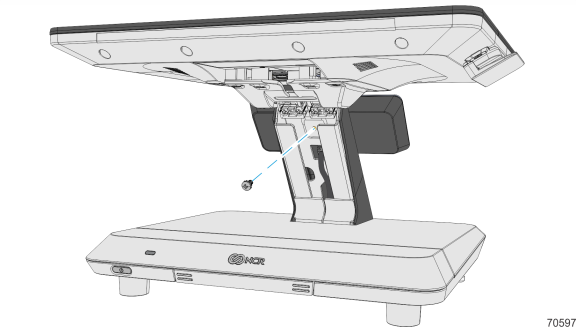
6.Secure the 2x20 Customer Display to the Neck Cover with screws (2).
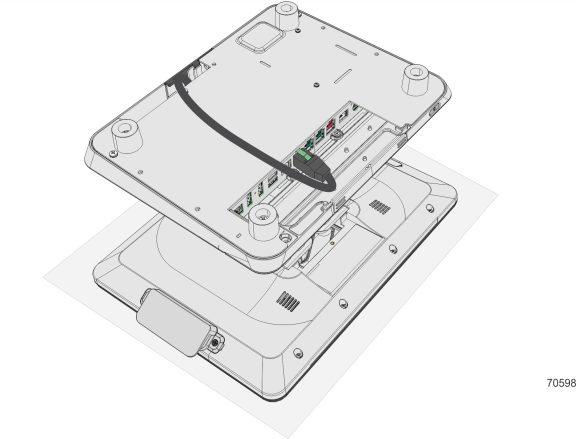
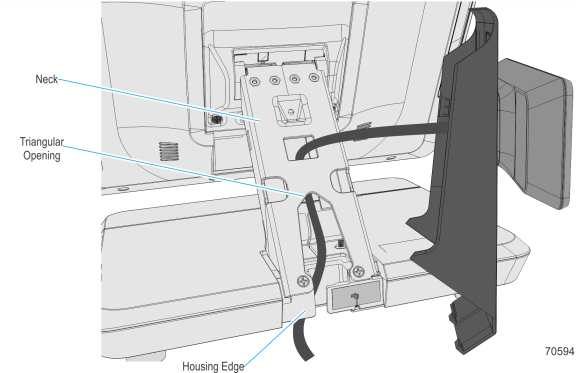
7.Route the cable through the neck, into the triangular opening, and then under the housing edge.
8.Hook the neck cover and 2x20 display assembly into the base housing.
9.Rotate the assembly to fit the neck. Snap the assembly into place.
10.Pivot the display towards the back. Secure the assembly to the neck with screw (1).
11.Lay the terminal face down on a flat surface.
Note: Always use a soft material (cloth, foam) to protect the display screen when placing the display face down.
12.Connect the cable to the 12V Powered USB connector on the terminal.