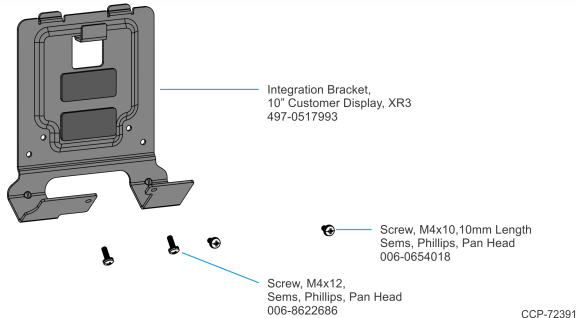
Integration Bracket, 10.1" or 10.4" Display to XR3
This kit provides a bracket to mount any of the following displays to the NCR RealPOS XR3 (7613) neck as a customer display:
•NCR XL10 Display (5910)
•10.4" X-Series Display (5968/5985)
Kit Contents
Installation Procedure
1.Lay the terminal face down on a flat surface.
Caution: Always use a soft material (cloth, foam) to protect the display screen when placing the terminal face down.
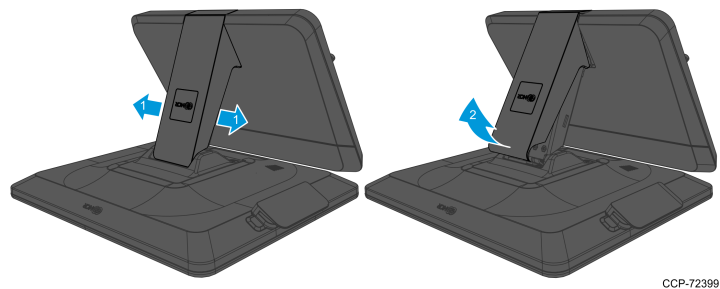
2.Remove the Neck Cover. Release the snaps on both sides and rotate upward.
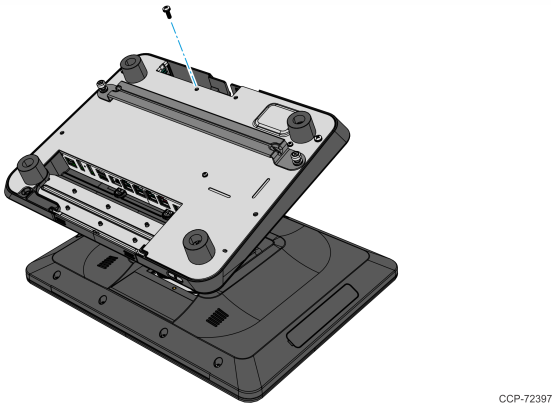
3.Remove one (1) screw from the bottom of Base of the terminal.
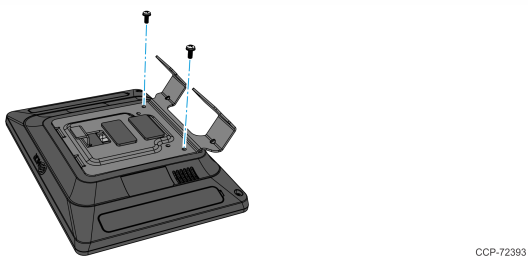
4.Install the Bracket on the back of the 10" Display.
Note: For NCR XL10 (5910) Display, connect the display cables before installing the bracket.
a.Insert the Bracket tabs (2) into the openings on the back of the display.
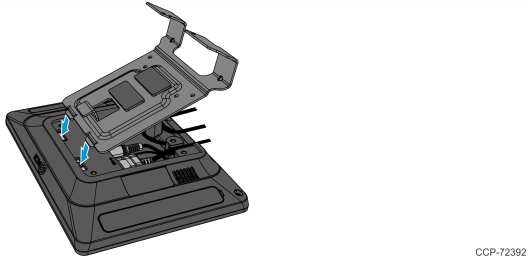
b.Secure the Bracket on the back of the Display with two (2) screws (006-0654018).
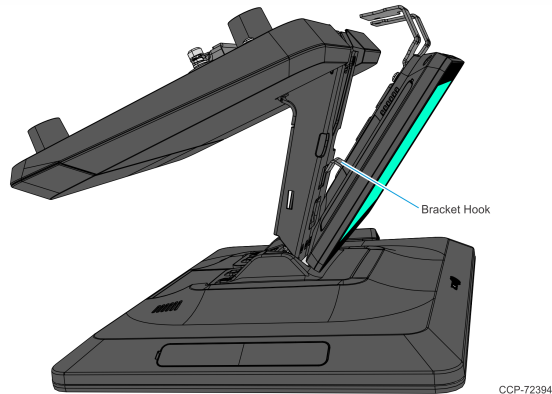
5.Hook the Bracket on the neck of the Stand.
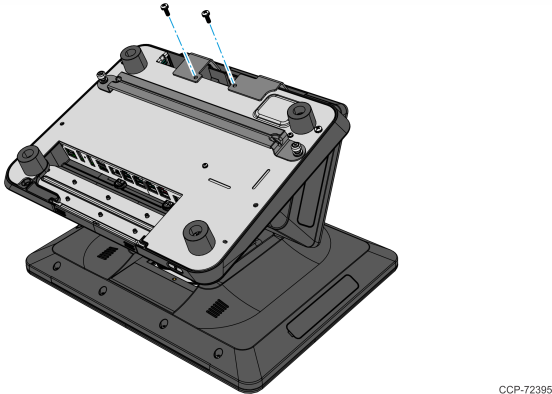
6.Pivot the assembly into position and secure it to the bottom of the Stand with two (2) screws (006-8622686).
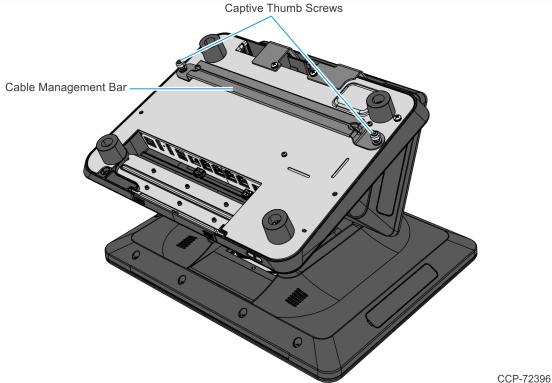
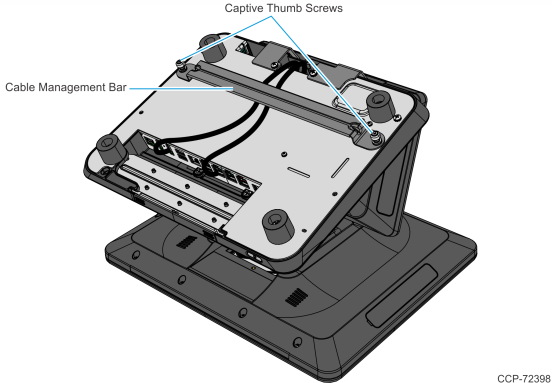
7.If a Cable Management Bar is present, loosen the thumb screws (2) and remove the Bar.
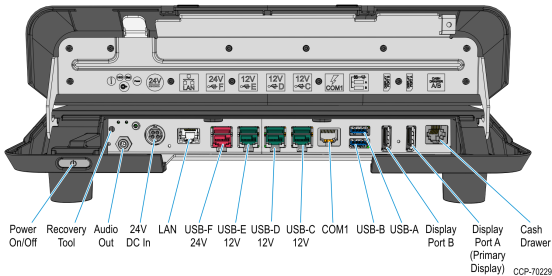
8.Route and connect the cables to the host terminal.
Note: For 5968/8985 X-Series Display, connect the cables to the display and the host terminal.
9.If a Cable Management Bar is present, reinstall the Cable Management Bar with thumb screws (2).
NCR XL10 (5910) Cable Routing
Connect the Display cables and route them according to the imprinted routing guide.
Display Port Model
1.Connect and route the Audio Cable first. Route the cable looping around the cable strain relief posts as shown.
2.Connect the Display Power Cable and route straight down over the Audio Cable.
3.Connect the Display Port Cable and route straight down over the Audio Cable.
