Powering Up the Terminal
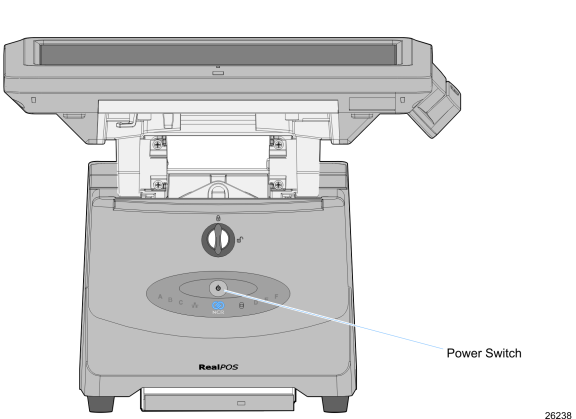
Terminal On/Off Switch
The Terminal On/Off Switch is located on the Front Base Cover. This is a logic switch only and does not remove power to the system.
After AC power is applied, it can take several seconds for the unit to respond when the Terminal On/Off Switch is pressed. If the unit does not power on, wait several more seconds and press the Terminal On/Off Switch again.
Power Button Override
When the Power Button is held for five seconds the system shuts down immediately. This function can be disabled in the BIOS. In the Boot Menu set the Power Button Override option to Disabled.
After power is applied to the terminal the Power-up self-tests run to verify basic functionality. ROM-based setup should be used to configure network options. Full configuration depends upon the system server and the management web site.
Default Boot Order
The factory-default boot order is LAN, CD-ROM, HDD. There is no flex disk drive option. The CD / DVD drive tray is front-accessible. For security purposes, the drive can be removed from the boot order and/or disabled entirely in the BIOS, which can be password protected.
An external USB CD-ROM has been certified for staging and maintenance. Other storage devices such as external USB thumb drives may also be used, but none are currently certified, released or supported. To request certification and support for third-party devices, submit your request through the Third-Party Product website (http://www.rsg.ncr.com/tpp/).
Keyboard support
The RealPOS 72XRT does not support legacy NCR keyboards and DynaKeys that require PS/2 connections. USB keyboards are supported
Connecting peripherals
All peripheral ports are color-coded and labeled. All feature self-healing fuses. If they become shorted functionality is restored when the terminal is rebooted. RS 232 ports can be configured for 5V, 12V, or RI operation.
Calibrating the Touch Screen
Calibrate the touch screen as part of the installation process. See the Touch Screen Calibration chapter.