Installing the Ingenico IPP350 PIN Pad
1.Unlock and open the fascia.
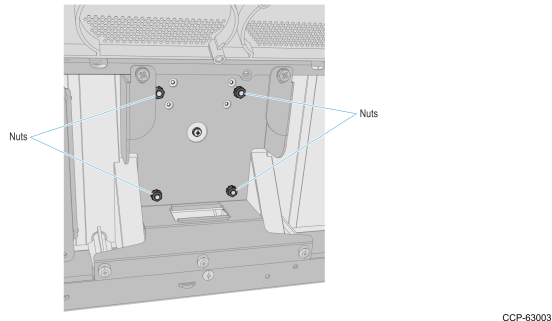
2.Remove four nuts to remove the pin pad mounting bracket from the fascia.
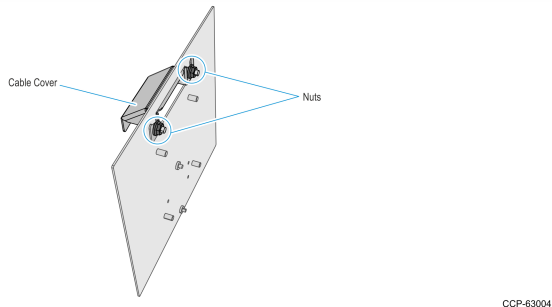
3.Remove the two nuts to remove the PIN pad cable cover from the mounting bracket.
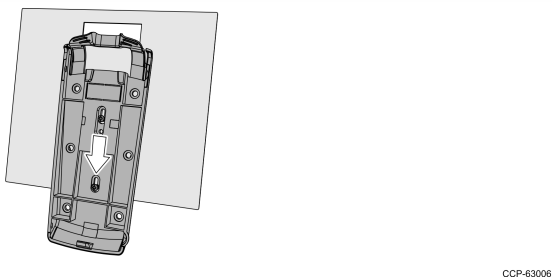
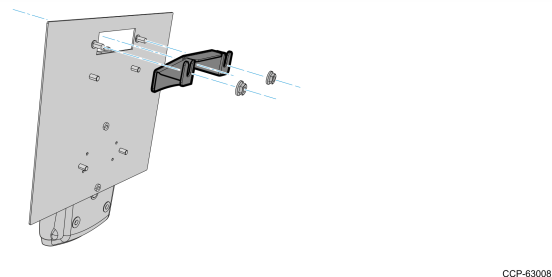
4.Loosen the two screws on the set A holes of the mounting bracket just enough to insert and slide down the PIN pad cradle.

5.Insert the PIN pad cradle keyholes through the mounting screws on the mounting bracket, slide down the cradle and tighten the screws.
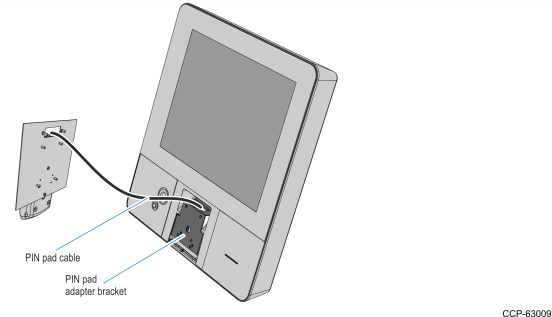
6.Connect the PIN pad cable to the Ingenico PIN pad and route the cable through the access hole on the mounting bracket.

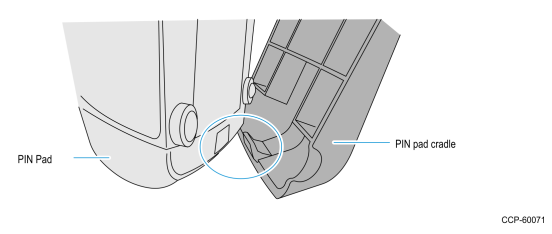
7.Mount the PIN Pad on the PIN Pad cradle. Insert the slot on the lower rear side of the PIN pad through the small tab on the lower part of the PIN pad cradle and push the upper part of the PIN pad until it snaps and secured to the cradle.
8.From behind the mounting bracket, insert the cable cover through the access hole and secure with two nuts.
9.Route the USB connector of the PIN pad cable through the adapter bracket access hole on the fascia.
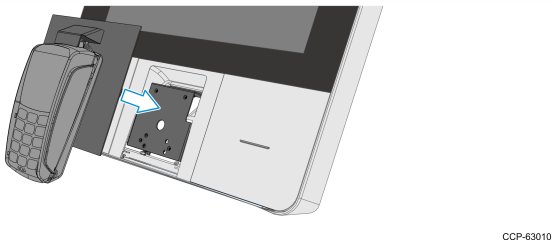
10.Mount the mounting bracket and PIN pad assembly on the fascia and secure it on the rear side with four nuts.
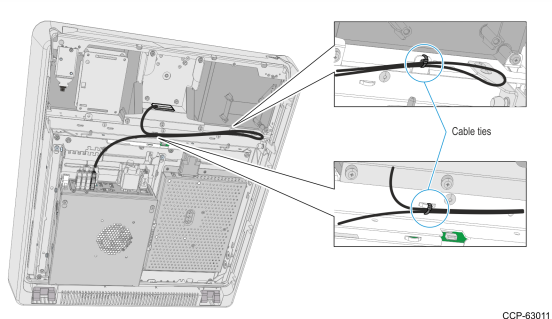
11.Route the PIN pad cable towards the motherboard as shown below and connect the USB connector of the PIN pad cable to the USB 1 port of the motherboard. Secure the cable with cable ties as shown below.