Configuring a RAID System in Windows
To install and configure a RAID system in Windows, perform the following steps:
- Enable RAID mode in BIOS Setup. In Setup, go to Advanced → SATA Configuration, then change the SATA Mode Selection setting to RAID.
- Load the NCR Gold Drive.
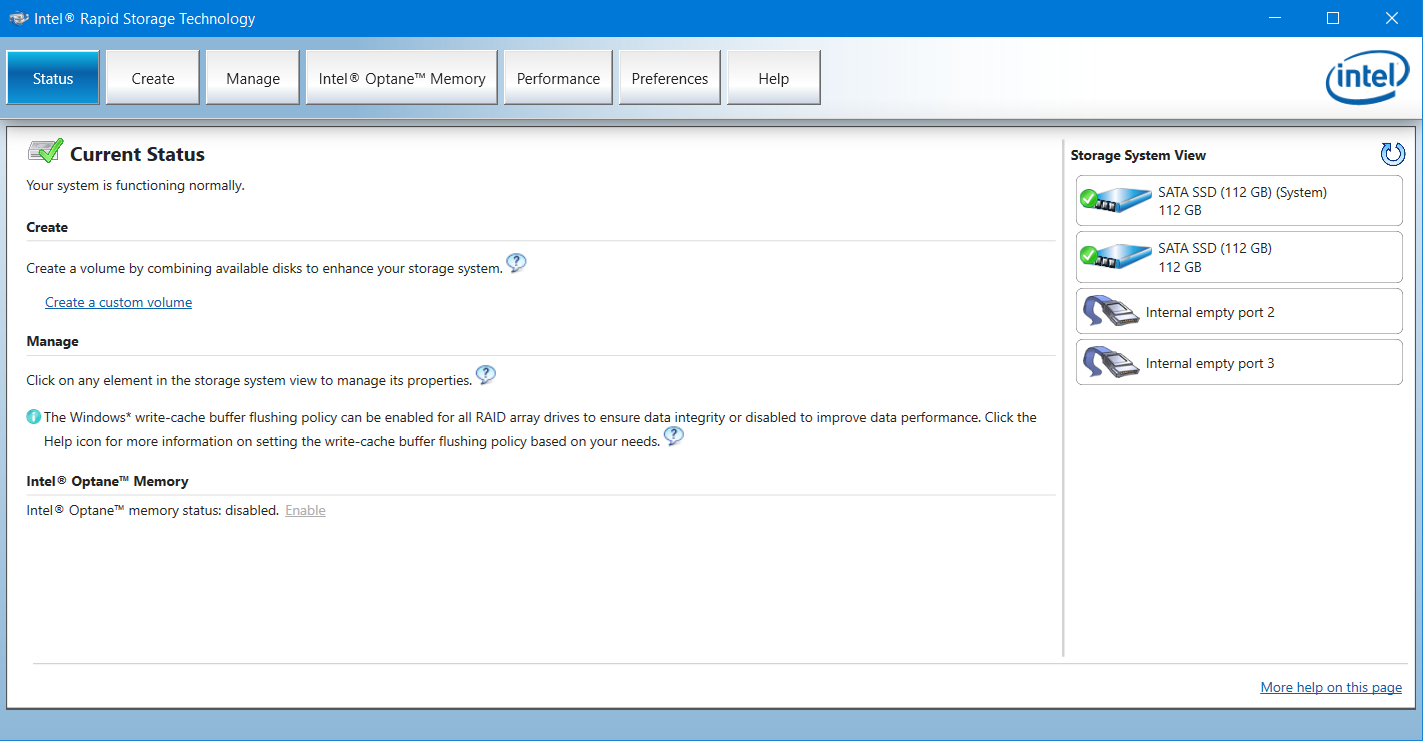
- Run the Intel® Rapid Storage Technology Manager.
Start→All Programs→Intel →Intel® Rapid Storage Technology
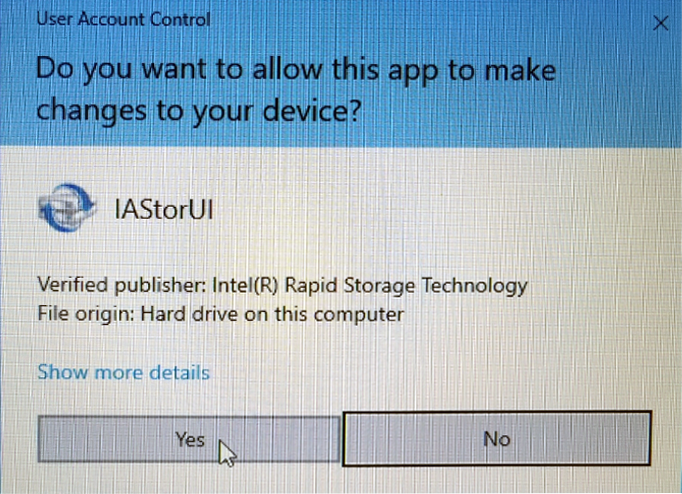
- A User Account Control window is displayed. Select Yes.
- Both disks should be recognized in the Main Screen. Select the Create button.
- Select the type of RAID volume you want to install. NCR supports RAID 1 and RAID 0 volume types.
- RAID 1: Combines two disks to create a volume where each disk stores an exact copy of the data and provides real-time redundancy.
- RAID 0: Combines two disks to create a volume where data is broken down into strips that are distributed across both disks.
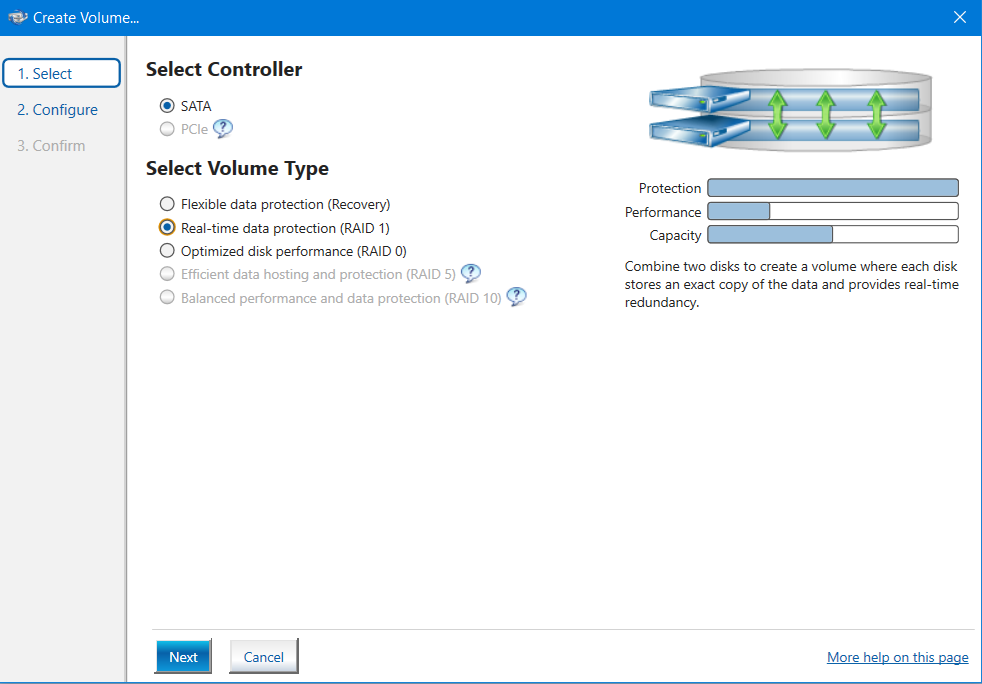
- Select Next.
- Enter a Volume Name (user preference).
- Select the check boxes for both disks.
RAID 0 Only: Specify the amount of space to be used by the new RAID volume. Use the slider to enter a percentage.
Note If you create a volume that uses less than 100% of the hard drive space, you may create a second RAID volume to use the remaining space.
- Select Next.
- Select the check box for Proceed with deleting data.
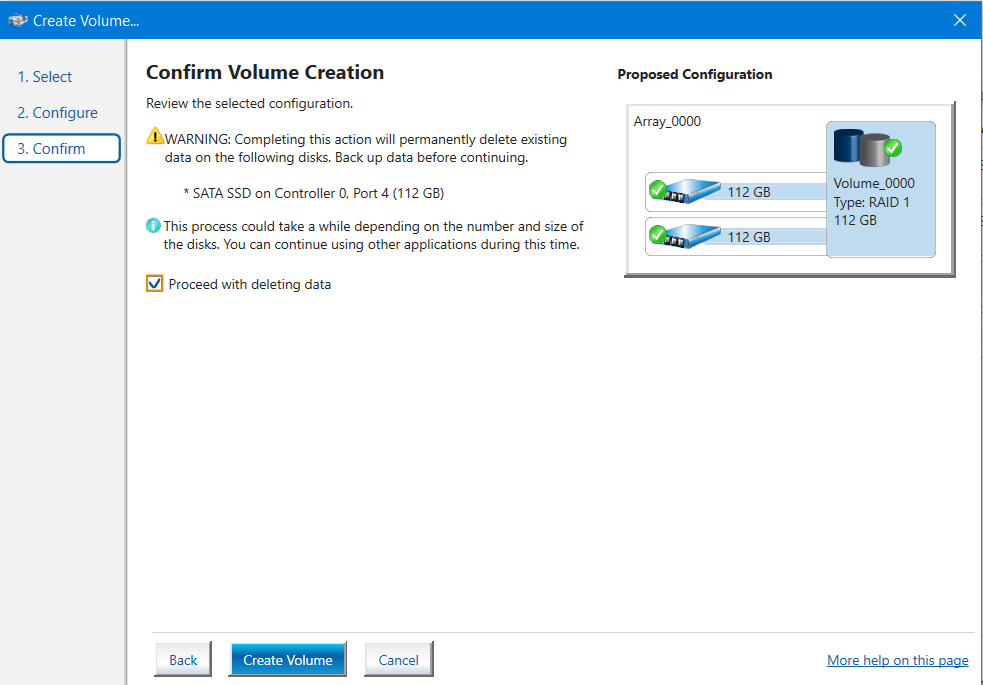
- Select Create Volume to start the volume migration.
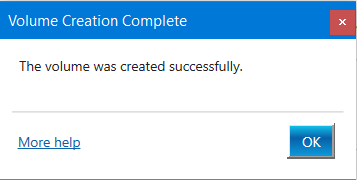
- A window is displayed indicating the volume was created successfully. Select OK to close the window.
The status of the migration is displayed, showing the progress. This can take 1 - 3 hours to complete.

