Installing the Retail Platform Software for Windows
This section explains how to install the RPSW. Installing RPSW has two setup types: Standard and Custom. For more information about the Custom setup type, refer to Custom Setup
Note: The images in this section show the installation of the RPSW release version 5.2.0.0 on a Windows 7 Professional 64–bit system.
To install the RPSW, follow these steps:
1.Browse for and double–click the installation file, which can be any of the following:
•Retail Platform Software for Windows.exe
•Retail Platform Software for Windows.msi
Note: If you are running on Windows 7 operating system, you must install the RPSW install package through the Run as Administrator option. If you do not run the installation program as Administrator, the install does not recognize the terminal type and some necessary components of the RPSW software are not installed properly.
To install RPSW as Administrator, perform any of the following:
•Right–click the .exe version of the install package (Retail Platform Software for Windows.exe) and select Run as administrator.
•Launch a DOS command prompt with administrative privileges and run the MSIEXEC executable on the .msi version of the install package.
After launching the installer, the system displays this window.

2.The RPSW detects the current configuration. Ensure that the following configurations are correct:
•Class
•Model—defines the type of system where you are installing the RPSW.
•Service Type—can be any of the following:
•Assisted—includes terminals 7403, 7443, 7446, 7449, 7452, 7453, 7454, 7456, 7457, 7458, 7459, 7460, 7600, 7601, 7610, 7611, 7643, 7649, 7606, and 7616.
•Self—includes terminals 7350, 7401, 7402, 7404, and 7409.
The only difference between these two terminal service types is the set of Printer Finite State Machine definition files (used by State of Health) that are installed by default. These files minimize the State of Health changes on an assisted terminal because an operator is present to fix the problem. For example, a paper low status is generated on a Self–Service system indicating the printer on the unattended system needs attention. This type of alert is not necessary, or even undesirable, for systems where a cashier is present to handle the condition.
3.Select Confirm. The system displays the Welcome window.
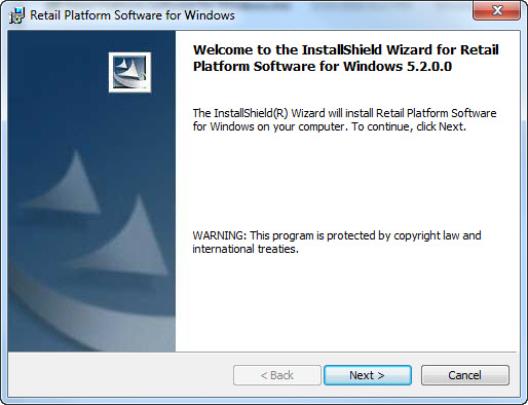
4.Select Next.
5.If you have a previous version of OPOS or Logs and Tallies that are currently installed, the system displays a window with options for dealing with the existing installation. Select Next.
6.The system displays the License Agreement window. Select I accept the terms in the license agreement, and then select Next.

7.The system displays the Setup Type window. Select the type of installation, whether Standard or Custom, and then select Next.
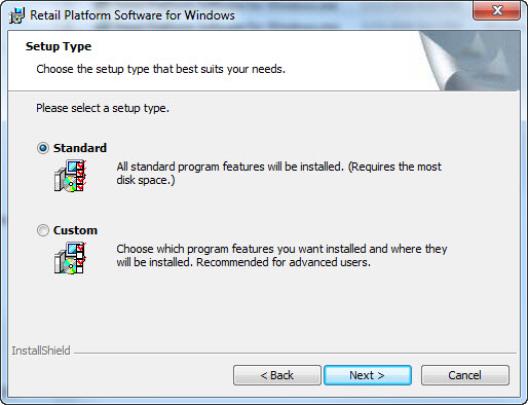
Note: A different section in this publication is created to provide more information about the Custom setup type. For more information about the Custom setup, refer to Custom Setup
8.If you selected the Standard setup type, the Control Object Warning window is displayed.
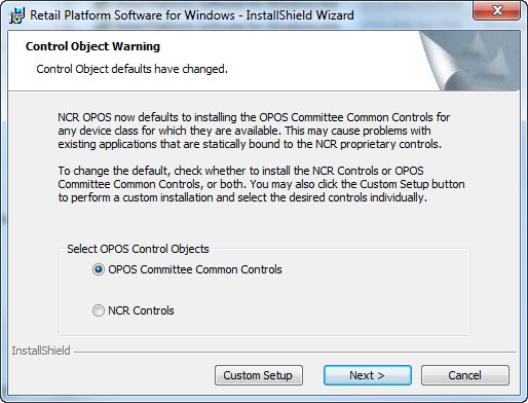
Select the OPOS Control Objects you want to install:
•OPOS Committee Common Controls—enables the feature for OPOS 1.14.1 Specification Compliant Common Control Objects.
•NCR Controls—enables the feature for OPOS 1.4 Specification Compliant Control Objects.
9.Select Next.
The system displays the Retail Controls Options window.
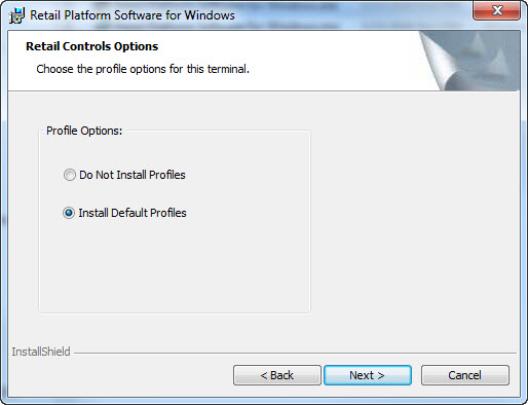
10. Select any of the following Profile Options:
•Do Not Install Profiles—indicates that none of the OPOS Profiles are installed. This option is commonly used where the solution provider installs all of the profiles that are needed for a specific customer.
•Install Default Profiles—refers to the option that is most suitable for new installations.
•Use Saved Profiles (Upgrading only)—displays only if you are upgrading OPOS and you want to use the same profiles that the old version of OPOS used. These profiles are saved at the start of the RPSW installation.
11. Select Next.
The system displays the Retail Systems Manager Options window.

12. Select the RSM installation type:
•Managed by RSM Server—refers to the option where you can optionally identify the RSM SE server’s name or IP address so that the system communicates with a specific server.
In a Dual Server environment, the name or IP address for both RSM SE servers would be entered. If you do not specify a server, the system automatically finds one on the network. If you do not know your server name or IP address, see your system administrator. In a Dual Server environment with Command Center, NCR recommends that the server name or IP address is set to the PXE Image Loader servers to simplify role changes for Command Center. In other PXE Image Loader configurations, there is no need to configure the client as managed.
•Local Only—refers to the option where no RSM SE server is present. If you plan to use SNMP or Command Center in this configuration, select the option Enable event monitoring for RSM SNMP support.
If the check box for event monitoring is selected, the NCRFSM module is enabled for processing the event log to generate alerts for State of Health and Critical Events. On unmanaged systems, this functionality is required only if RSM SNMP or Command Center is used. Selecting this check box sets registry setting [HKEY_LOCAL_MACHINE\SOFTWARE\NCR\NCR Store Minder Client\CurrentVersion\StartFSM] to T to enable NCRFSM, which is the same as it would be set on a managed system. The setting is only available in RPSW 4.0.1.0 and up. If a system is installed as unmanaged and later changed to managed, this setting may need to be configured manually to enable NCRFSM.
13. Select Next.
In a Custom installation, if you selected to install RealVNC, the system displays the RealVNC Server Options window.
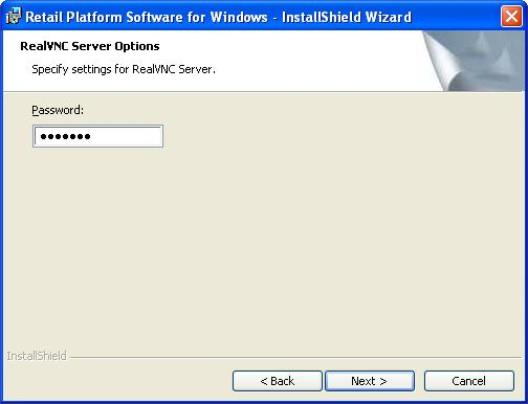
Note: Selecting to install RealVNC in the RPSW installation is not supported for systems running on the Windows 7 operating system.
14. Enter the Password for accessing this system from a remote location using the RealVNC program.
15. Select Next.
The system displays the Event Log Wrapping window. RPSW software logs events, and RSM uses these events to report device status. If the event log gets full and does not wrap, events discarded by Windows cannot be used for device statuses.
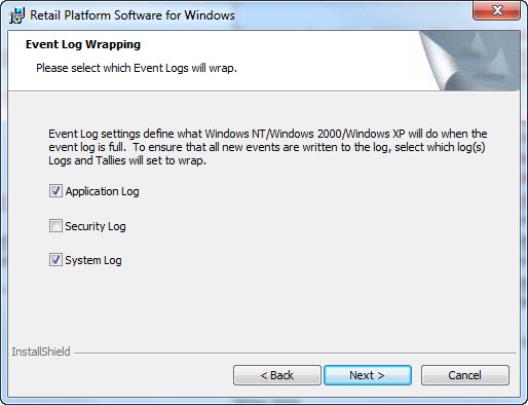
16. Select which Event Logs you want to wrap when the event log is full.
17. Select Next.
The system displays the Security Setting Options window.
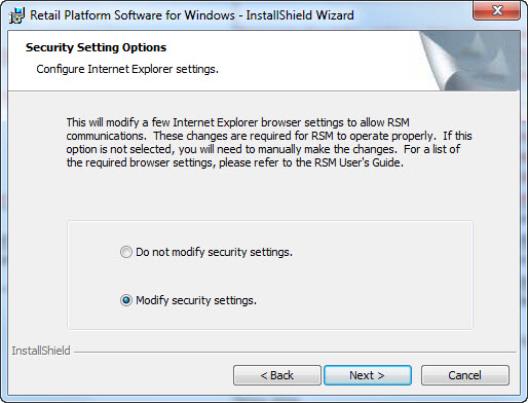
18. Select the Security Setting Options:
•Modify security settings—indicates that the RPSW installation will make the changes for you.
•Do not modify security settings—indicates that if you select this option, or if a patch or another software program changes these values, you need to manually change these settings.
For more information, refer to Internet Explorer Security Settings
19. Select Next.
If Windows Firewall is enabled, the system displays the Firewall Setting Options window to set up the ports that can get through the firewall to support RSM.
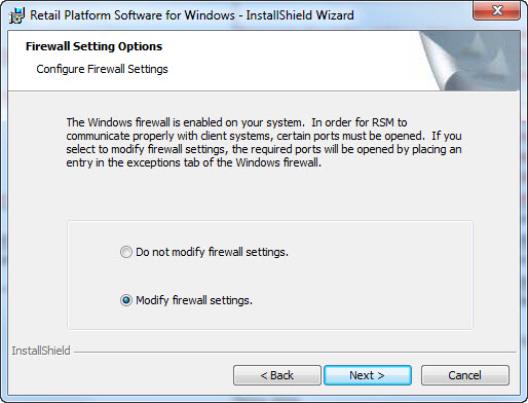
20. Select the Firewall Setting:
•Modify firewall settings—the RPSW installation opens certain RSM ports.
•Do not modify firewall settings—select this option if another firewall is present, and if you want to manually configure the firewall to open ports for RSM communication.
For more information, refer to Firewall Settings
21. Select Next.
The system displays the Ready to Install the Program window.

22. Select Back if you need to make any changes, or Install if you are ready to install the Retail Platform Software for Windows.
23. When the installation is complete, select Finish.
The system displays a message stating you should reboot the client terminal.
24. Select Yes.
Note: After rebooting, if the system and the RSM SE server are connected in a LAN and you selected Managed by RSM Server during installation, the system should automatically become a Managed System.