Configuring the Printer
Use the Configuration Menu to select functions or change various settings as indicated in the preceding sections. The Configuration Menu prints instructions and setting options interactively as the user goes through the configuration process.
Caution: Be extremely careful in changing any of the printer settings to avoid changing settings that might affect the performance of the printer.

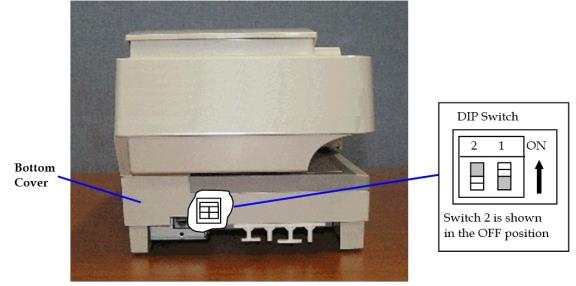
1.Set the DIP Switch:
•Switch 1 to On.
•Switch 2 to Off.
Note: For more information about the DIP Switch settings, refer to Setting Switches.
2.Reset the printer. For more information on how to reset the printer, refer to Resetting the printer.

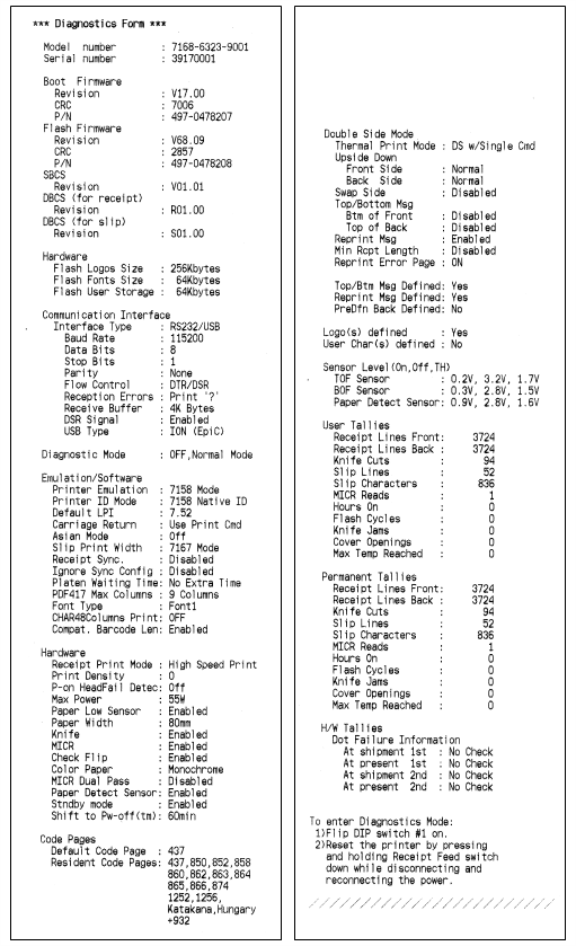
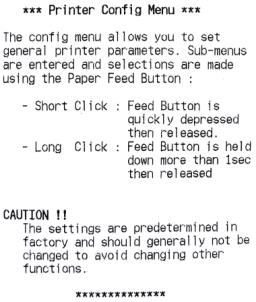
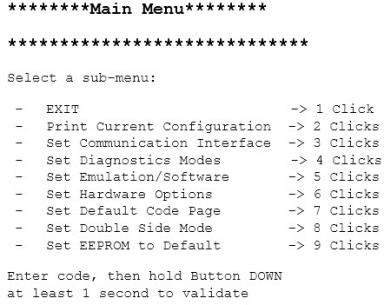
Configuration Menu and Print Test samples (show approximately 60% of size).
3.Use the following printer configuration menu to set general printer parameters:

4.Use the following configuration menu to select a sub-menu:

5.Press the Paper Feed button to enter sub-menus and to select options.
•Use a short click to indicate No. For a short click, quickly press then release the Feed button.
•Use a long click to indicate Yes. For a long click, press and hold down the Feed button for more than one second.
6.When finished, set DIP Switch 1 to Off and reset the printer.