Installing the UPS
Installing the Uninterruptible Power Supply (UPS)
To install the UPS, follow these steps:
1.Remove the existing UPS, if necessary. For more information, refer to Removing the Existing Uninterruptible Power Supply (UPS).
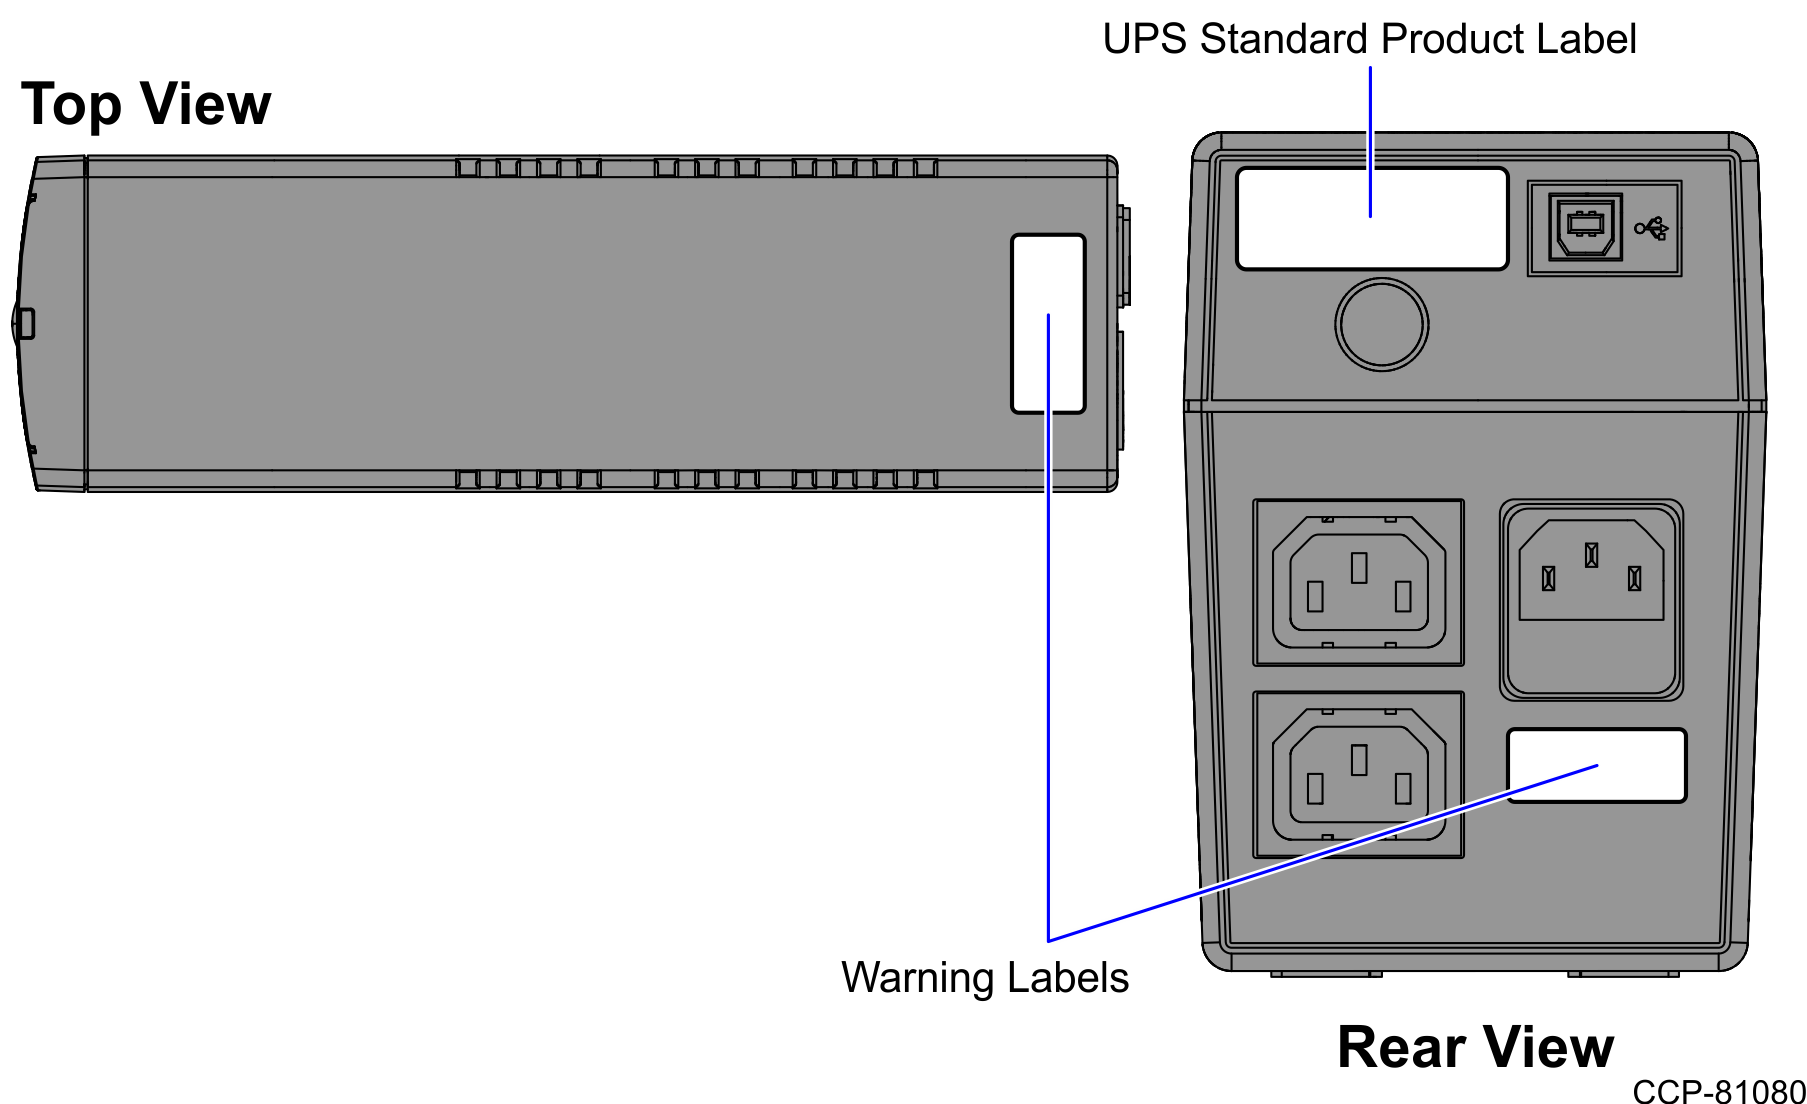
2.Confirm that the voltage specification of the UPS is 220 V AC. For more information, refer to to the labels, as shown in the image below.
3.Connect the cables to the back of the UPS.
4.Place the UPS into the shelf, and then route UPS power cable to the power strip.
5.Connect the UPS cable to the power strip.
6.Depending on the unit configuration, refer to either of the following:
Standard Configuration
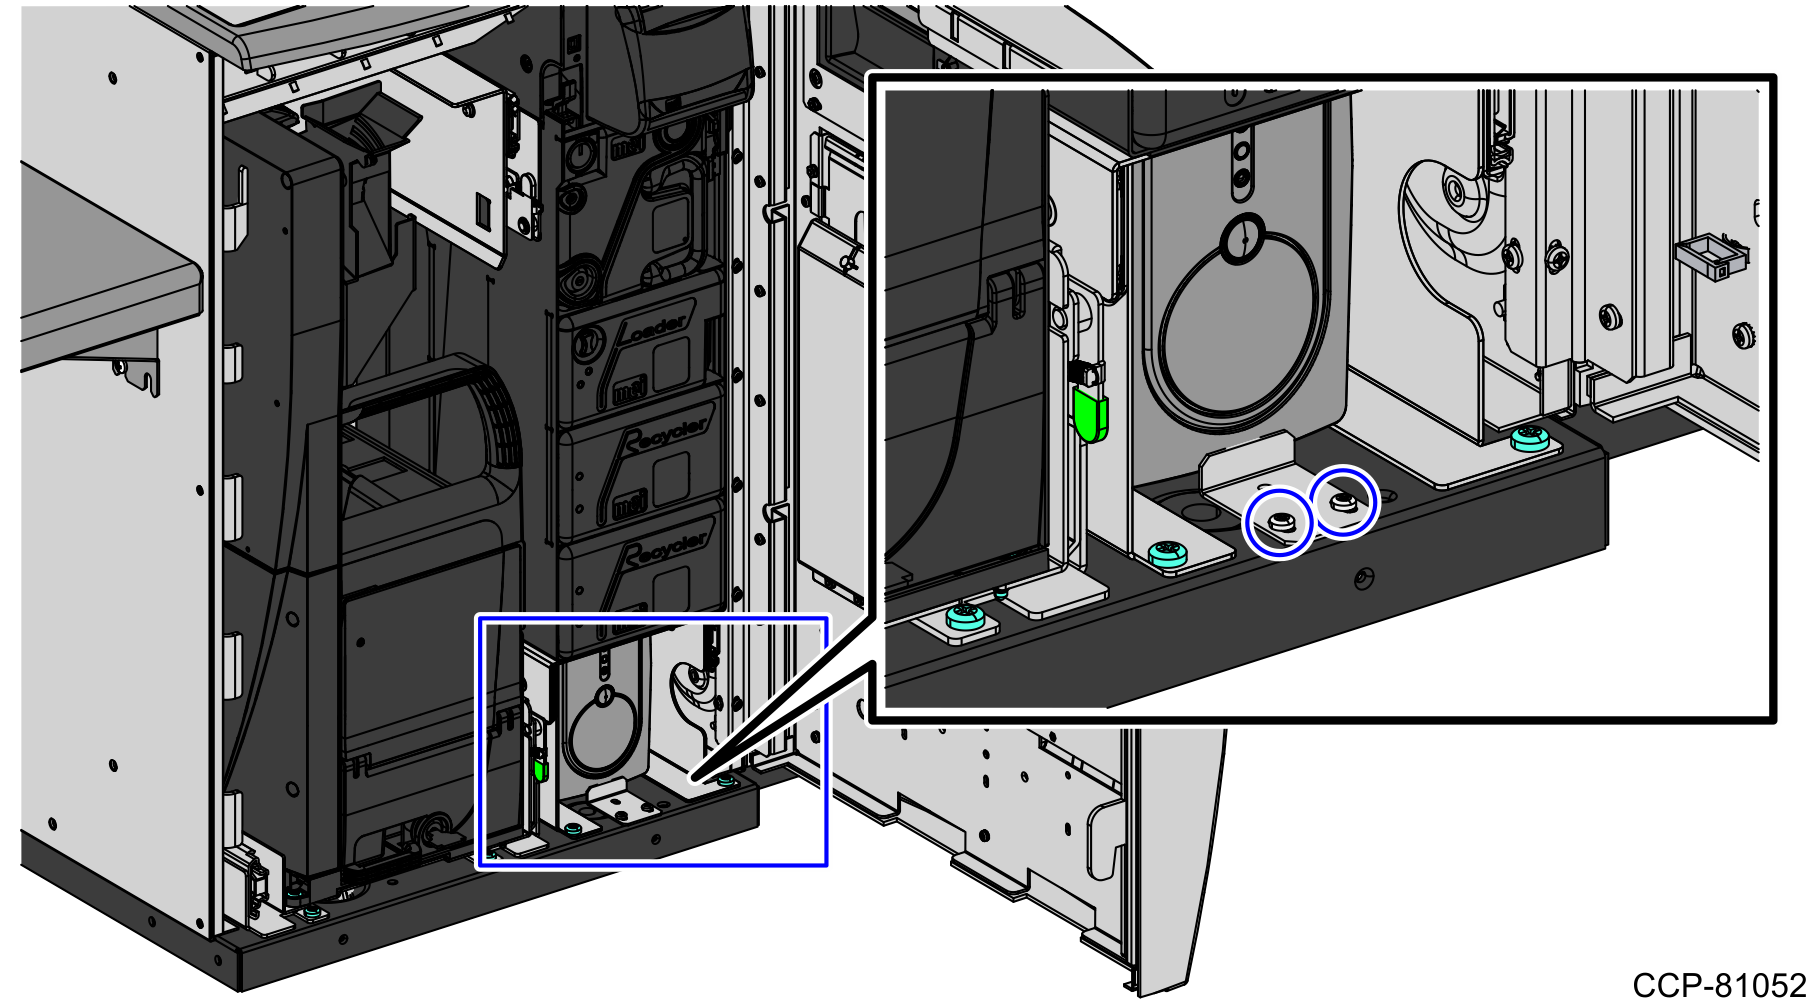
Attach the UPS Retainer Bracket to the core floor using two (2) screws.
Narrow Core Configuration
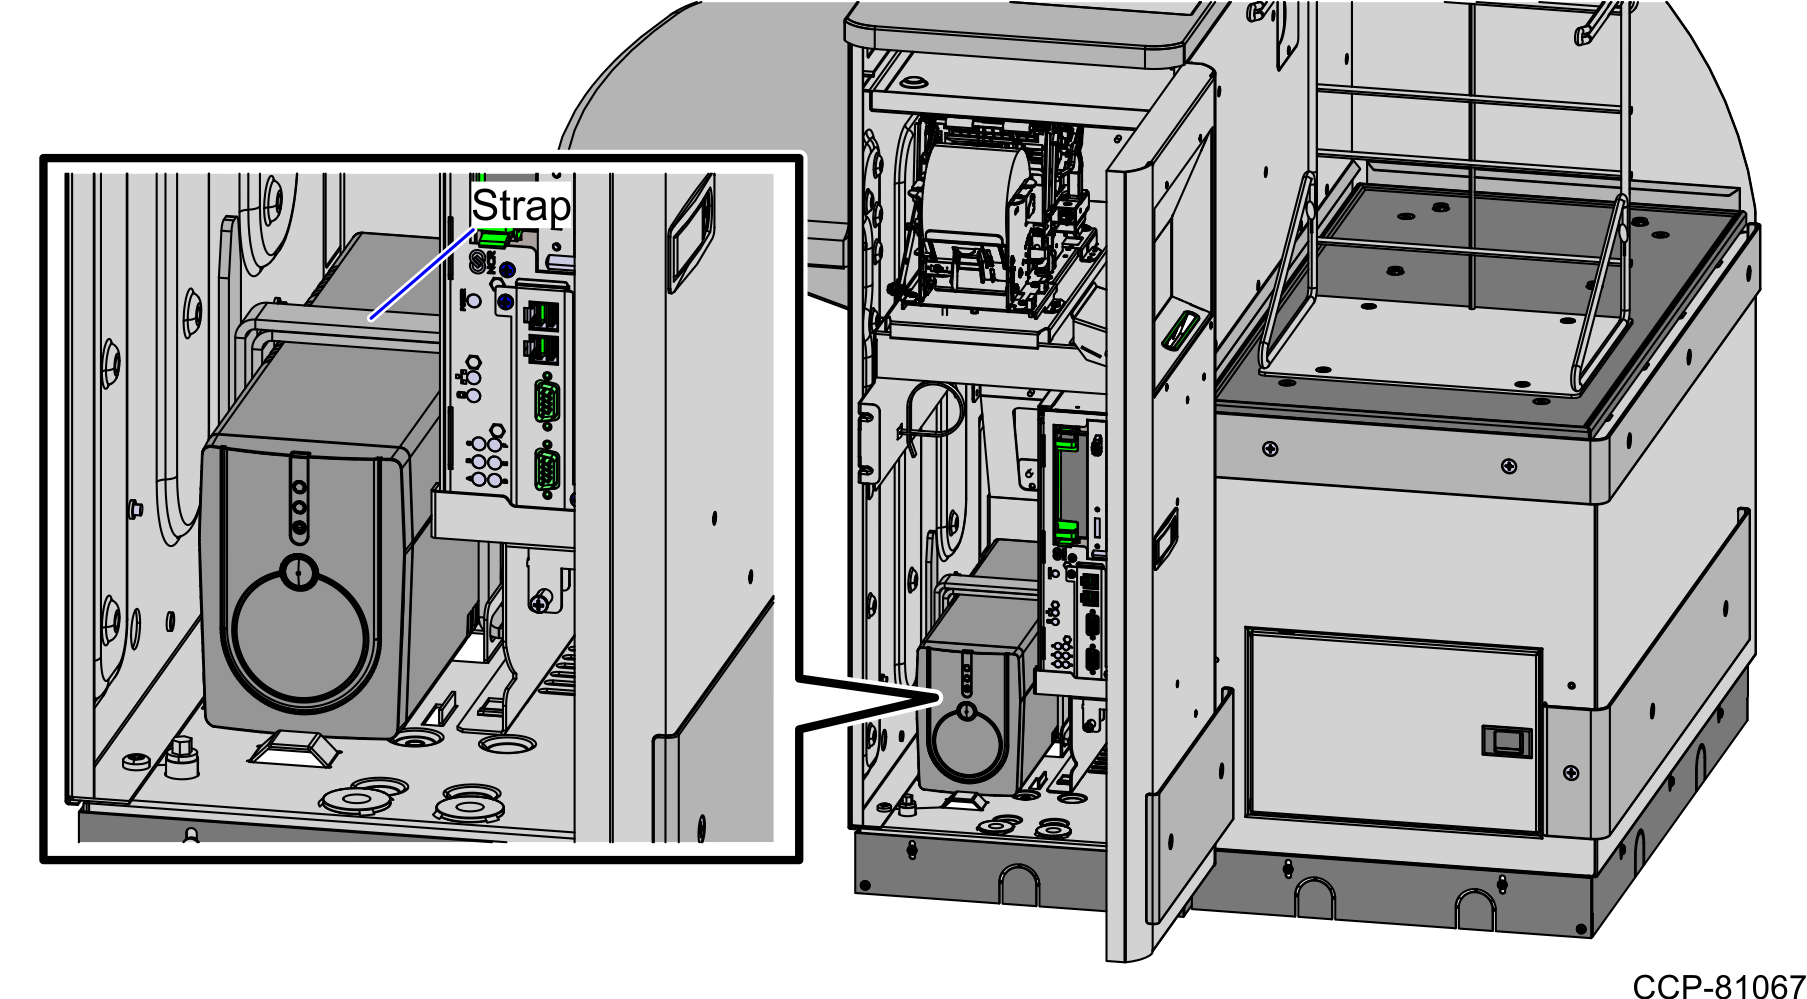
Secure the UPS to the shelf using the strap, as shown in the image below:
7.Attach the Upgrade Label. For more information, refer to 7350-K918 SelfServ Checkout Uninterruptible Power Supply (UPS).
8.Close and lock the NCR SelfServ Checkout door. For more information, refer to Closing the Core Door.
Note: If immediate or abnormal shutdowns were experienced in the field prior to the UPS battery failure, the following steps should be performed on the replacement.
•Verify the input voltage status of the UPS.
•Verify that the UPS conversion utility and firmware files are installed on the terminal.
•Convert the UPS voltage to support running environment voltage, if necessary.