Configuring the Camera Settings (VTC)
To configure the camera settings, follow these steps:
Note
The camera settings are accessed from the customer’s server connected through the LAN system.
- Access the camera view by doing the following:
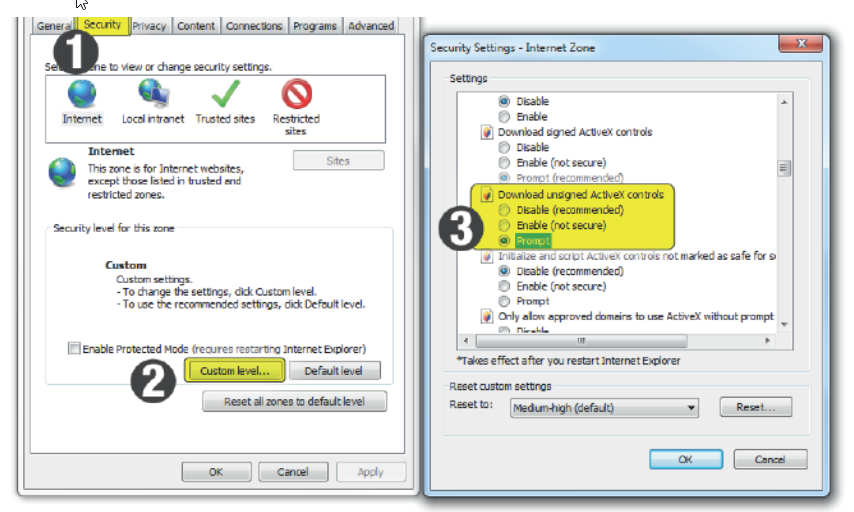
- If viewing the IP Camera for the first time, set the security of the Internet Explorer browser first and then install the Activex file, as shown in the image below.
- Enter the IP Address of the network camera in the address bar and press Enter to access the login interface. The default IP address is 192.168.1.168.Note
The host PC must have the same network ID with the camera device.
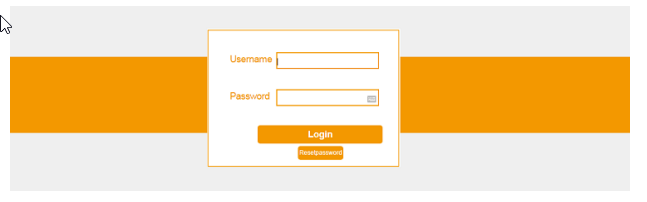
- Enter the following default login credentials:
Username: admin
Password: 123456
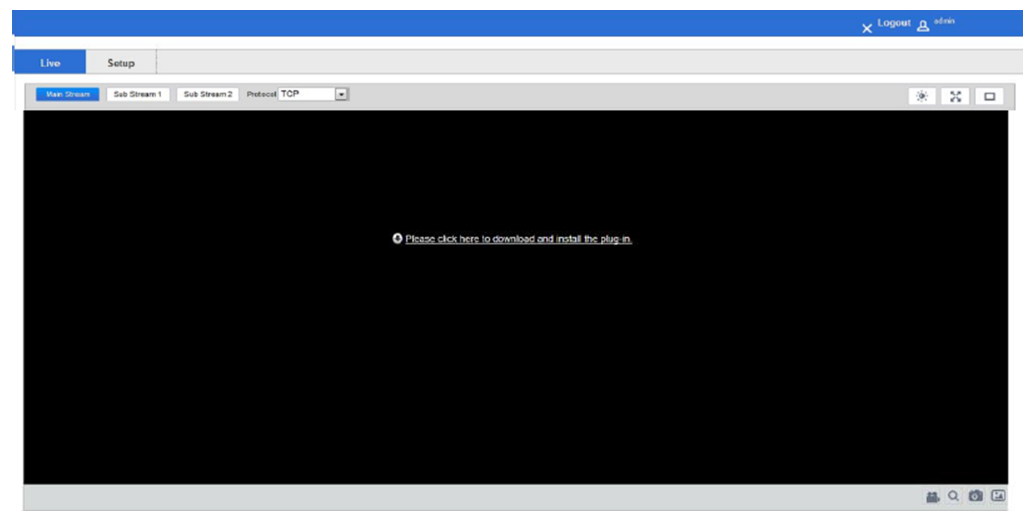
A download link to the plugin is displayed on the Camera View user interface, as shown in the image below.
 Note
NoteThree (3) incorrect passwords will lock the account. For more information on unlocking the account, refer to Unlocking the Camera.
- If viewing the IP Camera for the first time, set the security of the Internet Explorer browser first and then install the Activex file, as shown in the image below.
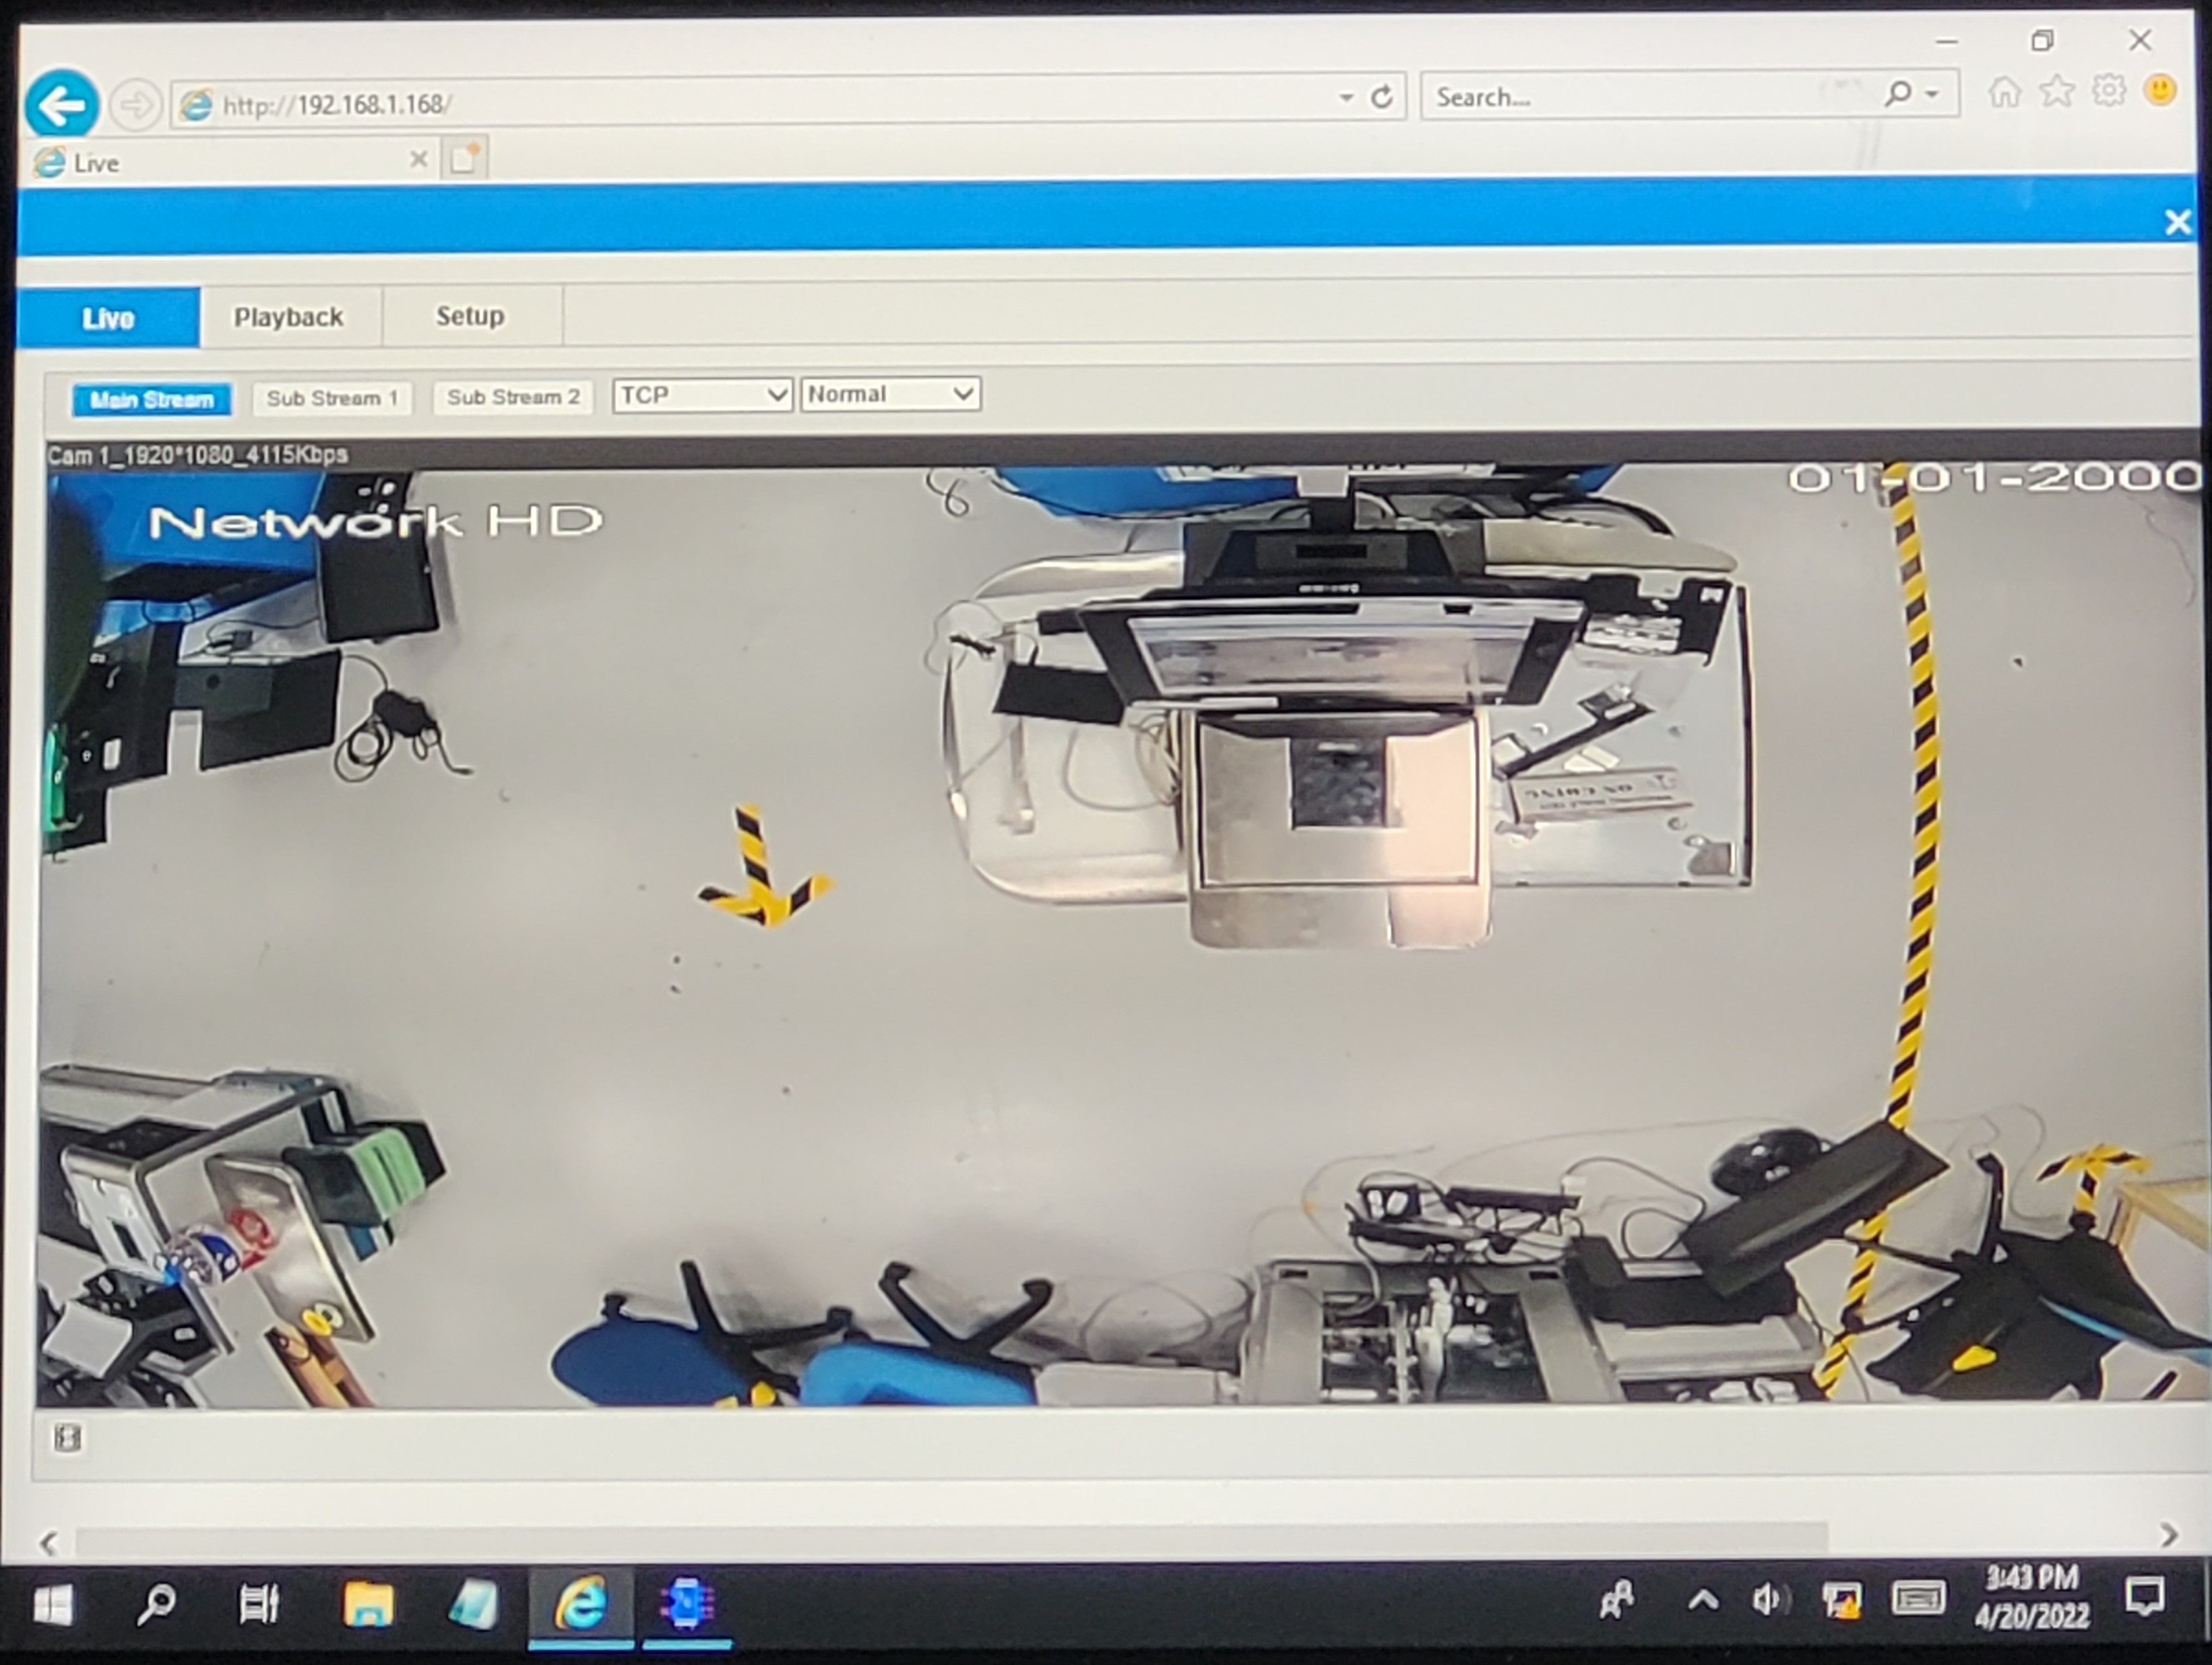
- Click the link to download the plug-in. The browser opens a live feed of the camera, as shown in the image below.
Note
Ensure that the NCR Customer Helpdesk is informed when the Interactive Status Light with IP Camera is installed in the store.
Note
For additional camera configuration, refer to VTC Network Camera User Manual .
