Printing in Forms or Checks
There are several types of transactions that require you to insert a form or check into the printer.
•Credit card transaction. Some credit card transactions may be printed on the receipt station and not require any forms.
•Multiple-part forms such as credit transactions or merchandise returns
•Electronic funds transfers
•Check printing, such as printing the date, payee, and amount on the check face
•Check endorsement
1.Insert the form or check from the front and place it on the slip table top first and with the print side up. If the form is extra long, insert it from the side.
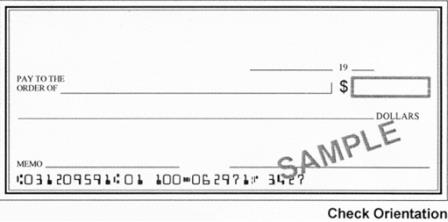

Note: Although the image above illustrates a check being inserted into the printer, the instructions apply to any type of form. The 7167 can print on forms up to four-parts thick. For more information about the type of forms that can be used, refer to Ordering Forms.
2.Slide the form or check to the right until it lines up against the guide or wall. If the form is extra long, slide it over the form stop to disengage it. In this case, mark the slip table to line up the form for the proper placement of the print on the form.
3.Slide the form or check toward the back of the printer until it contacts the form stop, which means it would not be able to go any further; or, align the form or check with any preset mark you may have made on the slip table for custom forms.
Note: The green LED on the slip table turns on when the form or check is properly inserted, which means the form has to cover two sensors on the slip table.
4.Follow the instructions from the host computer. The printer begins printing.
5.Remove the form or check after it has been fed back out.
6.Follow the instructions from the host computer to finish the transaction.