Generating custom store reports
Retailers can generate and print customized store reports, such as the following:
- Flash Sales
- Daily Sales By Department
- Associate Productivity
- Sales Read
Feature dependencies
The following conditions must be met:
- The retailer has configured the enterprise servers of the Advanced Store solution or an integrated third-party enterprise server to generate and support custom reports. For more information, consult with an NCR Representative.
- The button for the store’s custom reports has been enabled on the POS application. For more information, refer to Custom Report Definitions.
Configurable features
The POS application can be configured with the following features.
- Customize custom reports with the following options.
- Create a custom report.Note
When creating a new custom report in the EOM application, ensure that it is already supported by the enterprise servers of the Advanced Store solution or the integrated third-party enterprise server. For more information, consult with an NCR Representative.
- Specify the unique name of the custom report.
- Specify the URL source for the custom report.Note
Ensure that the parameterized URL does not use the X-Frame-Option to deny displaying the IFrames.
- Specify the URL source for the custom report.Note
Ensure that the parameterized URL does not use the X-Frame-Option to deny displaying the IFrames.
- Specify the name of the POS button for the custom report.
- Enable the POS button of the custom report to be displayed on the POS application.
- Create a custom report.
- For more information, refer to Custom Report Definitions.
- Enable the POS application to automatically print custom reports upon closing and opening the store. For more information, refer to Automatically printing custom reports.
To access the custom reports of the store, follow these steps:
- From the Transaction Types screen or Closed screen, select Reports. The application displays the Reports screen.
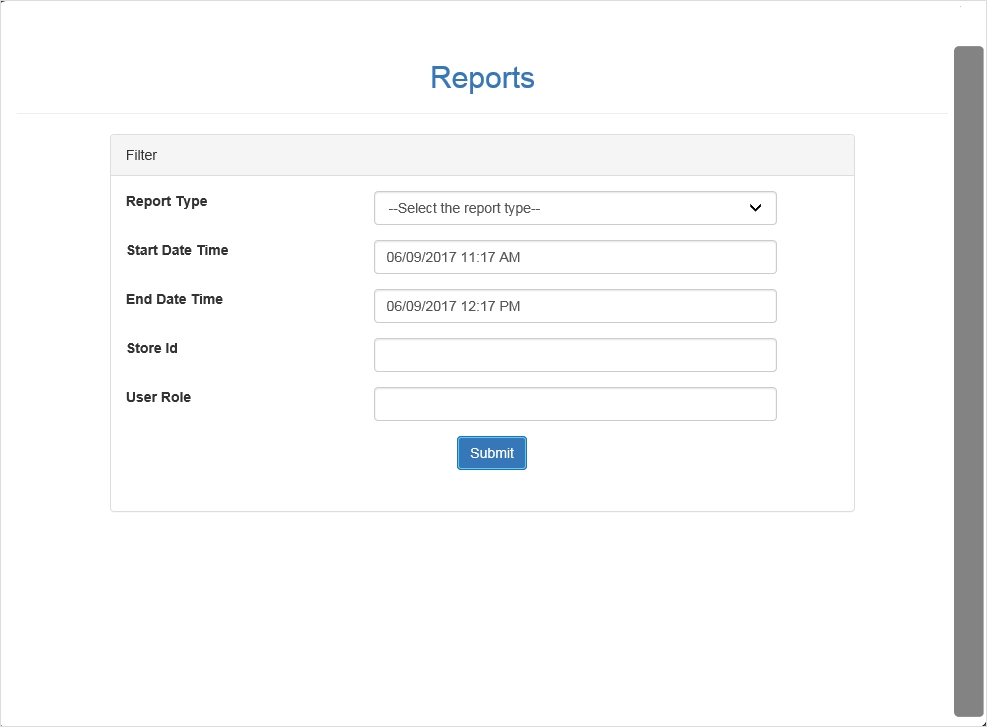
- Select a custom reports button. The application displays the custom web page as configured in the EOM application.Note
The following is a sample image of a custom reports web page. The layout of this screen will vary, depending on the retailer’s configuration.
- Select a specific report from the drop-down list, and then specify the rest of the report criteria.
- Select Submit. The POS application displays the report on the screen.
- Do one of the following:
- Print the report by selecting the printer icon on the upper-right section of the screen. The POS application prints the selected report.
- Return to the Reports screen. Select the close icon. The application redisplays the Reports screen.