NCR Data Setup utility
Running the NCR Data Setup utility creates the following:
- The enterprise databases and log files that reside on the Database Server, using the configurations from the previous sections.
- Installs the latest EOM parameter version.
- A SQL Server User (for example, rteuser) that is used by the NCR application to connect to all the databases.
To create the databases and log files and to connect to all the databases, the NCR Data Setup Utilities requires a Windows user or a SQL Server user with sufficient permissions to create databases.
Prerequisites
Before creating the databases, ensure that the following prerequisites have been completed:
- The SQL Management Objects prerequisites have been installed on the Messaging Server. For more information, refer to Messaging Server Software Prerequisites.
- The DSR Enterprise Server Utilities have been installed on the Messaging Server. For more information, refer to Installing the NCR DSR Enterprise Server Utilities on the Messaging Server.
Running NCR Data Setup
This task uses the following file.
| File name | Location |
|---|---|
| NCR.Retail.NCRDataSetup.exe | %PROGRAMFILES(X86)%\NCR\DSREnterprise\Utilities |
To run NCR Data Setup, follow these steps:
- On the Messaging Server, right-click Ncr.Retail.NcrDataSetup.exe and select Run as administrator. The application displays the NCR Data Setup window.
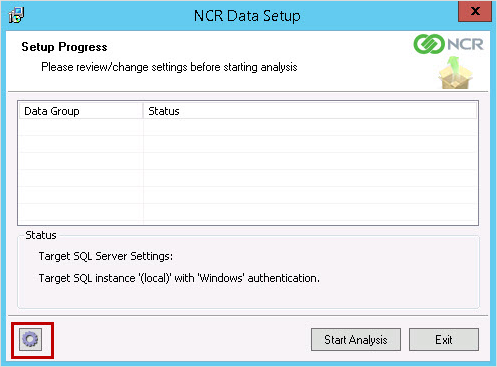
- Select the gear icon, located on the bottom-left portion of the screen. The application displays the NCR Data Setup—Install Settings window.

- There are two methods for specifying the user credentials. Select one of the following methods:
- SQL Server user—to specify the SQL Server user who has permissions to create databases, clear the Windows Authentication checkbox.
- Windows user—if the user running the application has permissions to create databases in SQL Server, then select the Windows Authentication checkbox. With this option, the fields for entering SQL Server credentials are hidden on the Install Settings window.
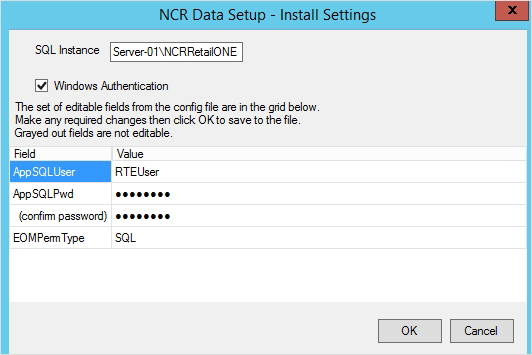
- Use the following table to enter the details on the NCR Data Setup—Install Settings window.
Field Name Description SQL Instance Enter the instance name defined in the SQL server, using the following format.
- If SQL Server was installed as a default instance:
<SQL Server Name>
NoteIf an instance has not been created during the SQL server installation, by default, the SQL instance is set to (local).
- If SQL Server was installed as a named instance:
<SQL Server Name\Instance Name>
ExampleServer–01\NCRRetailONE
SQL Server User Enter the user name of the SQL server user who has permissions to create databases. SQL Server Password Enter the password of the SQL server user. AppsSQLUser Enter the SQL Server user name that NCR processes will use during execution. If the user does not exist, the NCR Data Setup utility creates the user.
The default AppSQLUser is rteuser, but any user that is authenticating to SQL Server can be used, such as ”sa”.
AppsSQLPwd Enter the password for the SQL server user. This password must match the one specified in the configInput.json file.
NoteDo not define a new AppsSQL password using this screen.
(confirm password) Confirm the password for the SQL server user. EOMPermType Enter the source database that specifies the files to apply for EOM permissions mapping.
NoteThe value can be one of the following:
- SQL—specifies the Associate Database in CoreDb.
- AD—specifies the Active Directory.
- If SQL Server was installed as a default instance:
- Select OK. The NCR Data Setup—Install Settings window is closed.
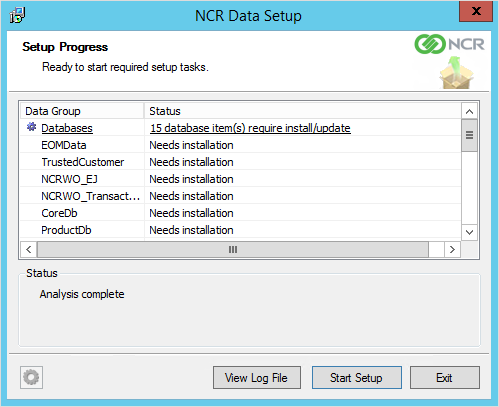
- Select Start Analysis. When the application finishes the analysis, the Setup Progress window is displayed.
- Select Start Setup. The application installs the databases.
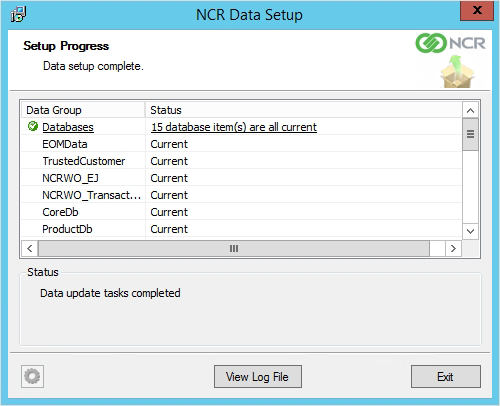
- Select Exit.