Accepting check payments
In processing transactions with checks as tenders, the POS application can be configured to require authorization from a payment solution. When configured, the POS application depends on the authorization response from the configured payment solution.
To accept check payments, follow these steps:
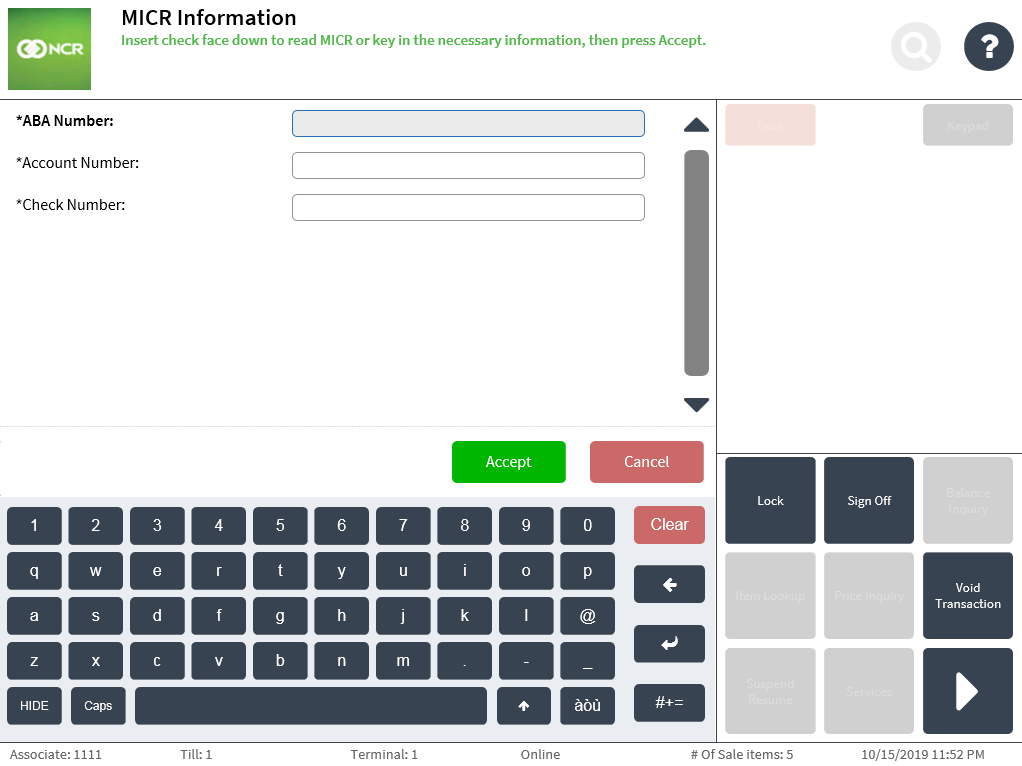
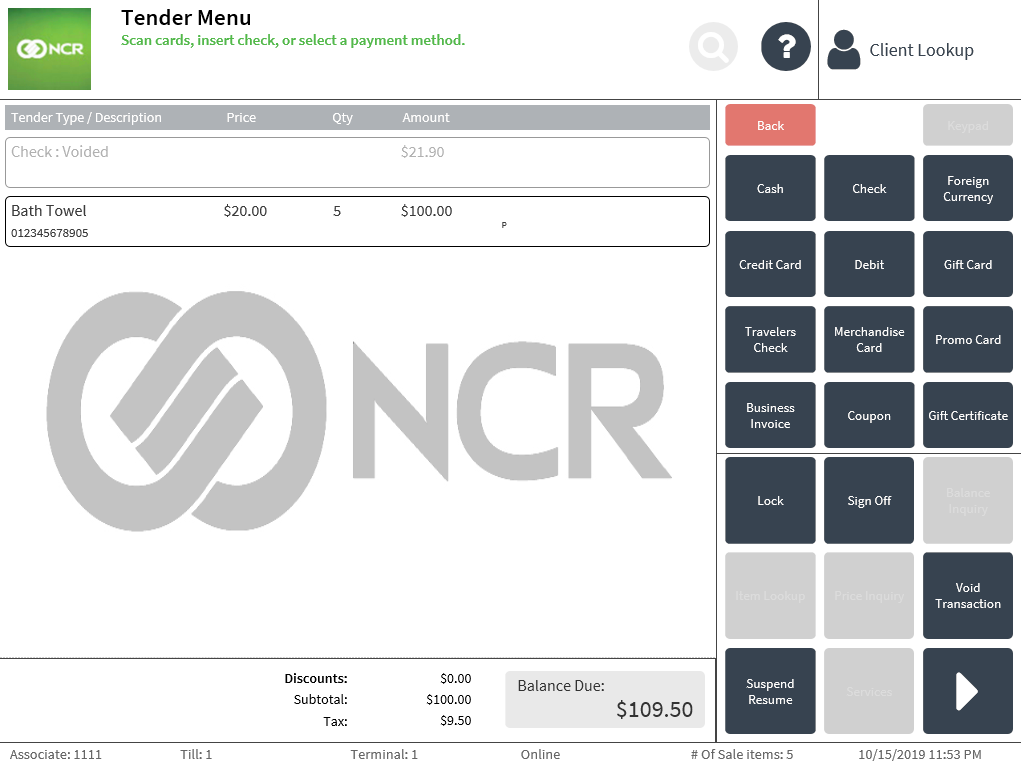
- On the Tender Menu screen, select Check. The application displays the MICR Information screen.
- Do one of the following:
- Use the MICR printer to print the MICR check information.Note
When this option is used, the check amount is assumed to be the full balance due.
- Enter the following required information on the MICR Information screen.
- ABA Number—enter a 9-digit numeric value.
- Account Number—enter a numeric value with 6 to 14 digits.
- Check Number—enter a 6-digit numeric value.
The application displays the Authorization Override given the following conditions:
- If the check number entered in the MICR Information is less than the minimum check number accepted by the store. For more information, refer to Check.
- If the tendered check amount is greater than the amount accepted by the store. For more information, refer to Tender Definitions.
- If the associate signed on to the POS application does not match the user role authorized to perform this function.
- Use the MICR printer to print the MICR check information.
- Select Accept. The application displays the Check Tender Customer Information screen.
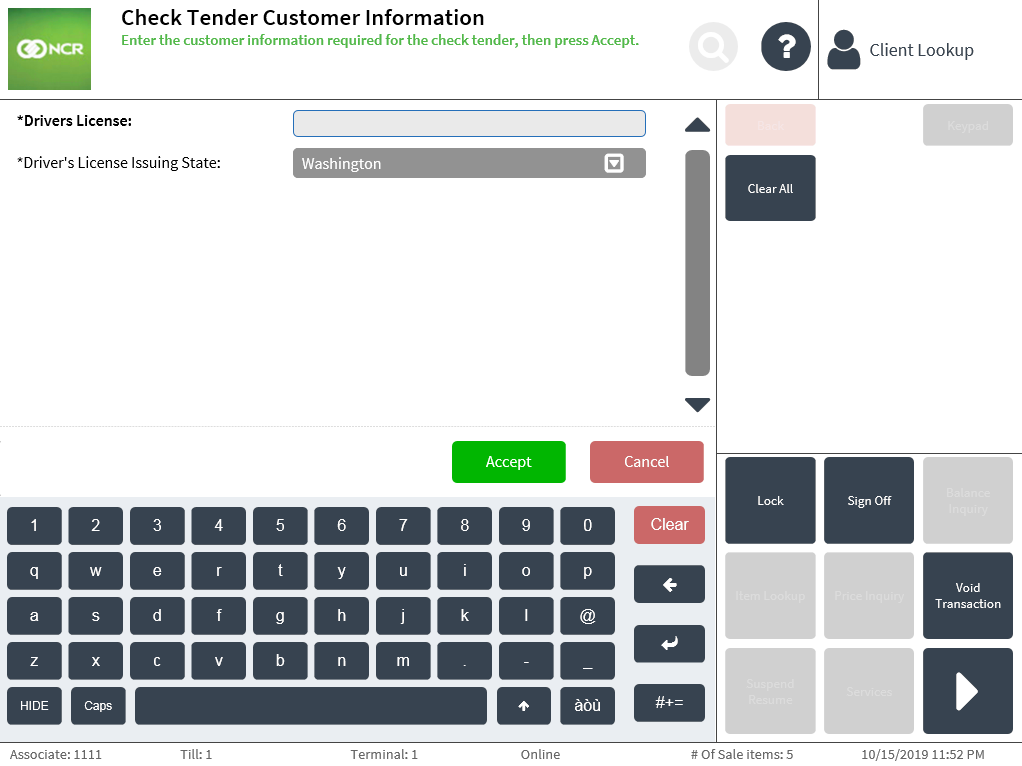
- Enter the Driver’s License Number, and then, select the issuing state of the ID from the drop-down list.
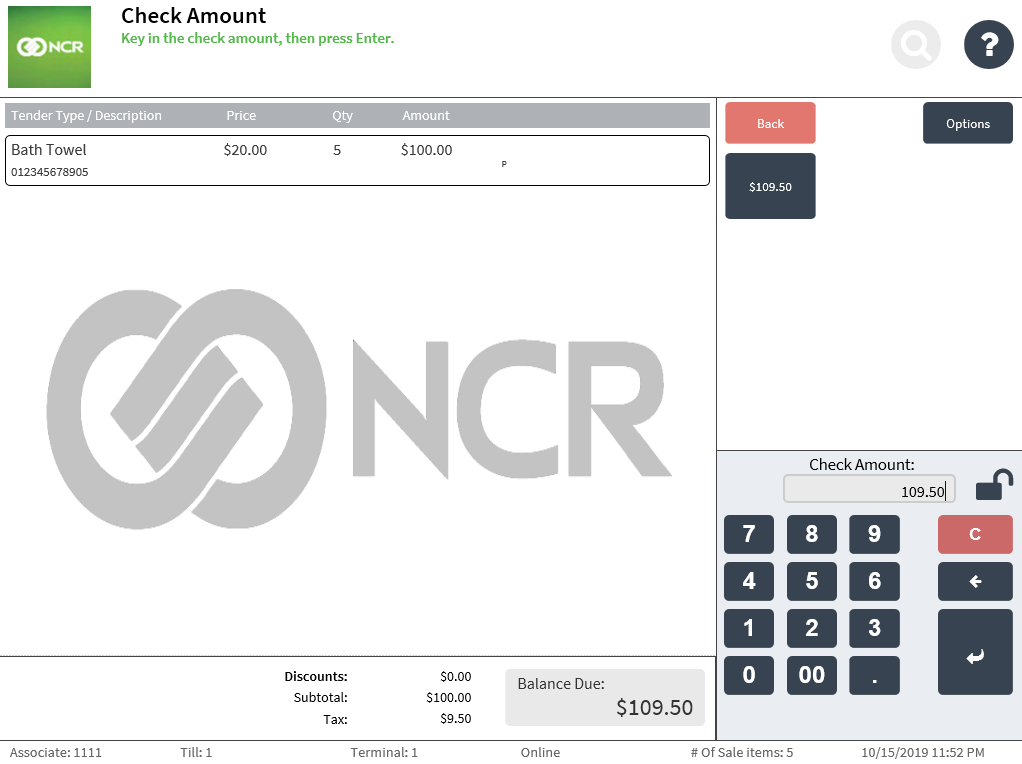
- Select Accept. The application displays the Check Amount screen.
 Note
NoteIn the Check Amount field, the POS application automatically suggests an amount equal to the total balance due.
- Do one of the following:
- Select the predefined amount in the options menu.
- Enter the check amount on the keypad, and then select Enter. Note
If the amount entered is less than the balance due, the application displays the Tender Menu screen after printing the endorsement information, permitting the associate to select another payment option.
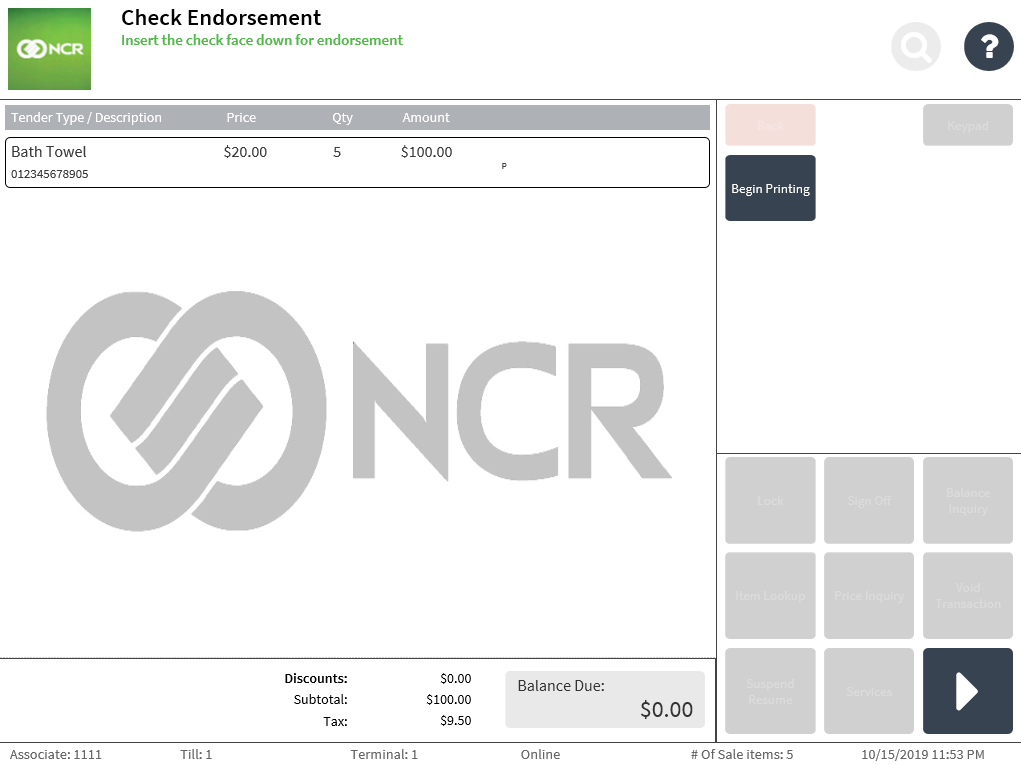
The application displays the Check Face Printing screen.
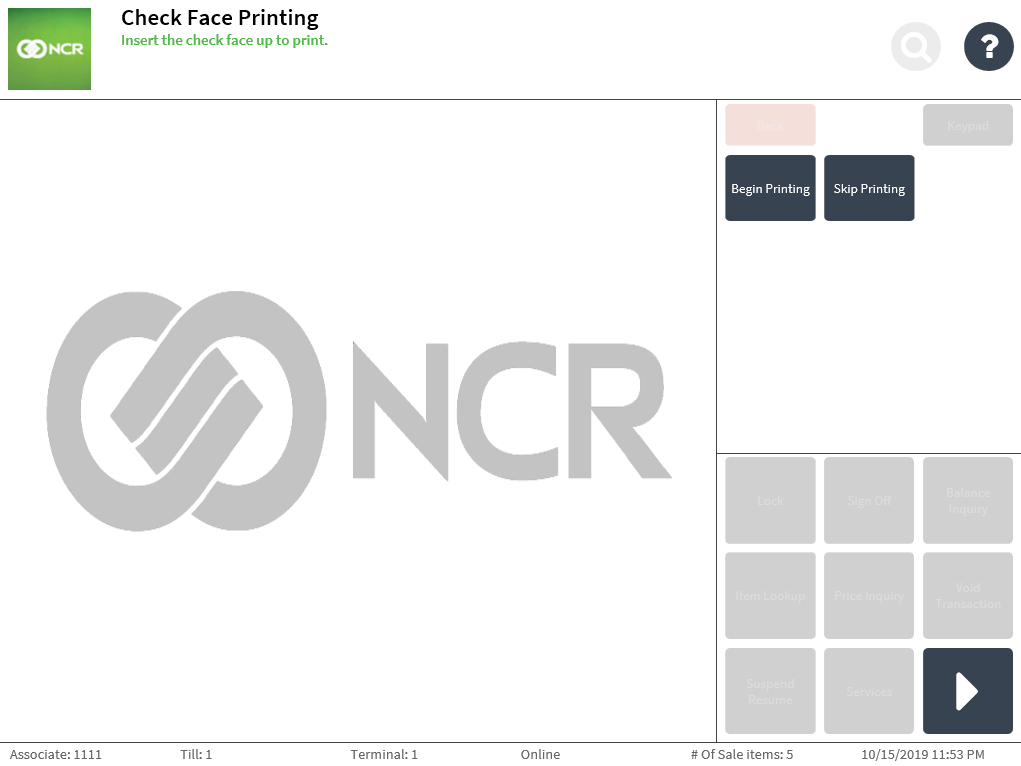
- Do one of the following:
- Insert the check face up into the check printer, and then select Begin Printing if the customer requests for a check amount confirmation text printed on the check.
- Select Skip Printing if the customer decides not to have the check amount confirmation text printed on the check.
The application displays the Check Verification screen and a message instructing the associate to verify the check amount.
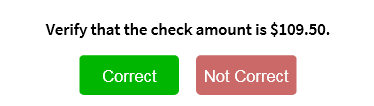
- Verify that the check has been signed by the customer and that the check amount matches the amount displayed on the confirmation message. Note
Select Not Correct if the check amount does not match the amount displayed on the confirmation message. The application returns to the Tender Menu screen and displays a Check: Voided line.
- Select Correct. If the Begin Printing option was selected in step 7, the application prints the check amount confirmation text on the face of the check and displays the Check Endorsement screen.
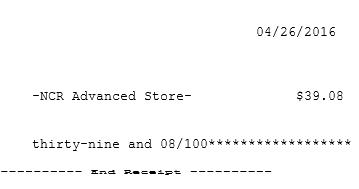
The following image displays sample check amount confirmation text.
- Insert the check face down into the check printer, and then select Begin Printing. The application prints the company endorsement information text on the back of the check and displays an information message. The information message instructs the associate what to do with the accepted check.
The following image displays sample company endorsement information text.
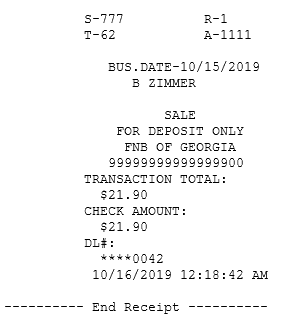
The following image displays a sample information message that instruct associates what to do with accepted checks.
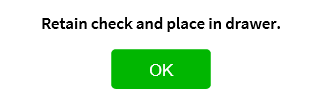
- Select OK on the information message. The application displays the Receipt Preference screen.
- Select a receipt type. The application prints the sales transaction receipt and displays the Change Due screen.
- Close the cash drawer. The application displays the Sign On screen.
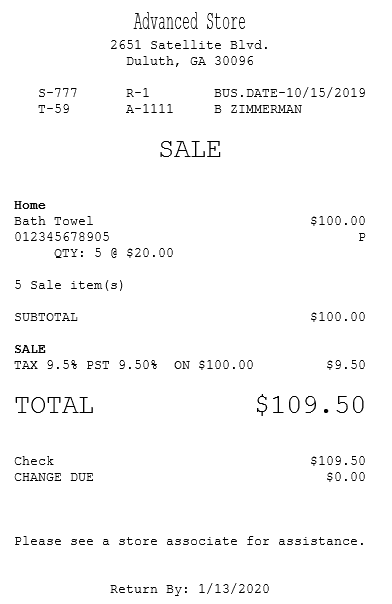
Sample receipt
Sales receipt for check tenders
Accepting electronic check payments
The AS POS also accepts electronic checks or e-checks. Third-party payment processors convert the paper checks to electronic checks, and the physical check is returned to the customer. Retailers can search for the electronic check transactions through the Store Financial Summary Report and through the Enterprise Transaction Search (ETS).
When the check authorizer service converts a bank check to an electronic check, the PIN pad prompts the customer for a signature. The PIN pad also displays an electronic check terms and conditions that requires a customer signature. When the customer signs but does not proceed with the transaction, an authorized associate would need to call the check verification service to manually void the check. A slip is also printed with further instructions when the customer declines to proceed with the transaction.
Electronic check tenders cannot be voided. When the POS is offline to the check authorizer, an information message is displayed, and the electronic check tender will not complete.
When the electronic check payment transaction is successful, a receipt is printed with the electronic check policy text and a masked account number from the check. A chit is also printed when the electronic check is declined by the bank.
Configurable features
The POS application can be configured with the following features.
- Specify a payment solution for authorization and check verification service. Refer to the following option:
- Tender > Payment Authorization
- Enable the POS to print a void chit at the end of a check tender. Refer to the following option:
- Check > Print Void Tender Chit
- Add additional text on the franking slip template. Refer to the following options:
- Franking Setup > Additional Franking Text 1
- Franking Setup > Additional Franking Text 2
- Franking Setup > Additional Franking Text 3
- Franking Setup > Additional Franking Text 4
- Configure the text display on the POS and the chit when the check voiding fails. For more information, refer to Renaming POS UI Elements and Receipt Text.