Creating quick menu items
Retailers can add a store product to a quick menu by creating an item button for the product. Items assigned to quick menus retain their tax properties defined in the store’s database.
The following steps describe creating a quick menu button for the sample store item Roman Necklace.
To create an item button for a store product, follow these steps:
- On the Menu Maintenance screen, select Add/Edit Menu Buttons. The POS application displays the Add/Edit Menu Buttons screen.
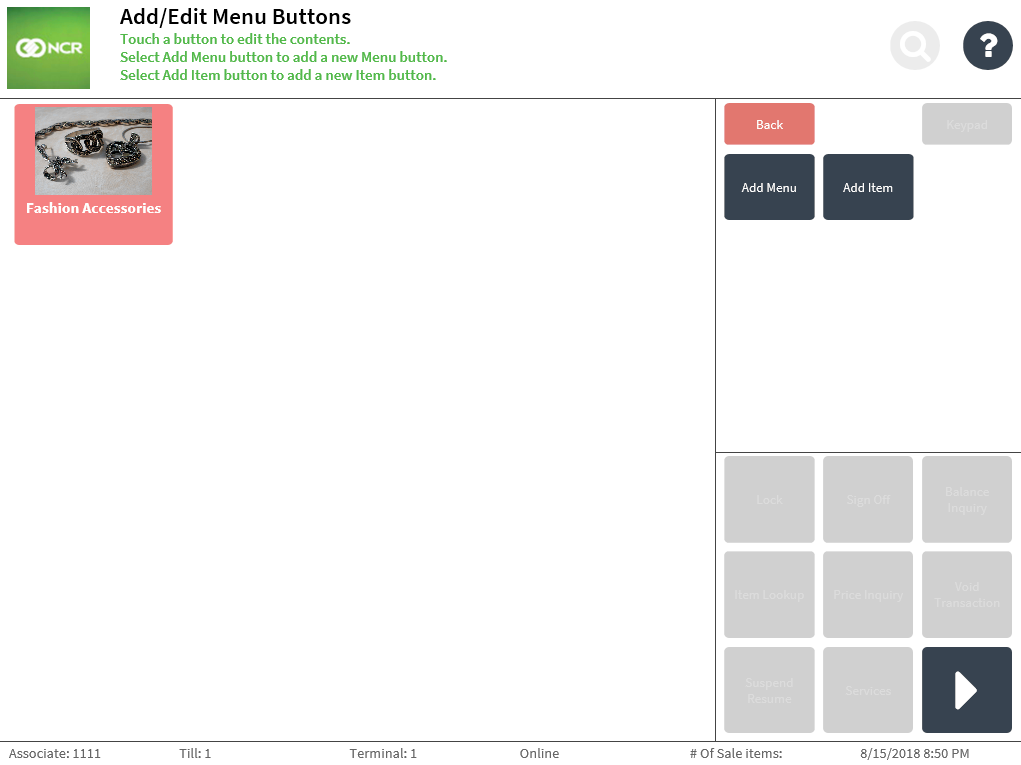
- Select Add Item. The POS application displays the Add Item Details screen.

- Enter the required information. Use the following table to understand the fields on the screen.
Field name Description Sample value Button ID Specifies the unique ID of the item button.
NoteBy default, the POS generates the button ID. This field cannot be modified.
2 Parent Menu Name Determines the item button’s parent menu, or in which quick menu the item button is displayed.
NoteThe field’s drop-down list of options reflects the existing quick menu styles. Enter or select the name of the quick menu to which the item will be added to.
Fashion Accessories Display Order Determines the order in which the button is displayed on the Menu Maintenance screen and Quick Menu screen. 4 Label Defines the primary line of text displayed inside the button. Roman Necklace Additional Text Defines the secondary line of text displayed inside the button. (None) Background Color Specifies the color code for the background of the button. #F78181 Foreground Color Specifies the color code for the label text displayed inside the button. #FAFAFA Background Color Pressing Specifies the color code for the background of the button when selected. #B45F04 Foreground Color Pressing Specifies the color code for the label text displayed inside the button when the button is selected. #F2F2F2 Action Type For item buttons, the POS displays Add Item as the field’s value by default.
NoteThis field cannot be modified.
Add Item Action Data Specifies the bar code of the item. 00006220987862 Image Location Specifies the URL path of the image to be displayed on the item button.
NoteFor POS terminals accessing an image URL, add the image URL to the browser’s list of trusted sites within the Internet option settings to avoid error messages and to properly load the images.
https://upload.romannecklace.png Item Description Defines the item description to be displayed on the POS application and POSLog, as well as printed on the transaction receipts and chits. Roman Necklace Item Price Specifies the price of the item. 120.00 NoteItem details can be validated with the store’s database using the Validate Item function. For more information, refer to Validating details of quick menu items.
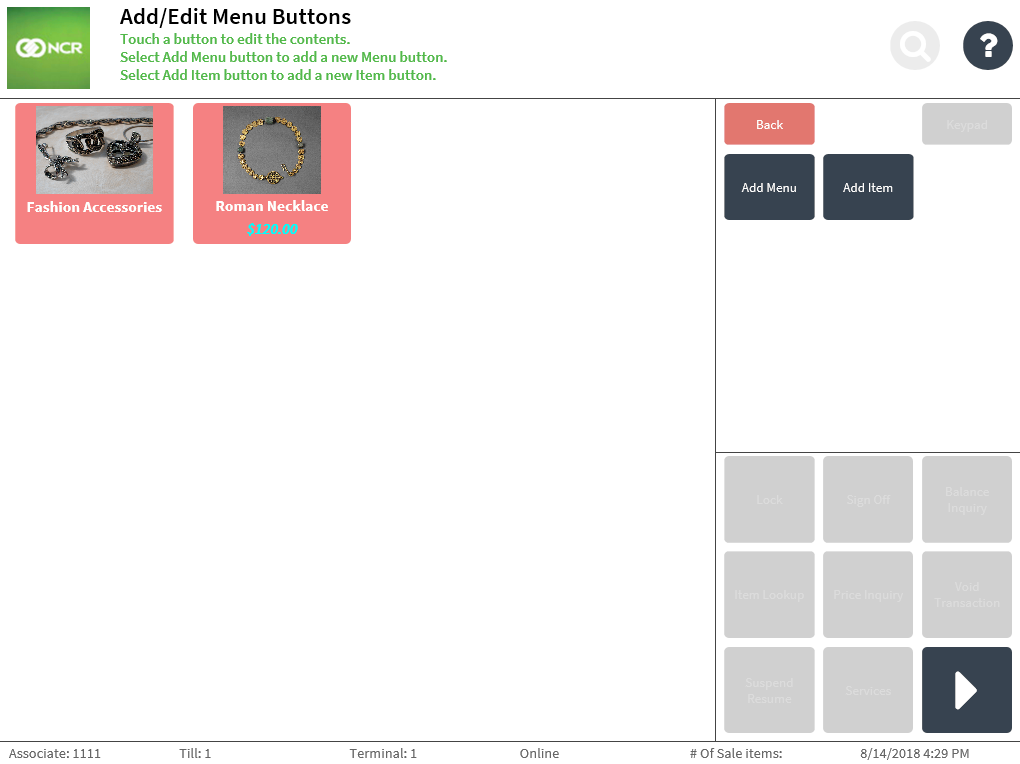
- Select Save. The POS application displays the item button on the Add/Edit Menu Buttons screen.
 Note
NoteIn the sample image above, the quick menu button for the item Roman Necklace is added to the Fashion Accessories menu.