Processing standard customer enrollment
The standard customer enrollment feature is accessible from the Transaction Types screen or during sales or exchange transactions.
The following steps describe a standard customer enrollment from the Transaction Types screen.
To enroll a new loyalty member using the standard customer enrollment method, follow these steps:
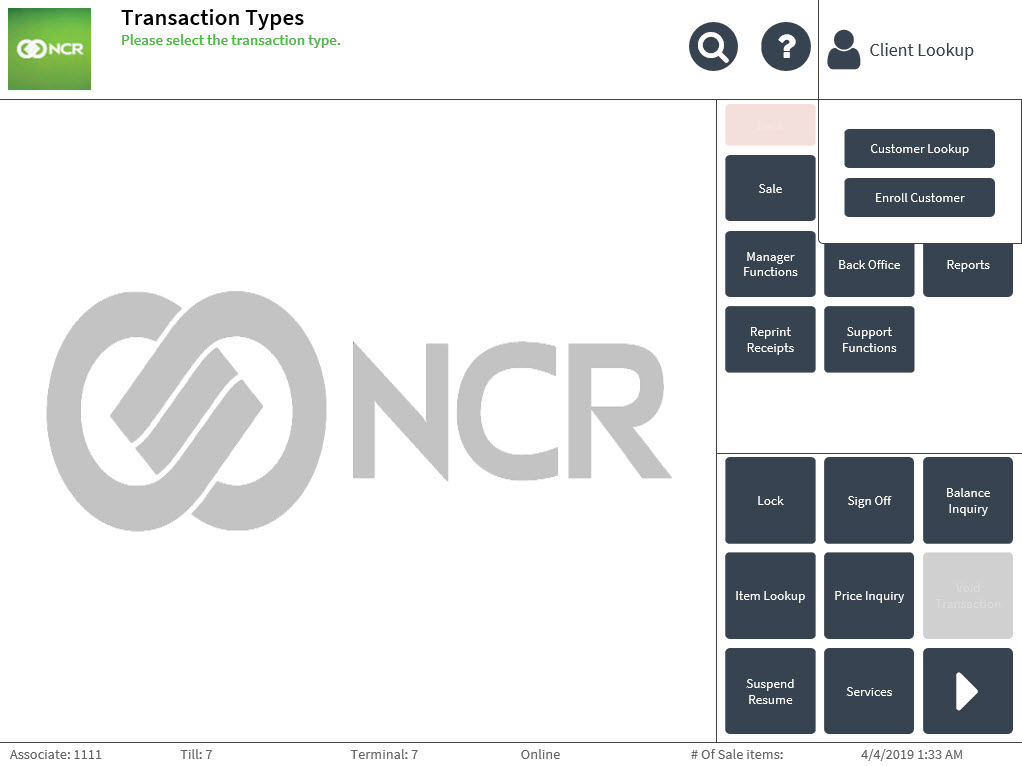
- On the upper-right section of the Transaction Types screen, select Client Lookup. The application displays the Client Lookup drop-down pane.
 Note
NoteWhen the instant membership feature is enabled, the POS application displays the Customer Lookup screen after selecting Client Lookup.
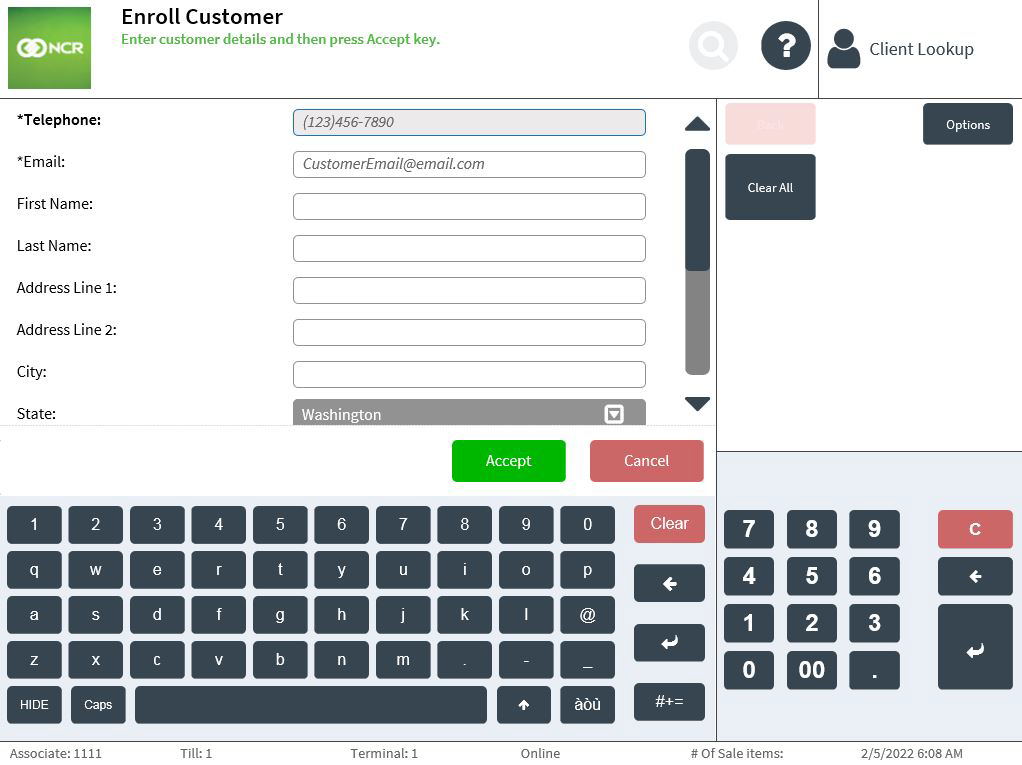
- Select Enroll Customer. The application displays the Enroll Customer screen.
 Note
NoteWhen configured, the POS application collects Opt-In Email, Opt-In Text, and Phone Type information on the Enroll Customer screen.
- Do one of the following:
- Enter the required customer details.
- Scan a valid ID when the POS application is integrated with IDScan.net. The customer information is then populated on the screen. For more information, refer to Validating customer information.
- Select Customer Entry on the right section of the screen to allow the customer to use the PIN pad to enter the required details if the POS is integrated with a payment solution.
- Select Accept. The application displays a confirmation message about adding the newly enrolled member to the current transaction.

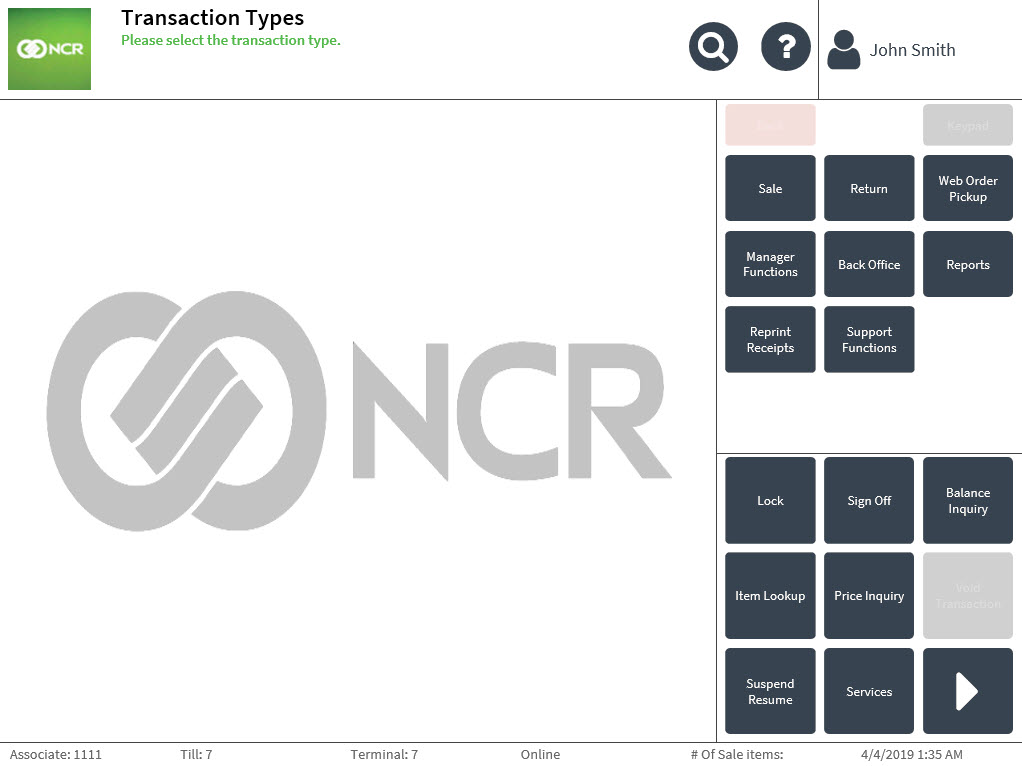
- Select Yes to start a transaction with the new member. The POS application displays the Transaction Types screen with the member’s name on the Client Lookup Panel.
Error responses
If the customer enrollment is not successful after entering information on the Customer Information screen, the POS application responds with an error message in the following scenarios:
- The associate did not provide EOM-required customer information on the Enroll Customer screen.
- The associate did not provide SAIL-required customer information on the Enroll Customer screen.
- The member already exists.
- The POS is offline. The POS application can be enabled to accept offline customer enrollments. For more information, refer to Accepting offline membership enrollments.
- The retailer’s CRM system is currently unavailable.
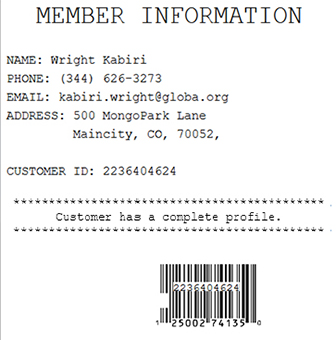
Member information chit
When enabled, the application prints a member information chit after a successful enrollment. The member information chit displays the member profile status and details. A member profile can either be complete or incomplete. The member’s profile status is determined by the response coming from the retailer’s CRM system. By default, a customer profile is considered complete when the Integration Layer (SAIL) detects that the following information is provided:
- Address
- City
- State
- Zip Code
When the newly added member has a complete profile, the member information chit displays the member details and the complete profile text as defined in EOM.
When the newly added member has an incomplete profile, the member information chit displays a QR code and the incomplete profile text as defined in EOM.
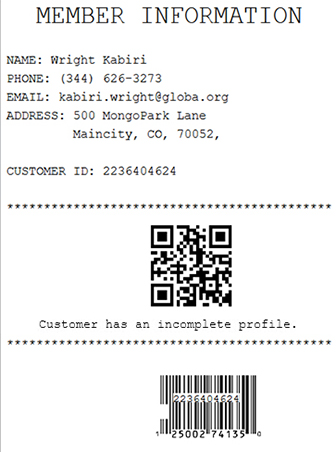
The QR code is configurable. For more information, consult with an NCR Representative.