Handling Even-Exchange returns
Retailers can enable the even-exchange feature in the POS. With the even-exchange feature, authorized associates can accept a single item for return then exchange it for a similar item without tendering. This feature is used in cases where, for example, a customer returns a defective item and requests for a new one. Because the price and tax of the item remains the same, the associate can perform an item exchange without tendering.
Retailers can also configure an allowed price difference between the return item and the exchange item. Fee items, linked items, and add-on items are not eligible for even-exchange.
Configurable features
The POS application can be configured with the following features.
- Prevent associates from adding items that are not found in the Product Catalog to the transaction. For more information, refer to Item Setup.
- Set up the following even-exchange features:
- Enable the even-exchange feature.
- Prevent price override for receipted and gift-receipted even-exchange transactions.
- Set up the maximum amount of price difference for an even-exchange.
- Set up the maximum percentage difference for an even-exchange.
- For more information, refer to Returns Setup.
Handling an even-exchange in a return transaction
To process an even-exchange in a receipted or non-receipted return transaction, follow these steps:
- Perform a receipted or non-receipted return. For more information, refer to Handling Receipted Returns and Handling Non-Receipted Returns.Note
Only single items can be returned in an even-exchange.
- On the Return Entry screen, select Even Exchange. The application displays an information message requesting for the customer’s signature.
- Select OK. The application displays the returned item on the Sale Main Menu screen. The receipt number on the far right side of the screen indicates that it is a returned item.
 Note
NoteWhen an item that is pending return is selected, a text indicator is displayed in the item details, indicating the return reason.
- Do one of the following:
- Scan the item bar code of the item to be exchanged.
- Enter the item code of the item to be exchanged.
The application displays a confirmation message to finalize the transaction or modify the sale item.
- Select Continue. The application displays the Receipt Preference screen.
- Select a receipt type. The application prints the receipts. Have the customer sign the receipt.
Handling an even-exchange in an exchange-only transaction
To perform an even-exchange in an exchange-only transaction, follow these steps:
- Perform an exchange-only transaction. For more information, refer to Exchanging items for return without a receipt.
- Enter or scan the item for return. The application displays the Return Reasons screen.
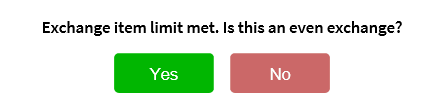
- Select a return reason. The application displays a message indicating that the exchange item limit has been met.
 Note
NoteIf the exchange item limit is configured to have a value of more than one, select the Even Exchange option after adding one item for return.
- Select Yes to indicate that this is an even exchange. The application displays an information message requesting the customer’s signature.
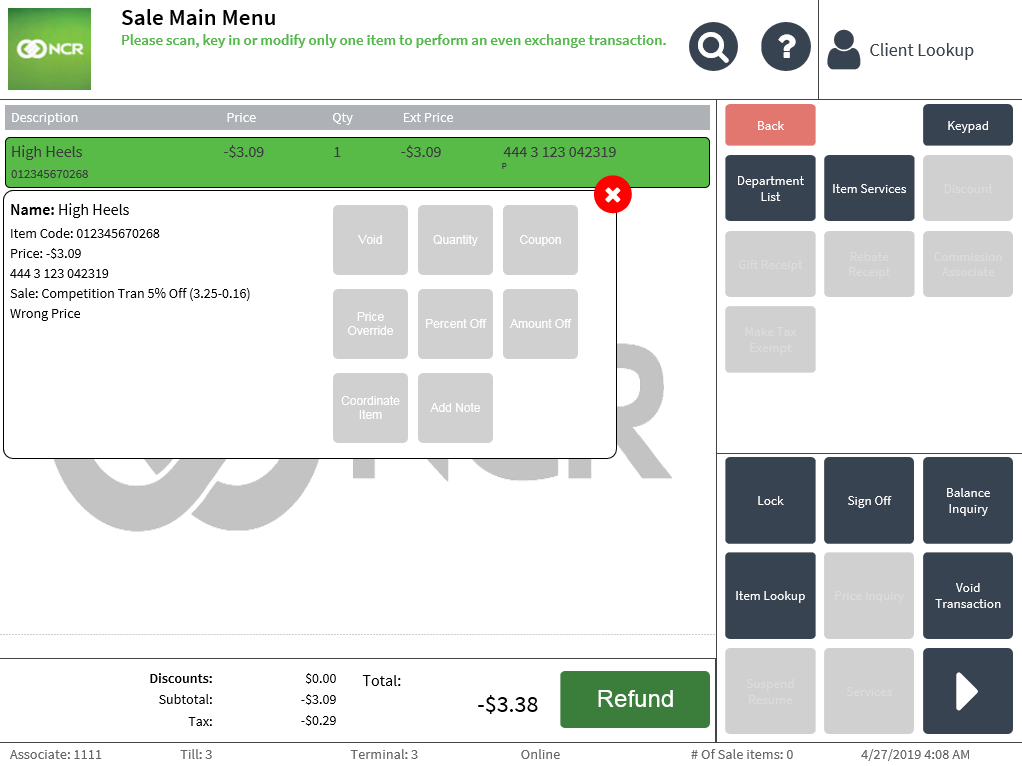
- Select OK. The application displays the Sale Main Menu screen.
- Scan or enter the item code of the item to be exchanged. The application displays a confirmation message
- Select Continue. The application displays the Receipt Preference screen.
- Select a receipt type. The application prints the receipts. Instruct the customer to sign the receipt.
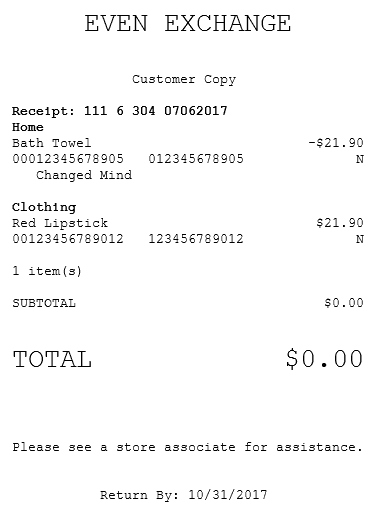
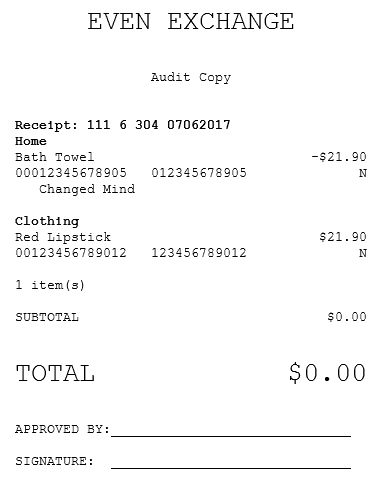
Sample receipt
Even Exchange receipt
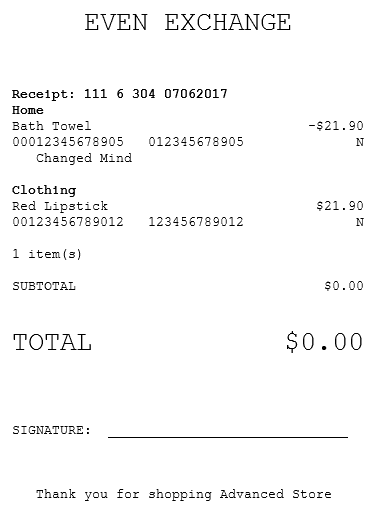
Audit copy of Even Exchange receipt
Customer copy of Even Exchange receipt