Handling returns with Unique Bar Codes (UBC)
The Unique Bar Code feature requires a UBC sticker to be adhered to all physical items sold in the store. The feature prevents fraud and simplifies searching for original transactions when items are returned.
When the UBC feature is enabled, retailers can scan or enter UBC numbers during the following return processes:
- Receipted returns
- Gift-receipted returns
- Transaction search
The application searches the database for the item with a UBC number affixed and proceeds with the return process.
Only one member can be added to a return transaction. Associates can no longer search, add, or switch members past the Return Entry screen after selecting the reason for returning the items.
Configurable features
The POS application can be configured with the following features.
- Enable the UBC feature. For more information, refer to Item Setup.
- Enable the UBC feature as a criteria in a transaction search. For more information refer to Turn On/Off Trusted Cashier.
Returning items with a UBC
Authorized associates can process items for return without the receipt if the items have UBC stickers.
When a UBC that belongs to a gift receipt is scanned or entered, the transaction follows the gift-receipted return process. The application then does not accept UBCs that are not from gift receipts to be included in the transaction. When a UBC that belongs to a regular sales transaction is scanned or entered, the transaction follows the receipted return process and does not accept gift receipt items to be included in the current transaction.
The associate may also scan the UBC while on the Transaction Types screen to initiate the return process.
To return items using a UBC sticker, follow these steps:
- On the Transaction Types screen, select Return. The application displays the Transaction Search screen.
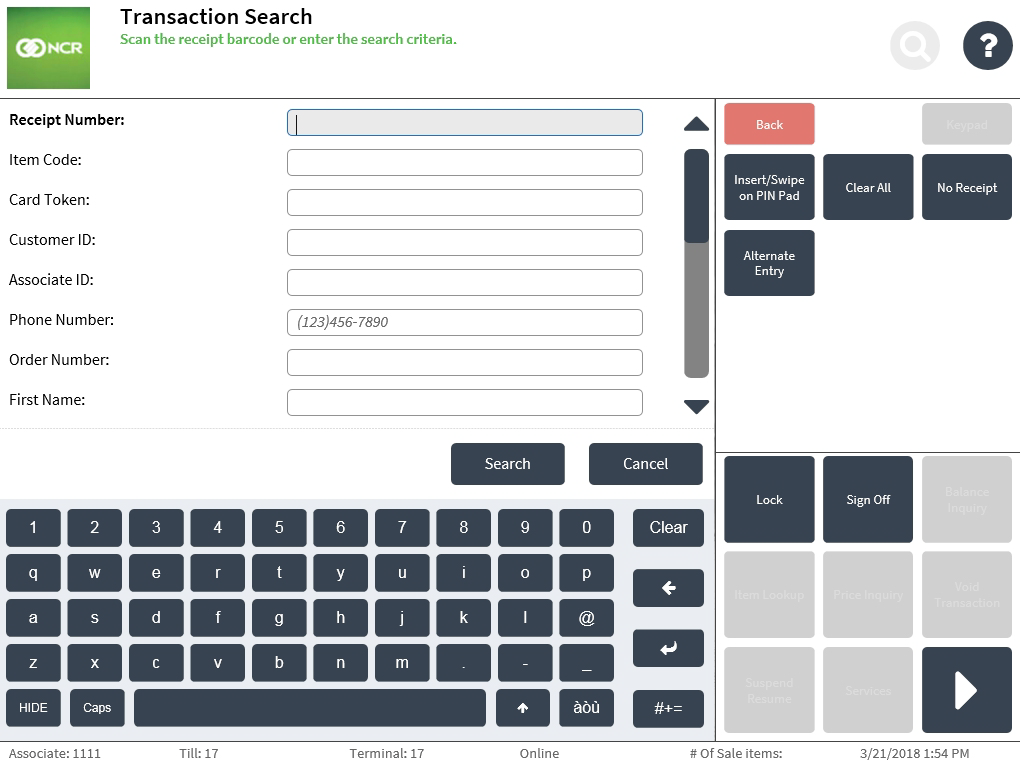
- Do one of the following:
- Scan the UBC.
- Enter the UBC on the UBC field.
The application displays the item on the Return Reasons screen.
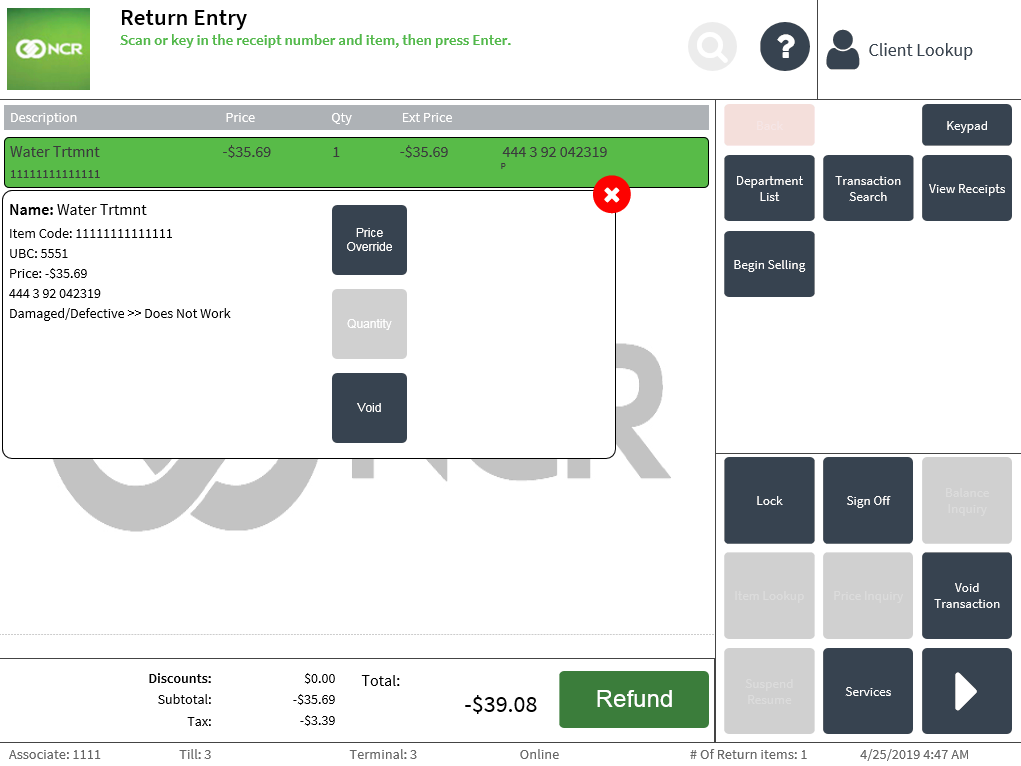
- Select a return reason. The application displays the item on the Return Entry screen. The last four digits of the UBC and the return reason are displayed in the item details.
 Note
NoteThe application displays the return transaction number information next to the selected items for return.
- Continue scanning or entering items to be returned. When all items for return are selected, select Refund. The application displays a message requesting for the customer’s signature.
- Select OK.
- Complete the transaction.