Assigning a till in the cash office
In the Cash Office, associates can add new till assignments to terminals in the store.
Configurable features
The POS application can be configured to print an Office Till Assign Transaction Receipt after assigning a till. For more information, refer to Receipt Printing.
To assign a new till to a terminal, follow these steps:
- On the Till Setup screen, select Assign Till. The application displays the Till Assignment Source screen with a list of tills.
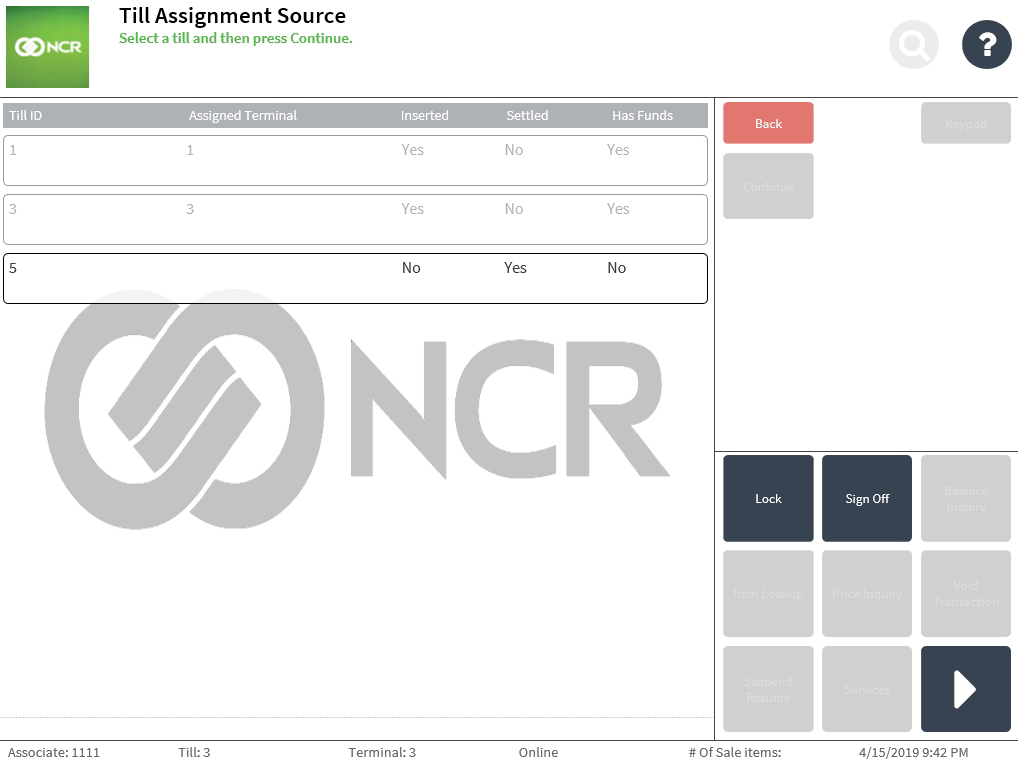
- Select the till to be assigned. The application highlights the selected till line.
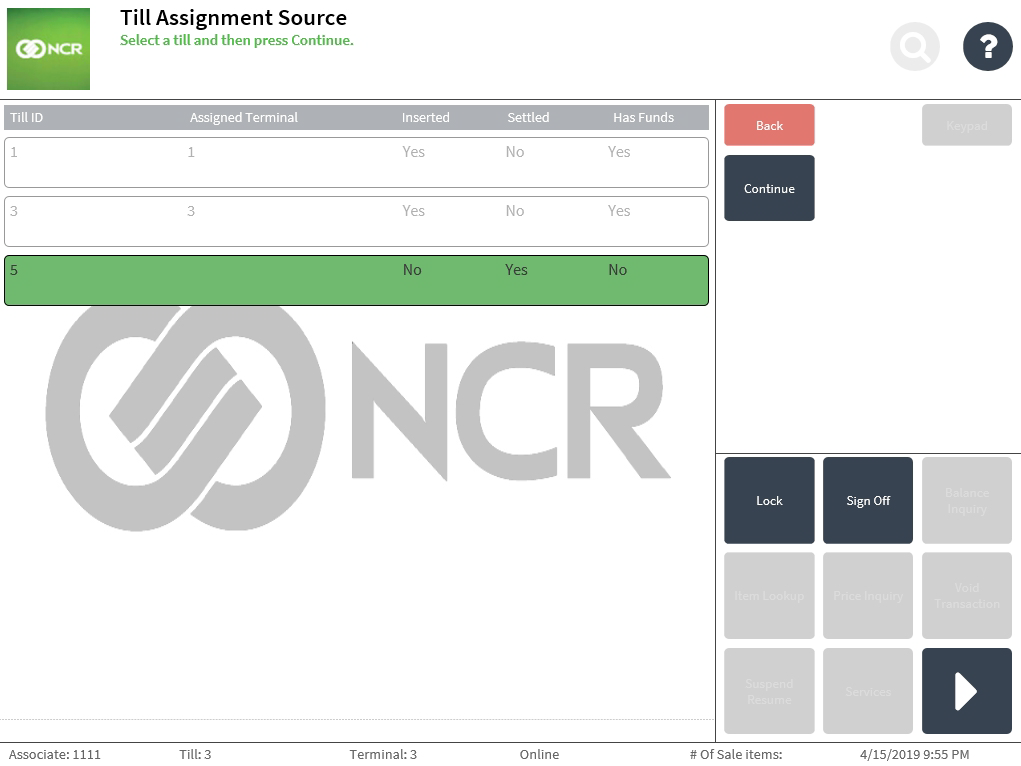
- Select Continue. The application displays the Till Assignment Destination screen.
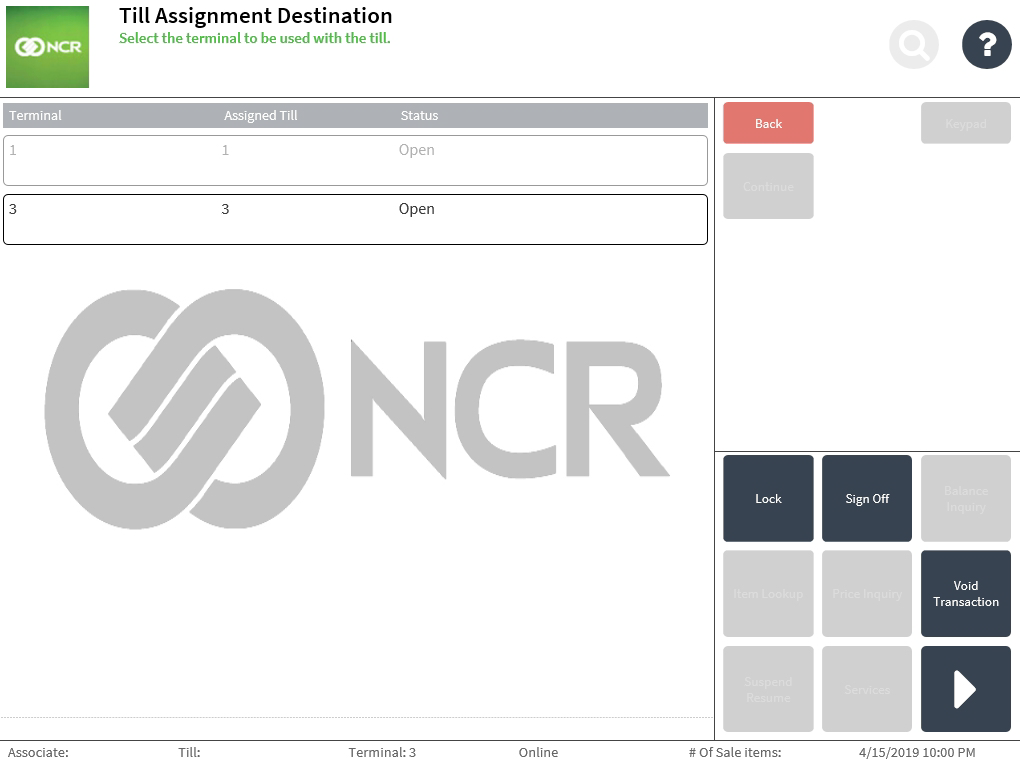
- Select the terminal to assign with the new till.Note
The terminals that currently have inserted tills are unavailable for selection.
- Select Continue. The application prints the Till Assign chit and displays the Till Setup screen.
Reassigning a till in the cash office
Associates can reassign a till to a new terminal in the Cash Office.
To reassign a till in the Cash Office, follow these steps:
- On the Till Setup screen, select Assign Till. The application displays the Till Assignment Source screen with a list of tills.
- Select a till to reassign. Note
The tills that are currently inserted to terminals are unavailable for selection.
- Select Continue. The application displays a till reassignment confirmation message.
- Select Yes. The application displays the Till Assignment Destination screen.
- Select the terminal to assign with the till.Note
The terminals that currently have inserted tills are unavailable for selection.
- Select Continue. Note
If the selected terminal currently has an assigned till, the application displays a confirmation message for the associate to continue with the reassignment.
- Select Yes. The application prints the Till Assign chit and displays the Till Setup screen.