Installation Procedure
To upgrade an NCR SelfServ™ Checkout (7350) with a 120 GB SSD, follow these steps:
1.Turn off the NCR SelfServ Checkout software and hardware systems.
2.Open the Upper Cabinet Door. For more information, refer to Opening Upper Cabinet Door.
3.Remove the Scanner/Scale. For more information, refer to Removing Scanner/Scale.
4.Tilt the E-Box Bracket forward to easily access the hard drive slot.
5.Remove the Hard Disk Drive from the E-Box. For more information, refer to Removing Hard Disk Drive.
6.Install the 120 GB SSD to its bracket. For more information, refer to Installing SSD to SSD Bracket.
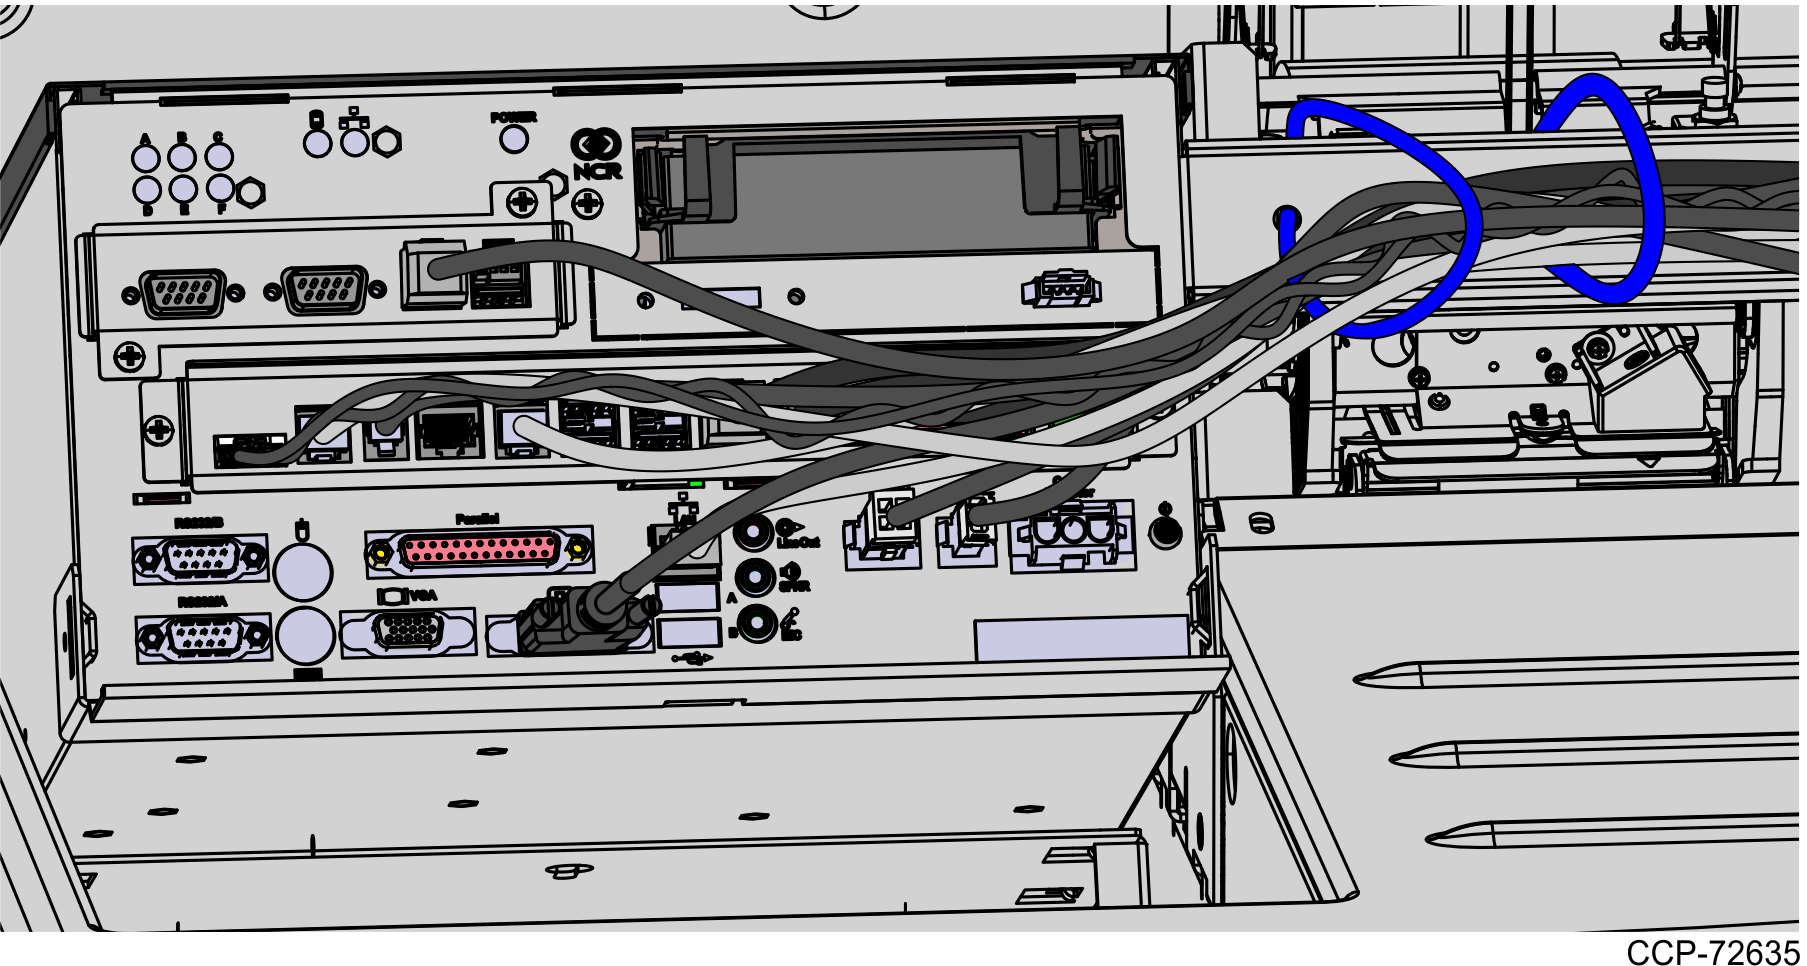
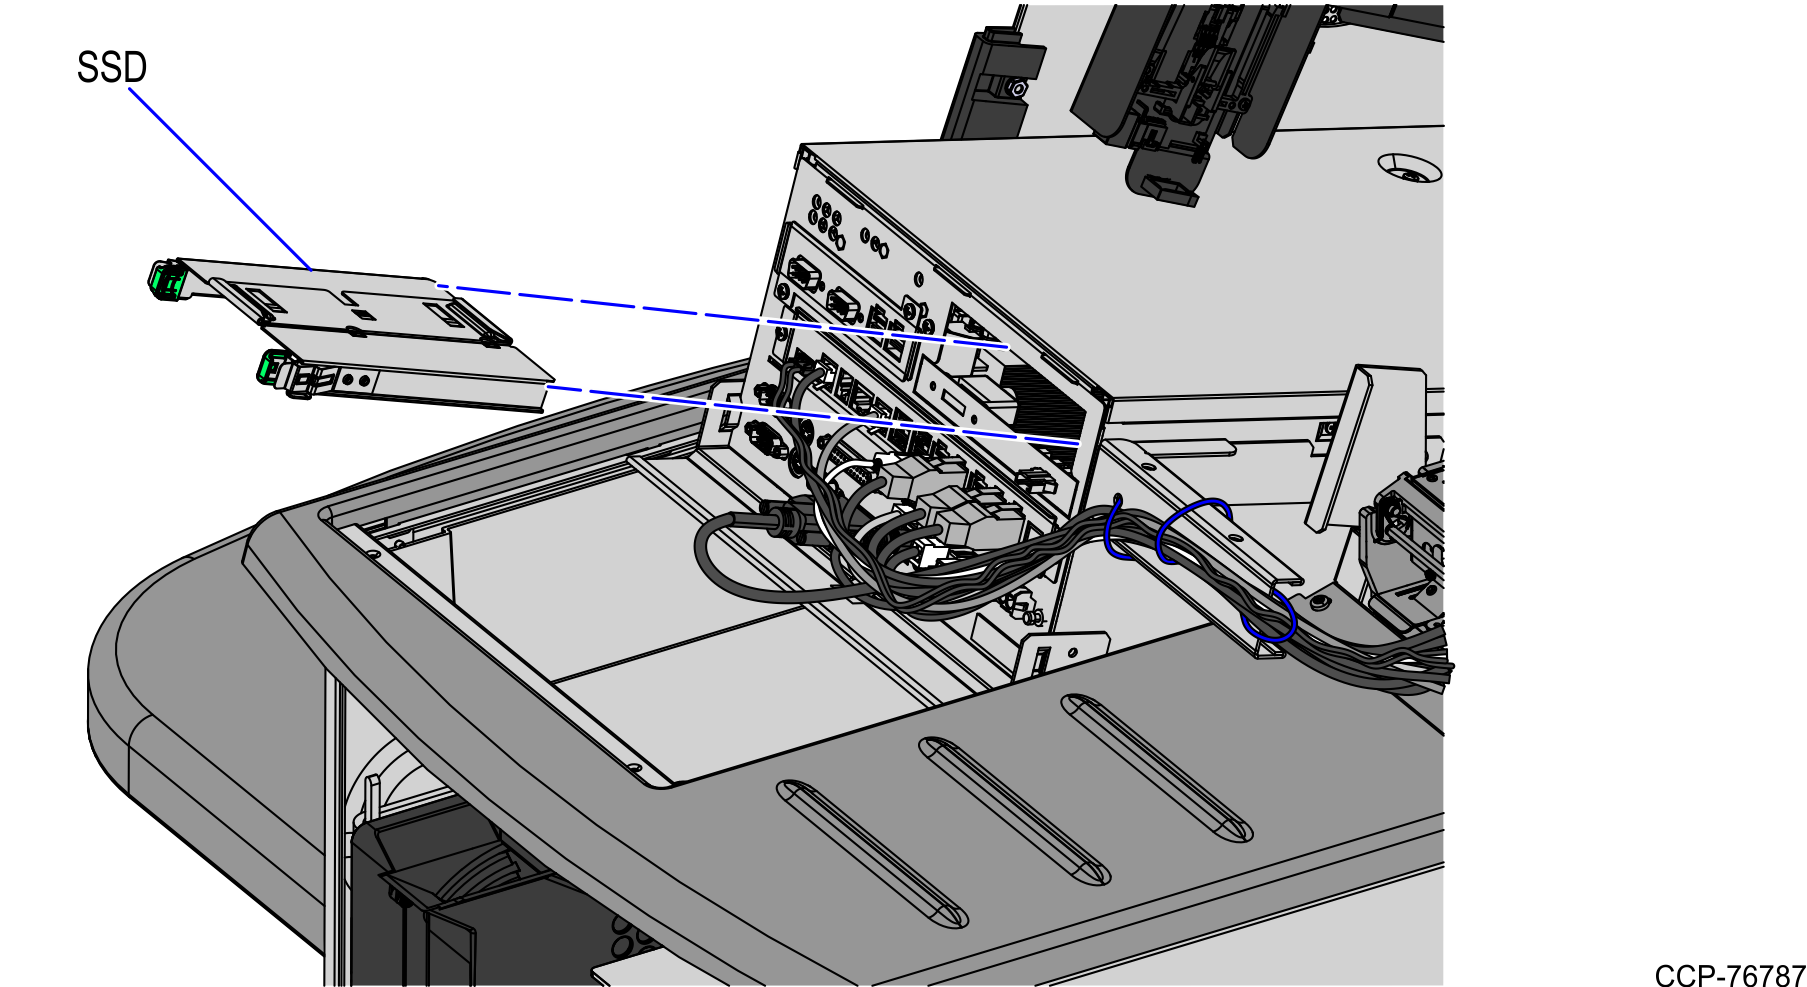
7.Flip the SSD assembly so that it is facing downwards, and then slide it into the hard drive slot of the E-Box, as shown in the image below. For instructions about how to install the SSD to the SSD Bracket, refer to Installing SSD to SSD Bracket.
Note: Ensure that the spring latches are secured.
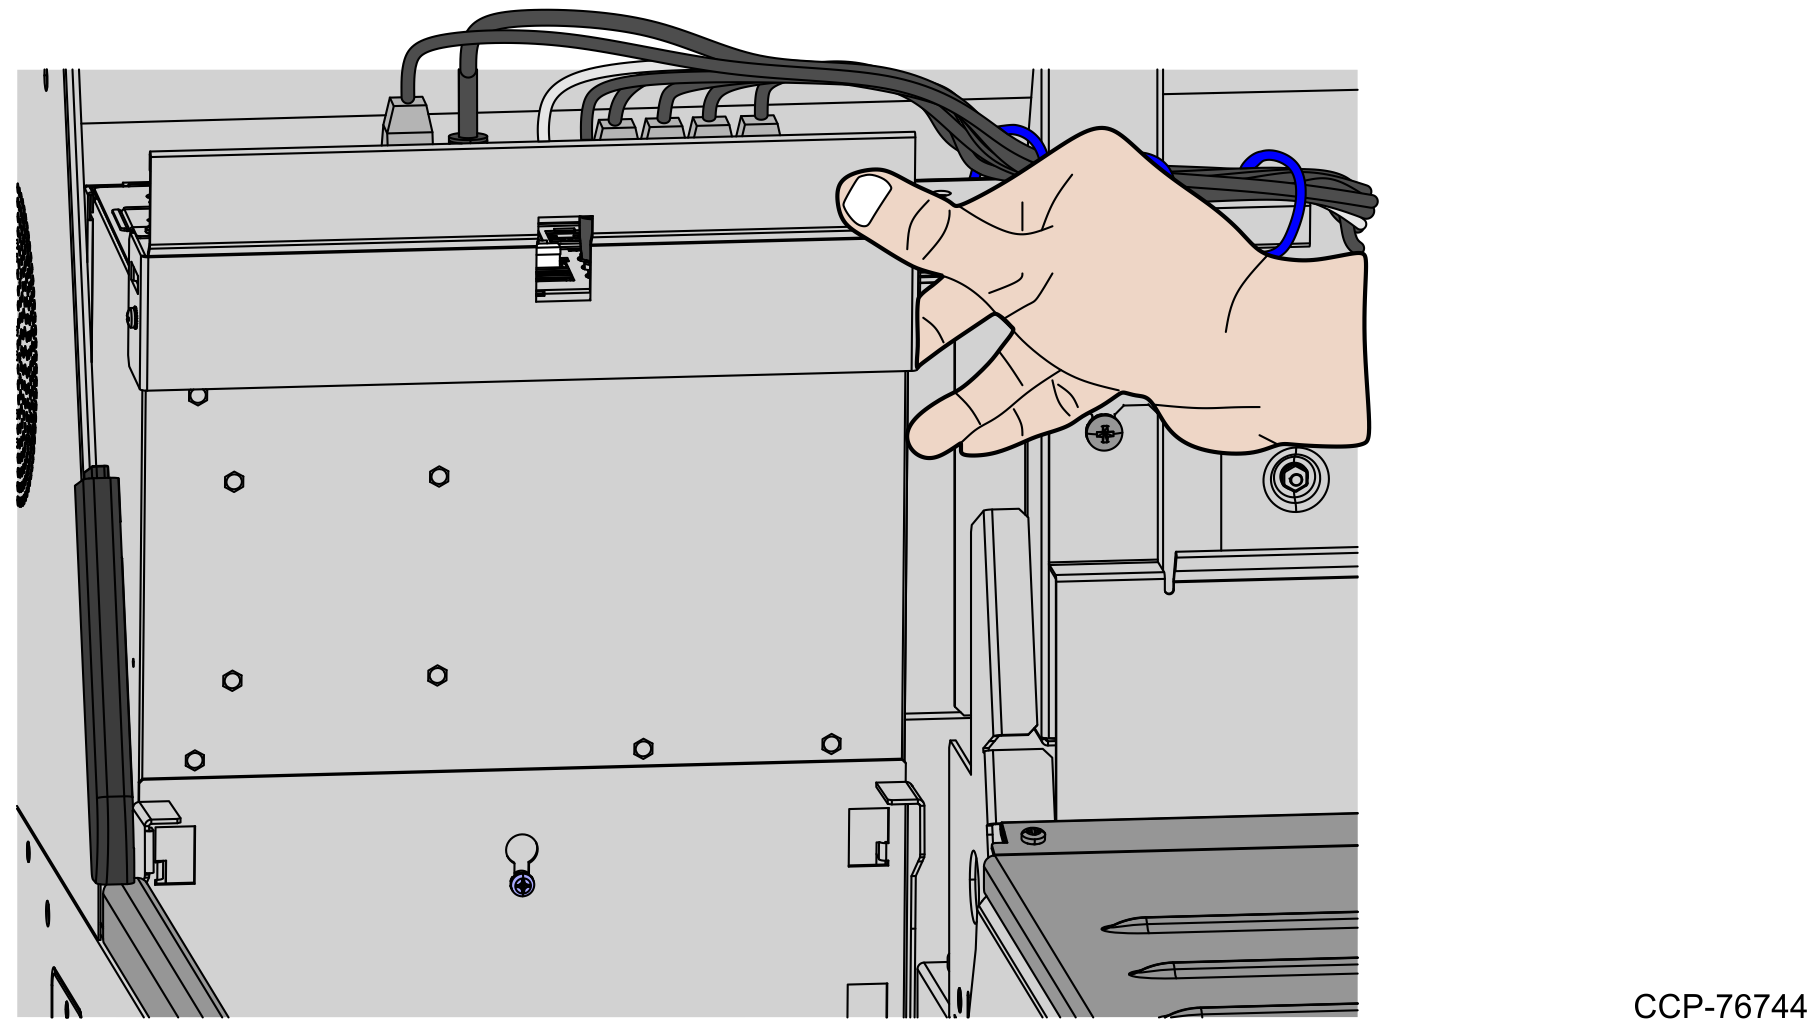
8.Raise and push the E-Box back to the closed position.
Note: Ensure that the cables are not caught by the rotation of the E-Box.
9.Install the Scanner/Scale. For more information, refer to Installing Scanner/Scale.
10.Close the Upper Cabinet Door.