Configuring Camera Settings
Before configuring the camera settings, do the following:
- Obtain the IP address settings of the removed camera. This will be used to set the IP address of the new Camera. For more information, contact an NCR Representative or the Retailer's Help Desk.Note
For new camera installation, IP Addresses are pre-allocated by the Retailer's IT Team.
- Install the Tri-Light/Lane Light with Camera assembly, if necessary. For more information, refer to Installing Tri-Light/Lane Light with Camera Assembly.
- Install the HikVision Search Active Devices Protocol (SADP) tool, if necessary. For more information, refer to Installing SADP Tool.
To configure the Camera Settings, follow these steps:
Note
Ensure that the Camera and the device (DVA, lane, computer or laptop) used for configuration are connected to the same network.
- Select the SADP tool icon from desktop to open the application.
The SADP interface appears and displays active devices with corresponding IP addresses, as shown in the image below.
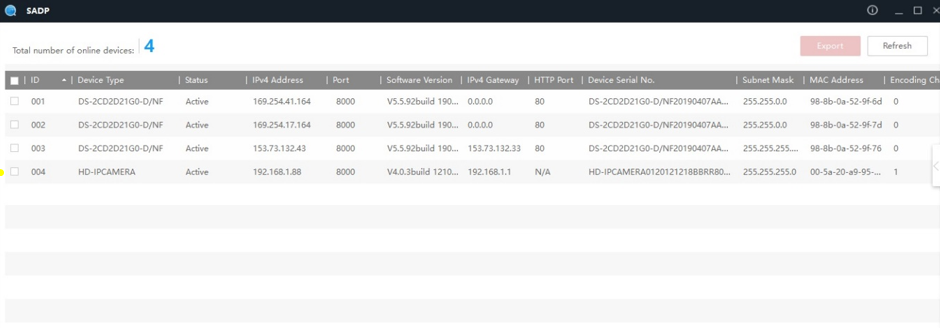
- Select Refresh to update the devices listed and their corresponding information.

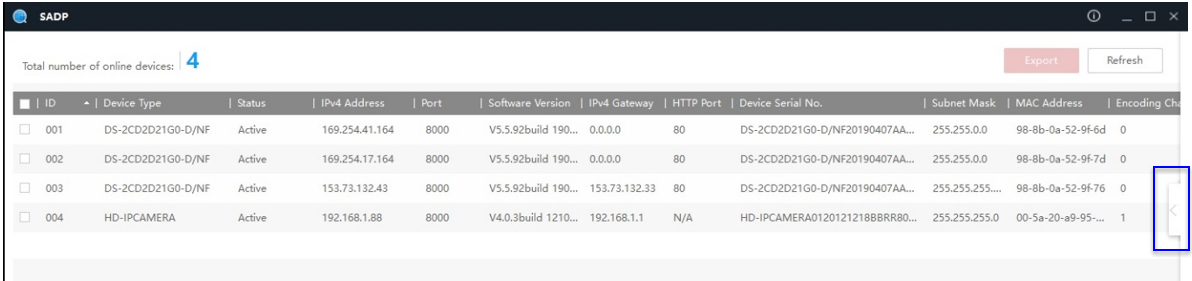
- Modify the network parameters by the doing the following, if necessary:
- Select the camera to modify by checking the check box.
- Select the arrow on the right side of the interface.
The side panel opens and displays settings of the selected camera.
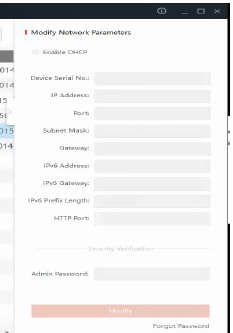
- Do the following:
- Update the IP Address of the camera.
- Select Modify to save the changes.