Connecting the Printer to the Terminal
To establish the connection between the printer and the terminal, follow these steps:
- Connect the printer communication cable to the terminal.
- Double–click the Lean Receipt Utility.exe file. The Lean Receipt Utility is started. The application displays the Lean Receipt Utility main window.
The USB port information panel on the Lean Receipt Utility main window displays details about the USB port and the Model number.
The following image displays the NHPI interface as the detected interface after the printer communication cable is connected to the terminal.

- From the Device dropdown list, select the printer model.
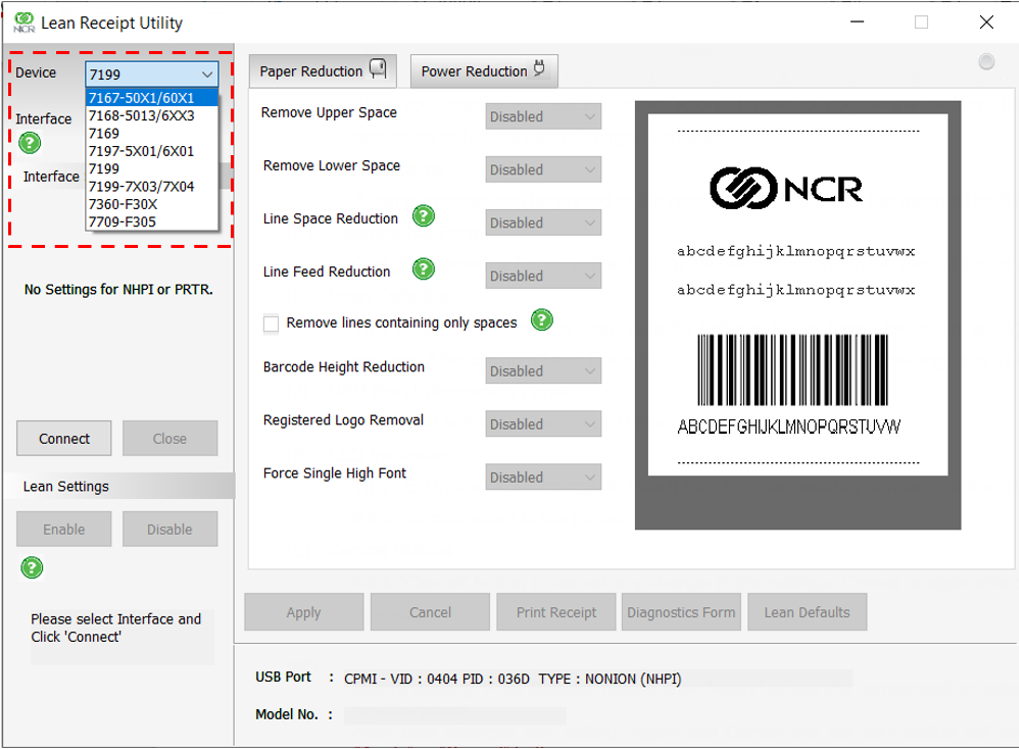
- From the Interface dropdown list, select the interface. The Interface Settings are enabled depending on the selected interface.
Interface Interface Settings RS-232 or ION (EPIC) Select the correct COM port number and set the following:
- Baud Rate
- Parity Bit
- Stop Bit
- Data Bit
- Data Flow
To obtain the COM port number, refer to Obtaining the COM port number.
To obtain other settings, refer to Printing a diagnostic form (offline).
NHPI (HID) No configurable interface settings. The USB port information panel shows the interface used to connect the printer. PRTR No configurable interface settings. The USB port information panel shows the interface used to connect the printer. Ethernet (LAN) Requires the printer IP Address.
To obtain the IP Address, refer to Printing a diagnostic form (offline).
FILE Use this interface option to create a binary file (.bin) or a configuration file (.cfg) that can be used in a script for the printer. This option is used to remotely send commands to the printer using another utility.
NoteSelecting Add Reboot in the interface settings adds a reboot command at the end of a binary file (.bin).
For more information, refer to Saving Configuration Settings.
- Provide the required interface settings, and then select Connect. The application establishes the connection between the printer and the terminal.
