Configuring Using 123Scan Utility
To configure the NCR 7895 scanner using 123Scan utility, follow these steps:
- Using a USB communication cable, connect the NCR 7895 scanner to a computer or POS terminal. The scanner produces three incrementing beeps.Note
If the computer or POS terminal supports audio, it also produces a detection sound indicating that the scanner is detected.
- Launch the 123Scan utility. For more information, refer to Launching NCR 123Scan.
- Create a configuration file using the following options:
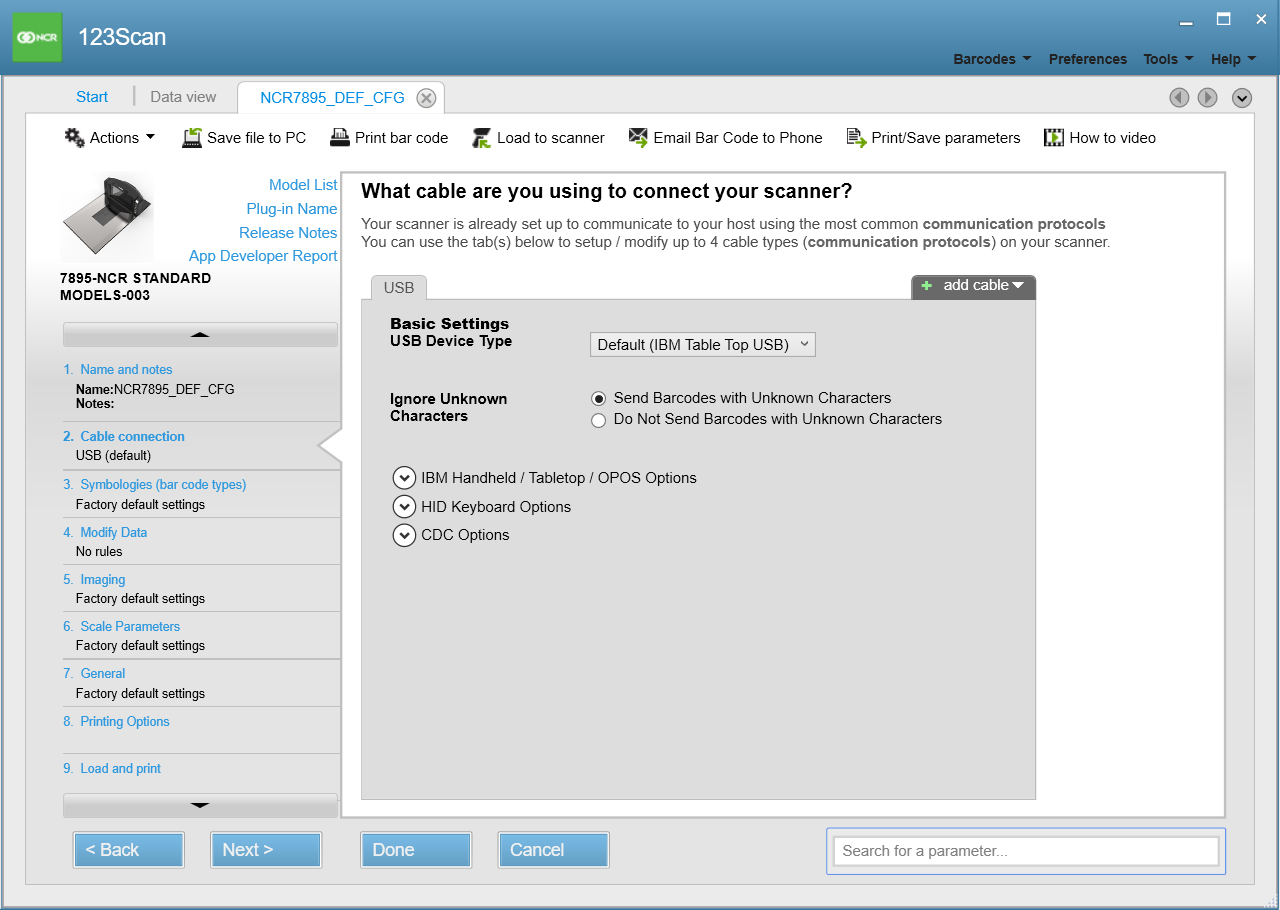
- On the left pane of the 123Scan Configuration Wizard, select Cable connection. The application displays the USB interface settings.
- Select add cable, and then select Single RS232C. The application displays the Single RS232C interface settings.
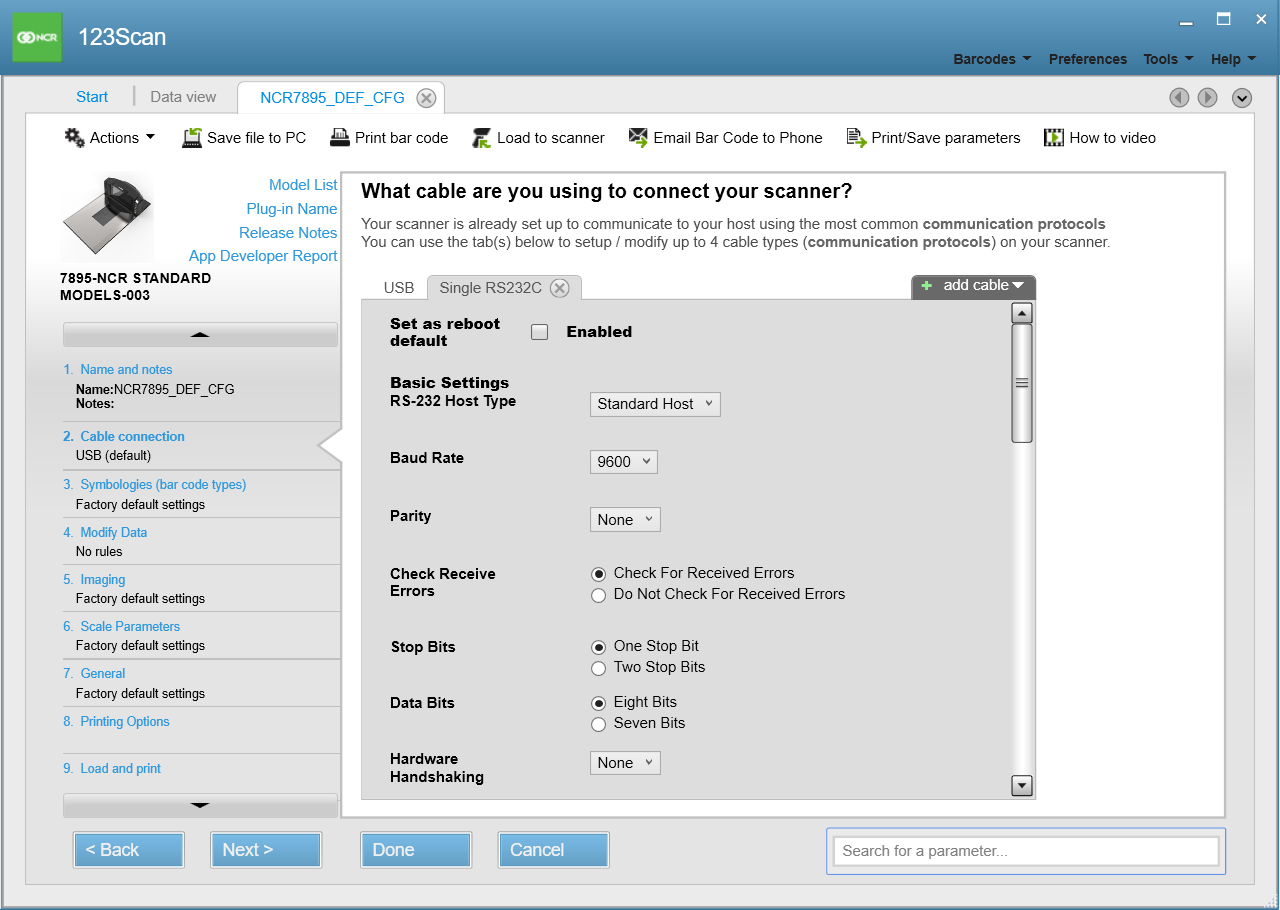
- Enable the Set as reboot default option. This setting enables the scanner to set the cable connection to RS-232 upon reboot.
- Set the RS‑232 Host Type to NCR Host. The application displays the parameter default settings for NCR Host.
- Set the following NCR Host settings.
Parameter Description NCR Use Prefix Uses prefix for all communications. By default, this parameter is enabled. - Enable—for customers using prefix.
- Disable—for customers not using prefix.
NCR Use BCC Uses of the Block Check Character (after the Terminator byte) for all communications. Set this parameter based on the NCR Interface used. By default, this parameter is enabled. - Enable—for Scanner/Scale interface.
- Disable—for Scanner Only interface.
NCR Interface Sets the NCR specific interface to be used for all communications. By default, this parameter is set to Follow System. - Follow System—auto-detects the system interface used.
- Scanner Only—for NCR 7895 scanner‑only units.
- Scanner/Scale—for NCR 7895 scanner/scale units.
NCR Prefix Determines the Prefix Character used for all communications. By default, this parameter is set to 1002 (prefix 02, STX). NoteIf the NCR Use Prefix parameter is disabled, leave this parameter blank.
- Load the new configurations to the scanner.
- On the left pane of the 123Scan Configuration Wizard, select Load and print. The application displays the load and print options.
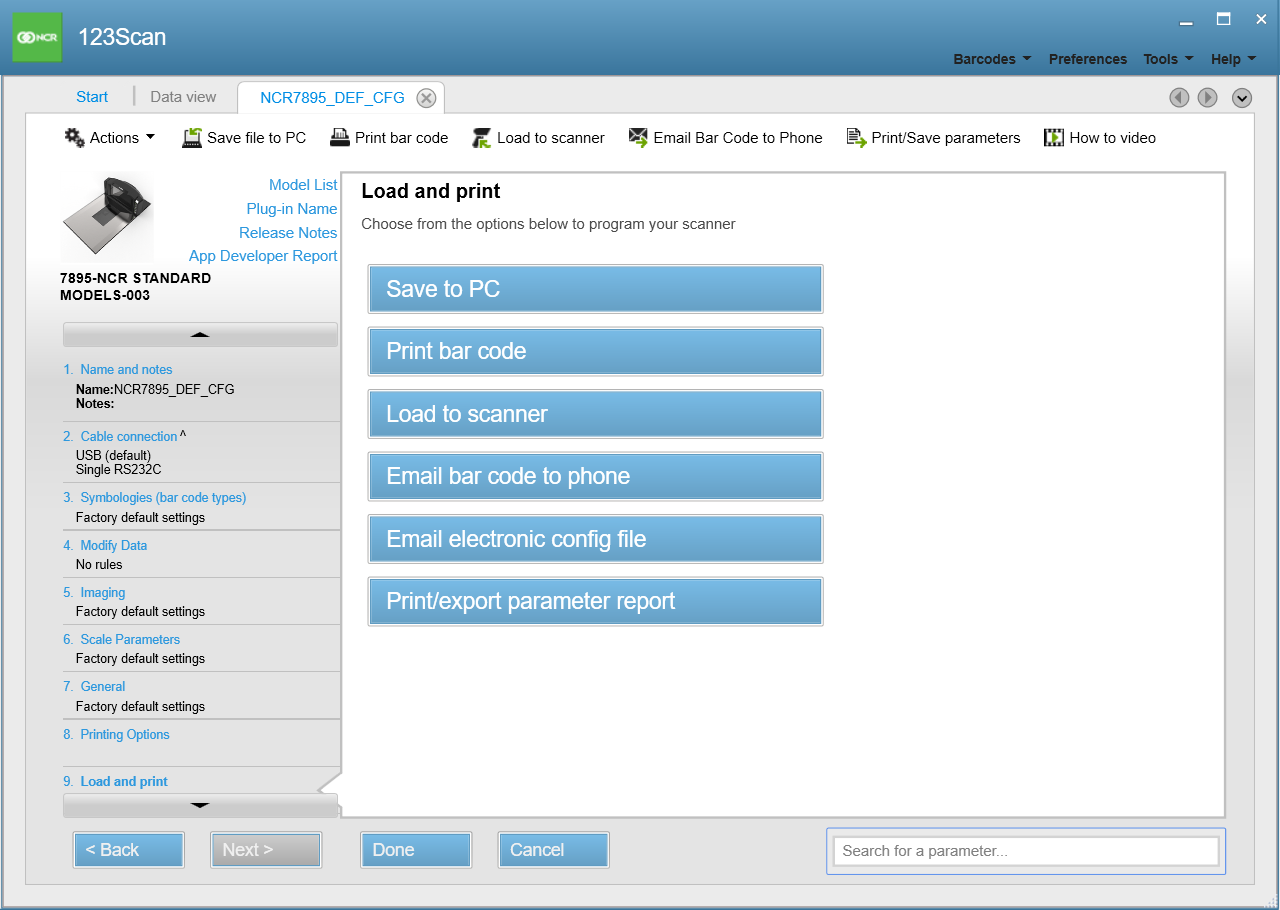
- From the Load and print options, select Load to scanner. The application displays the Load configuration window.
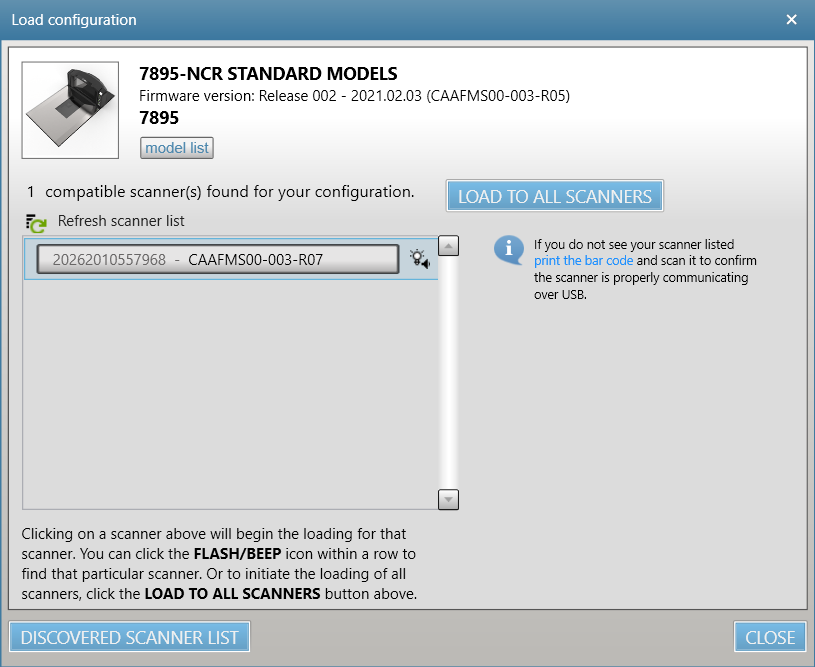
- From the scanner list, select the scanner to configure. The application starts loading the configuration to the selected scanner.
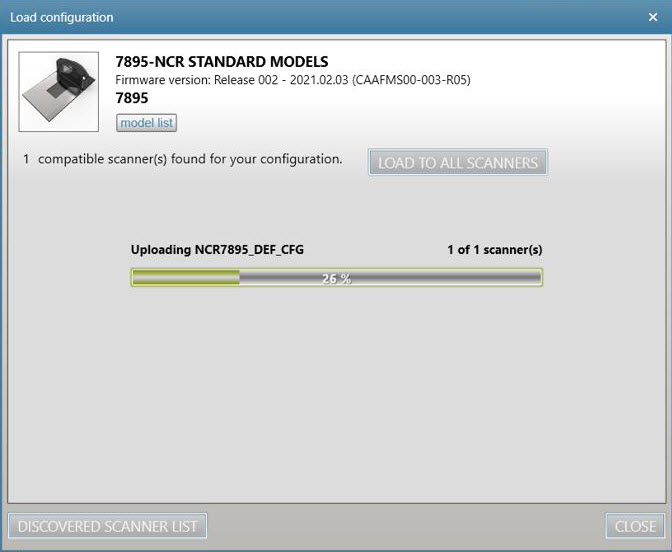
- When the application has completed loading the configuration to the scanner, select Close.
- On the left pane of the 123Scan Configuration Wizard, select Load and print. The application displays the load and print options.
- Close the 123Scan utility. The scanner automatically reboots.
- Turn off the scanner and disconnect the USB cable.
- If the scanner is powered by a host terminal, disconnect the USB cable from the scanner and from the computer or POS terminal.
- If the scanner is powered by an external Power Supply, disconnect the AC Power Cable from the AC power source, and then disconnect the USB cable from the scanner.
- Connect one end of an RS-232 communication cable to the scanner and the other end to the host terminal.
- Turn on the scanner by connecting the AC Power Cable to the AC power source. When the scanner starts up, it produces three incrementing beeps.
- Launch any serial application and test scanner functions such as scanning bar codes, sending commands, and others.