Assigning a till after terminal closing
When the POS terminal is closed, authorized associates can assign a till to the terminal.
Before starting the transaction, associates must ensure the following POS settings:
- A till is not currently inserted to the terminal.
- The terminal does not have an assigned till to it.
- The POS application is operating in Department Mode. Refer to Terminal Modes.
Configurable features
The POS application can be configured to print a Till Assign Transaction Receipt after assigning a till. For more information, refer to Receipt Printing.
To assign a till to a terminal, follow these steps:
- On the Closed screen, select Till Assignment. The application displays the Till Assignment Source - Till ID screen.
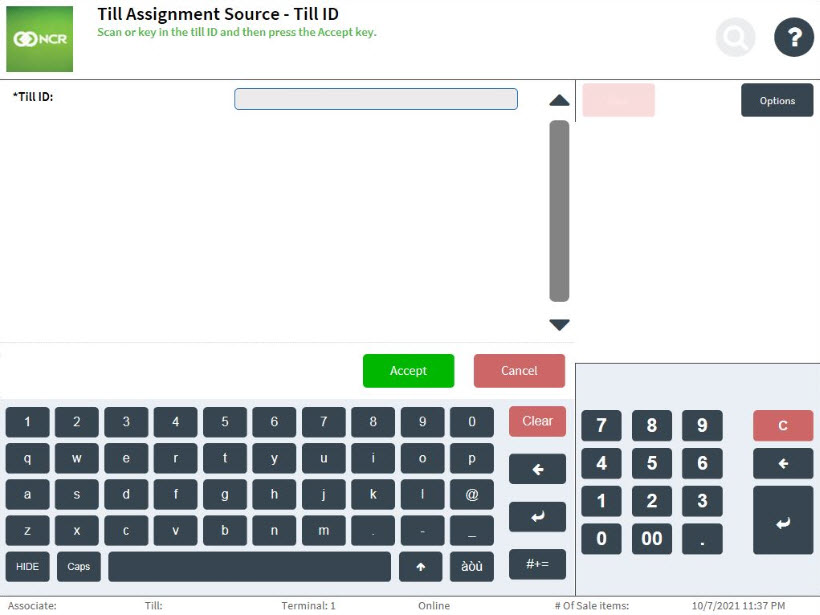
- Enter the Till ID to be assigned to the terminal.
- Select Accept. The application prints the Till Assign chit and displays the Closed screen.
Reassigning a till after terminal closing
When the POS terminal is closed, authorized associates can reassign a till to the terminal.
The application does not allow the associate to reassign a till to the terminal when:
- The selected till to be reassigned is already inserted into a different terminal.
- A till is currently inserted in the terminal.
To reassign a till after terminal closing, follow these steps:
- On the Closed screen, select Till Assignment. The application displays the Till Assignment Source - Till ID screen.
- Enter the Till ID to be assigned to the terminal.
- Select Accept. The application displays a message indicating that the terminal has a different till assigned to it.

- Select Yes to continue with the till reassignment. The application prints the Till Assign chit and displays the Closed screen.