Charging purchases to the store
Some stores pay for a service or product as part of an employee benefits program or in support of a non-government organization. Retailers can enable the application to charge the partial or full balance due of a sales transaction to the store.
The application does not prompt the associate to enter or validate customer information before or after the transaction. For more information, refer to Entering and Validating Customer Information.
Back office functions and ETS reports are not supported.
Configurable features
The POS application can be configured with the following features.
- Enable the Internal Sale button. For more information, refer to Menu Buttons.
- Set up the media tender information printing options:
- Add additional text on the franking slip template.
- Bypass the franking of media tender information and chit printing when internal charge is used as tender. By default, the media tender information is franked and printed on the receipt.
- Frank and print the media tender information on the franking slip. Select this feature if the attached printer supports franking. This is the default setting.
- Print the media tender information on the chit. This option is available for printers that do not support franking.
- Specify the franking slip template. Note
Use franking slip templates supported by the POS application. For more information, consult with an NCR Representative.
- For more information, refer to Franking Setup.
- Customize the media tender settings:
- Modify the Franking Set ID.
- Modify the Media Tender ID.
- Modify the message that is displayed after the tender has been processed.
- Prompt for reference number. When enabled, the application displays the Internal Charge Number screen where associates enter the Internal Charge Number before the application displays Frank Internal Charge screen.
- For more information, refer to Media Tender Setup.
- Disable the Begin Printing button on the Frank Internal Charge screen. For more information, refer to Menu Buttons.
- Enable the POS to automatically start franking when a franking form is inserted. For more information, refer to Receipt Printing.Important
Depending on the model of the printer integrated to the POS application, this feature may require configuring the printer device in the DeviceManager.xml file. For more information, refer to Configuring the POS to automatically frank documents.
- Specify the time period the POS waits for an associate to insert the franking form before displaying a warning message. For more information, refer to Receipt Printing.
- Collect customer information when internal charge is used as tender. By default, the POS application is configured to collect the phone number for accounts receivable tenders. For more information, refer to Information Form Definitions.
For authorized associates to charge the full or partial balance due to the store account, follow these steps:
- On the Transaction Types screen, select Internal Sale. The application displays the Sale Main Menu screen.
- Add items to the sales transaction.Note
The Discount, Commission Associate, Customer Lookup, and Credit Application features are disabled. If a customer has been added to the transaction before selecting Internal Sale, the application automatically removes the customer from the transaction, and then displays an error message.
- Select Pay. The application displays the Tender Menu screen. By default, the application displays all active tenders together with the Internal Sale tender.
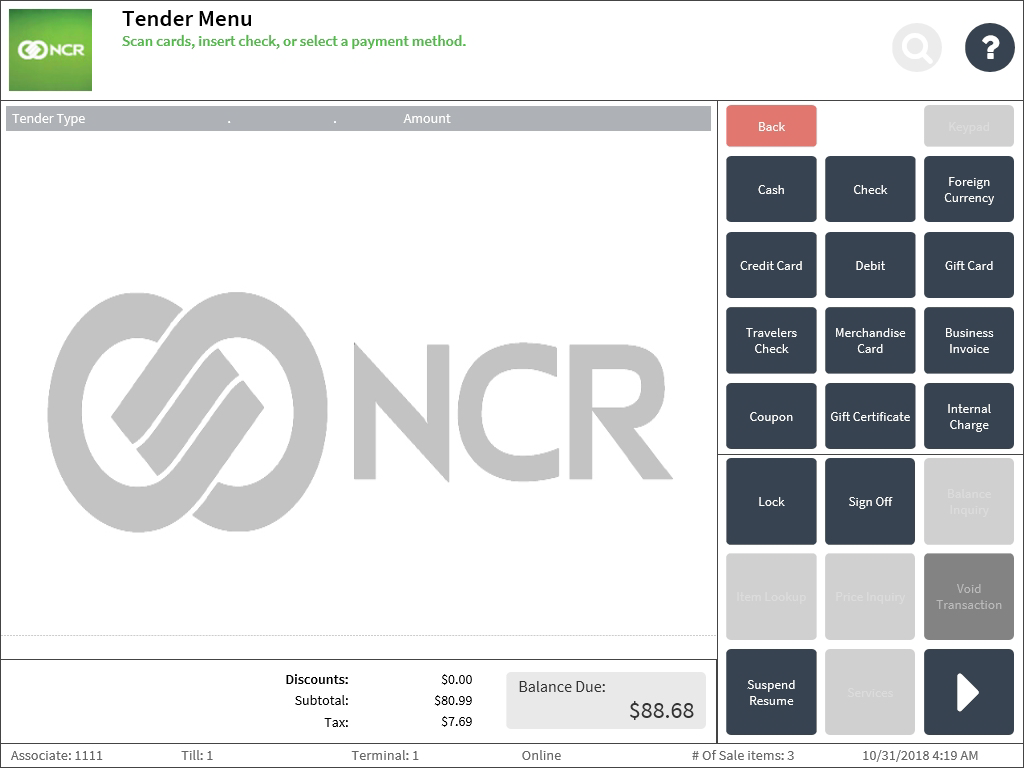
- Select Internal Charge. The application displays the Internal Charge Amount screen.
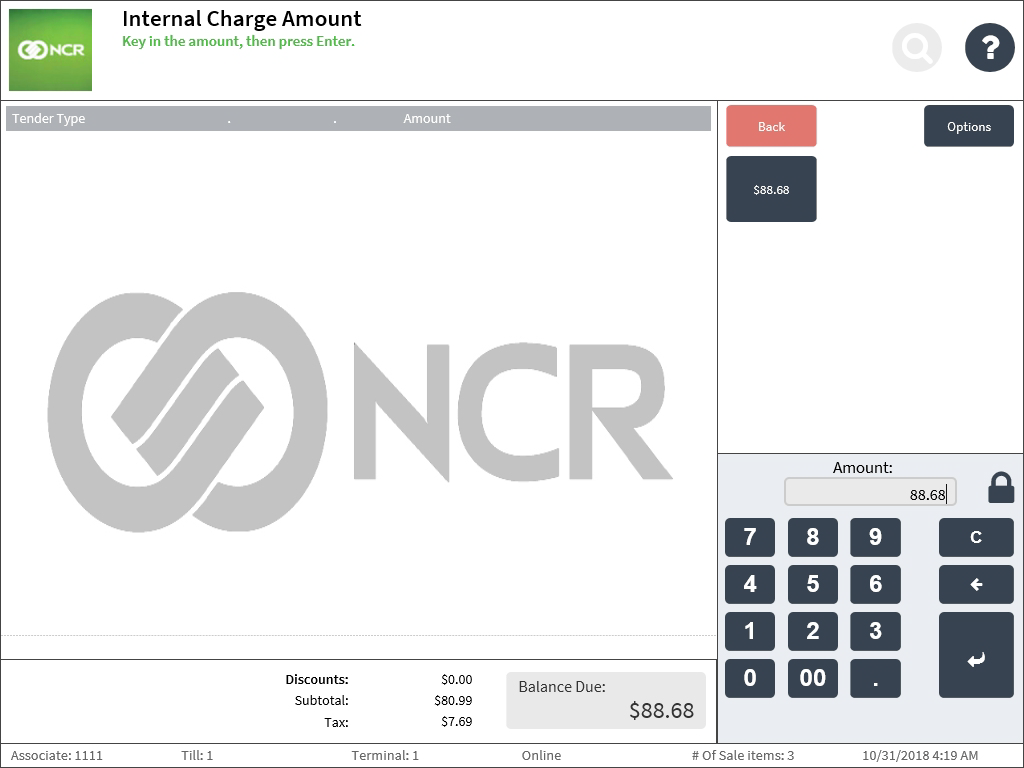
- Enter the amount charged to the store account, and then select Enter. The application displays the Frank Internal Charge screen.
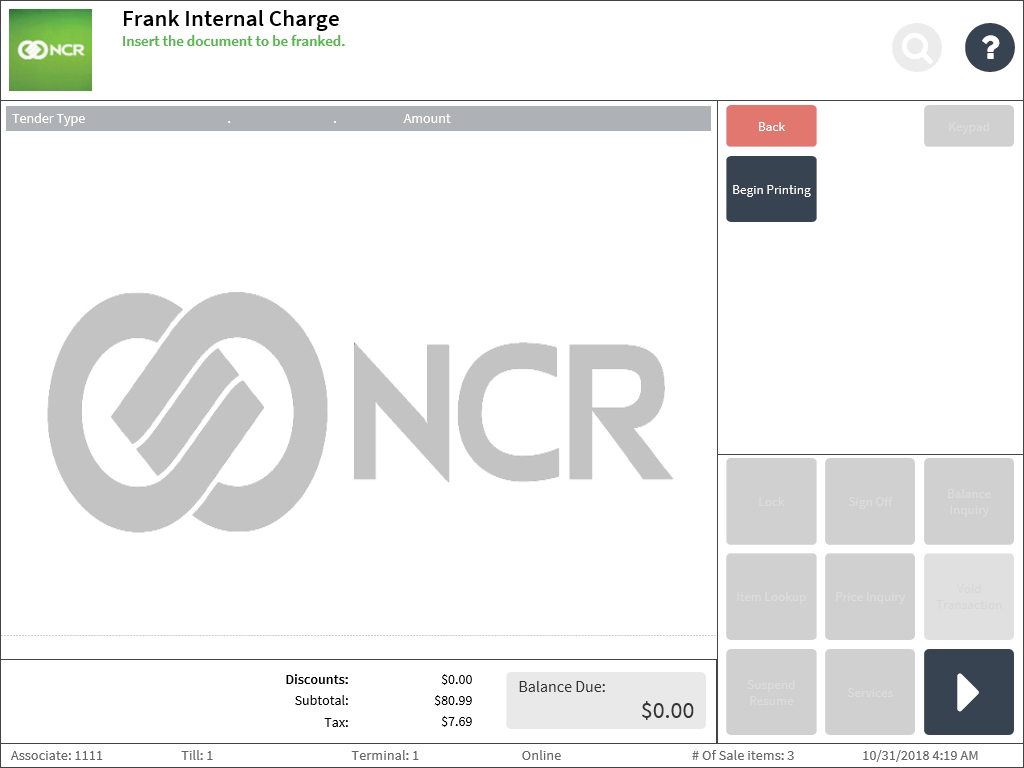
- Select Begin Printing. The application responds with one of the following actions.
Condition POS response For transactions that charge the full amount to the store account The application prints the receipt and franking slip and displays the Sign On screen. For transactions with multiple tenders The application displays the Tender Menu screen. Select a different tender and enter the tender amount. Associates can charge partial amounts to different tenders. Complete the transaction.
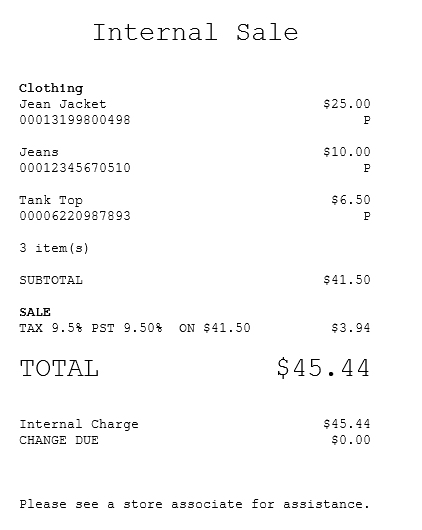
Sample receipts
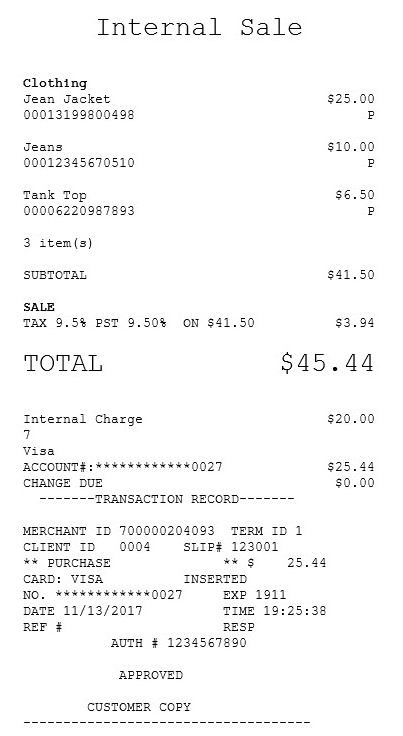
Internal sale receipt with a full amount charge
Internal sale receipt with a partial charge amount
Internal charge chit with a full amount charge
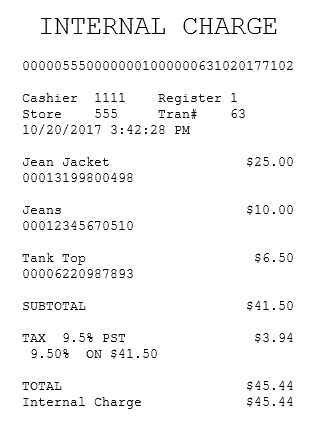
Internal charge chit with a partial amount charge
