Assigning a till to a terminal
Before an associate can use the POS terminal, a till must be inserted and a Till ID must be assigned to the terminal. Only authorized associates can assign a till to a terminal.
When a till has already been assigned to the terminal, the associate can do the following:
- Insert a till at the terminal, if the associate removed the till when the terminal was closed.
- Reassign a new Till ID to the terminal.
The POS displays the Till ID on the status bar.
Tills can also be assigned or reassigned from the following screens:
- Closed screen when the terminal is closed. For more information, refer to Assigning a till after terminal closing.
- Till Setup screen in the back office. For more information, refer to Managing tills in the cash office.
Configurable features
The POS application can be configured to print a Till Assign Transaction Receipt after assigning a till. Refer to the following option:
- Receipt Printing > Print Till Assignment Chit
To assign a till to a terminal, follow these steps:
- Place the till in the cash drawer.
- On the Open – Till ID screen, enter the Till ID to assign to the POS terminal.Note
Till IDs can be composed of up to ten characters or digits, with no special characters or spaces.
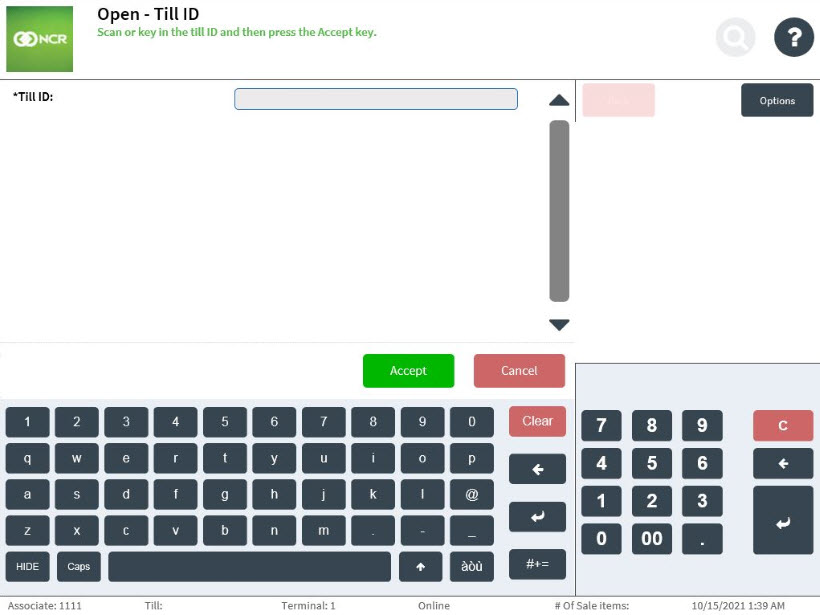
- Select Accept. The application displays a message indicating that the terminal has no till assigned to it.
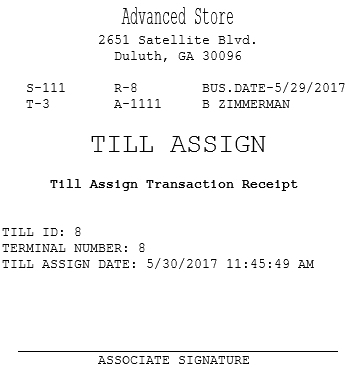
- Select Assign Till. The application prints the Till Assign and Till Insert chits and displays the Loan Count screen.
Sample receipt
Till Assign chit
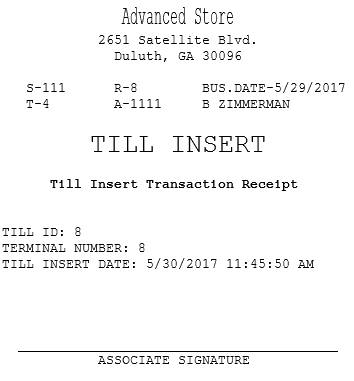
Till Insert chit
Inserting a till at the terminal
If the till was removed when the terminal was closed, the associate should insert a till when the terminal is reopened. For more information on closing the terminal, refer to Closing Terminals.
To insert a till at the terminal, follow these steps:
- Place the till in the cash drawer.
- On the Open – Till ID screen, enter the Till ID assigned to the POS terminal.
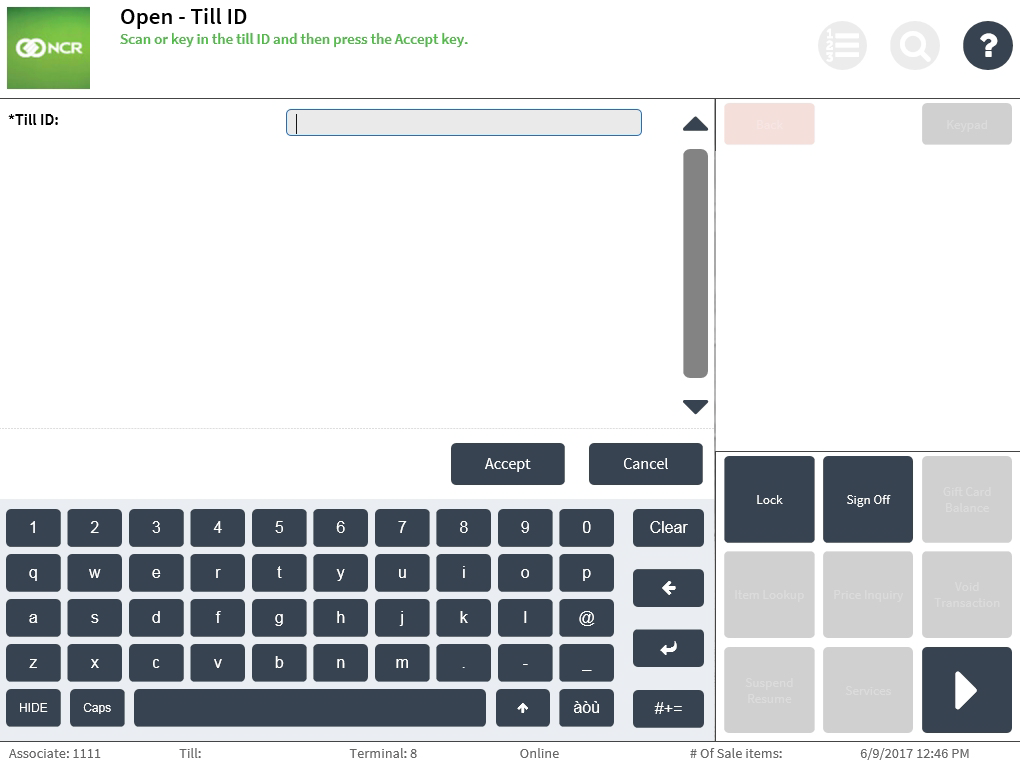
- Select Accept. The application prints the Till Insert chit and displays the Loan Count screen.
Reassigning a till during terminal opening
The associate has the option to reassign a till to the terminal when opening the terminal.
The application does not allow the associate to reassign a till to the terminal in the following instances:
- The selected till to be reassigned is already inserted into a different terminal.
- A till is currently inserted in the terminal.
To reassign a till when opening a terminal, follow these steps:
- After the associate opens the terminal, enter the Till ID assigned on the Open – Till ID screen.
- Select Accept. The application displays a message indicating that the terminal has a different till assigned to it. The associate can choose to cancel or to continue and reassign the terminal with a new till.

- Select Assign Till. The application prints the Till Assign chit and displays the Loan Count screen.