Adding an associate
Use the Add Associate function to add new associates to the store. The new associate is immediately added to all the POS terminals across the store. Only authorized users can add associates to the store.
When adding new associates, the following conditions apply:
- The POS terminal that is used to add an associate must be online to the In-Store Server.
- The associate performing this action can only add associates who are subordinates. For example, a manager can only add a cashier but cannot add another manager.
- The Associate ID is fixed and cannot be modified after if has been created.
- Associate IDs are not case-sensitive.
- By default, an Associate ID can be between 3–8 characters in length.
Configurable features
The POS application can be configured with the following features.
- Change the type of data accepted for an Associate ID to include special characters. Refer to the following option:
- Associate Mandatory Information > Data Type
- Change the maximum length accepted for an Associate ID up to 32 characters. Refer to the following option:
- Associate Mandatory Information > Input LengthNote
If using the Active Directory security model, LDAP settings are required.
- Associate Mandatory Information > Input Length
- Change attributes of the required associate information fields. The POS application always requires the following associate information:
- Associate ID
- Display Name
- Job Role
- For more information, refer to Associate Mandatory Information.
- Select optional associate information fields to be displayed on the Associate Information screen. Refer to the following option:
- Associate Optional Information > Is this attribute displayed?
- Specify which additional associate information fields are required. An asterisk (*) sign before the field name indicates that the information for this field is required. Refer to the following option:
- Associate Optional Information > Is this attribute required?
The following image displays the Associate Information screen.
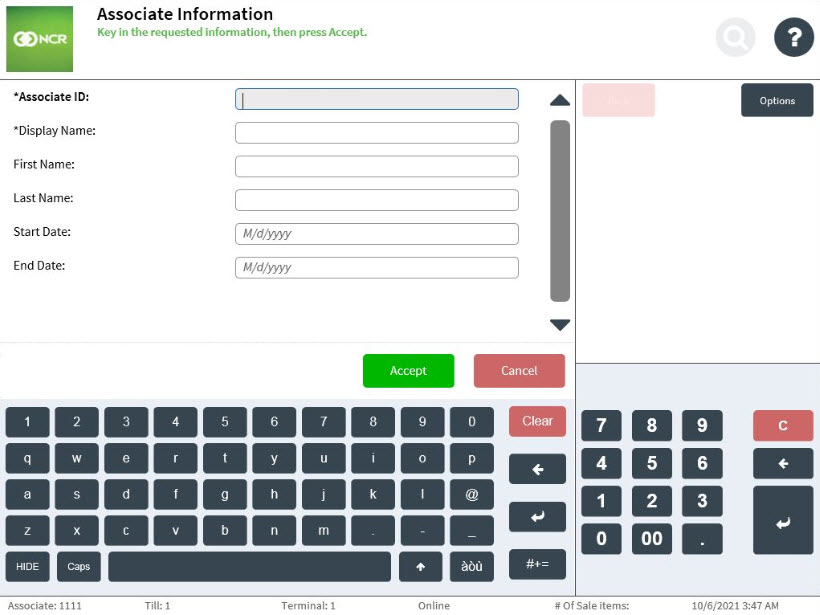
| Field name | Description |
|---|---|
| Required associate information | |
| Associate ID | Specifies the associate’s identification number in the store. This ID is used to sign on to the POS terminal. |
| Display Name | Identifies the preferred badge name or display name of the associate. Display names are reflected as the associate names on the POS receipts. |
|
Additional associate information Note
These fields follow the display order configured in the Advanced Store EOM options. |
|
| First Name | Identifies the associate’s first name. |
| Last Name | Identifies the associate’s last name. |
| Start Date | Specifies the date when the associate was hired. An associate can sign on to the POS application starting on this date. |
| End Date |
Specifies the date when the associate’s contract expires. An associate can no longer sign on to the POS application after the end date. Note
For associates who do not have a contract expiration date, this field may be left blank. |
| Address 1 & 2 | Indicates the address of the associate. A maximum of two address fields can be used. |
| City | Specifies the city where the associate resides. |
| Country | Specifies the country where the associate resides. |
| State | Specifies the state where the associate resides. |
| Zip Code | Specifies the zip code where the associate resides. |
| Birth Date | Indicates the associate’s birth date. |
| Notes | Provides notes about the associate. |
| Phone Number 1 & 2 | Indicates the associate’s phone number. A maximum of two phone number fields can be used. |
| Supervisor ID | Identifies the associate’s supervisor ID. |
To add an associate, follow these steps:
- On the Associate Management screen, select Add Associate. The application displays the Associate Information screen.
- Enter the required associate information:
- Associate ID
- Display Name
- Enter the optional associate information.
- Select Accept. The application displays the Job Role screen.
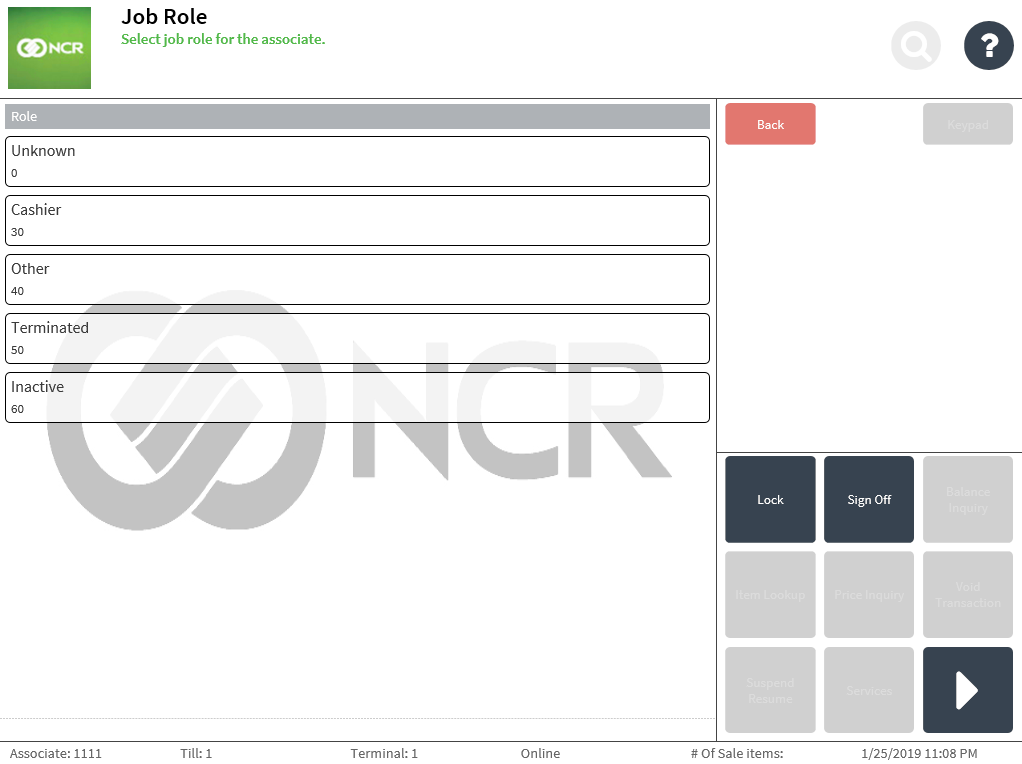 Note
NoteThe list of job roles that displays on this screen depends on the job role of the associate who is performing the function. The associate job role is always required associate information.
- Select a job role from the list for the new associate. The application displays the system-generated associate password.Note
Make a note of the password. The associate should use this password when they first sign on to the POS application. For more information, refer to Signing On to the POS Application.
- Select OK. The application displays the Associate Management screen.