Routing NCR 7702 Terminal Display Cables
To route the Display cables in the NCR SelfServ Checkout unit, follow these steps:
1.Open the Upper Cabinet Door.
2.Install the Terminal Display. For more information, refer to Installing the NCR 7702 Terminal Display.
3.At the back of the Upper Cabinet Door, route the cables down the hole, through the wire saddle and relief bracket and then secure the cables using cable ties. Apply enough slack to the cables so that they can move with the Upper Cabinet Door.

4.Using cable loops, route the following cables from the back of the unit along the side of the Core Cabinet, as shown below.
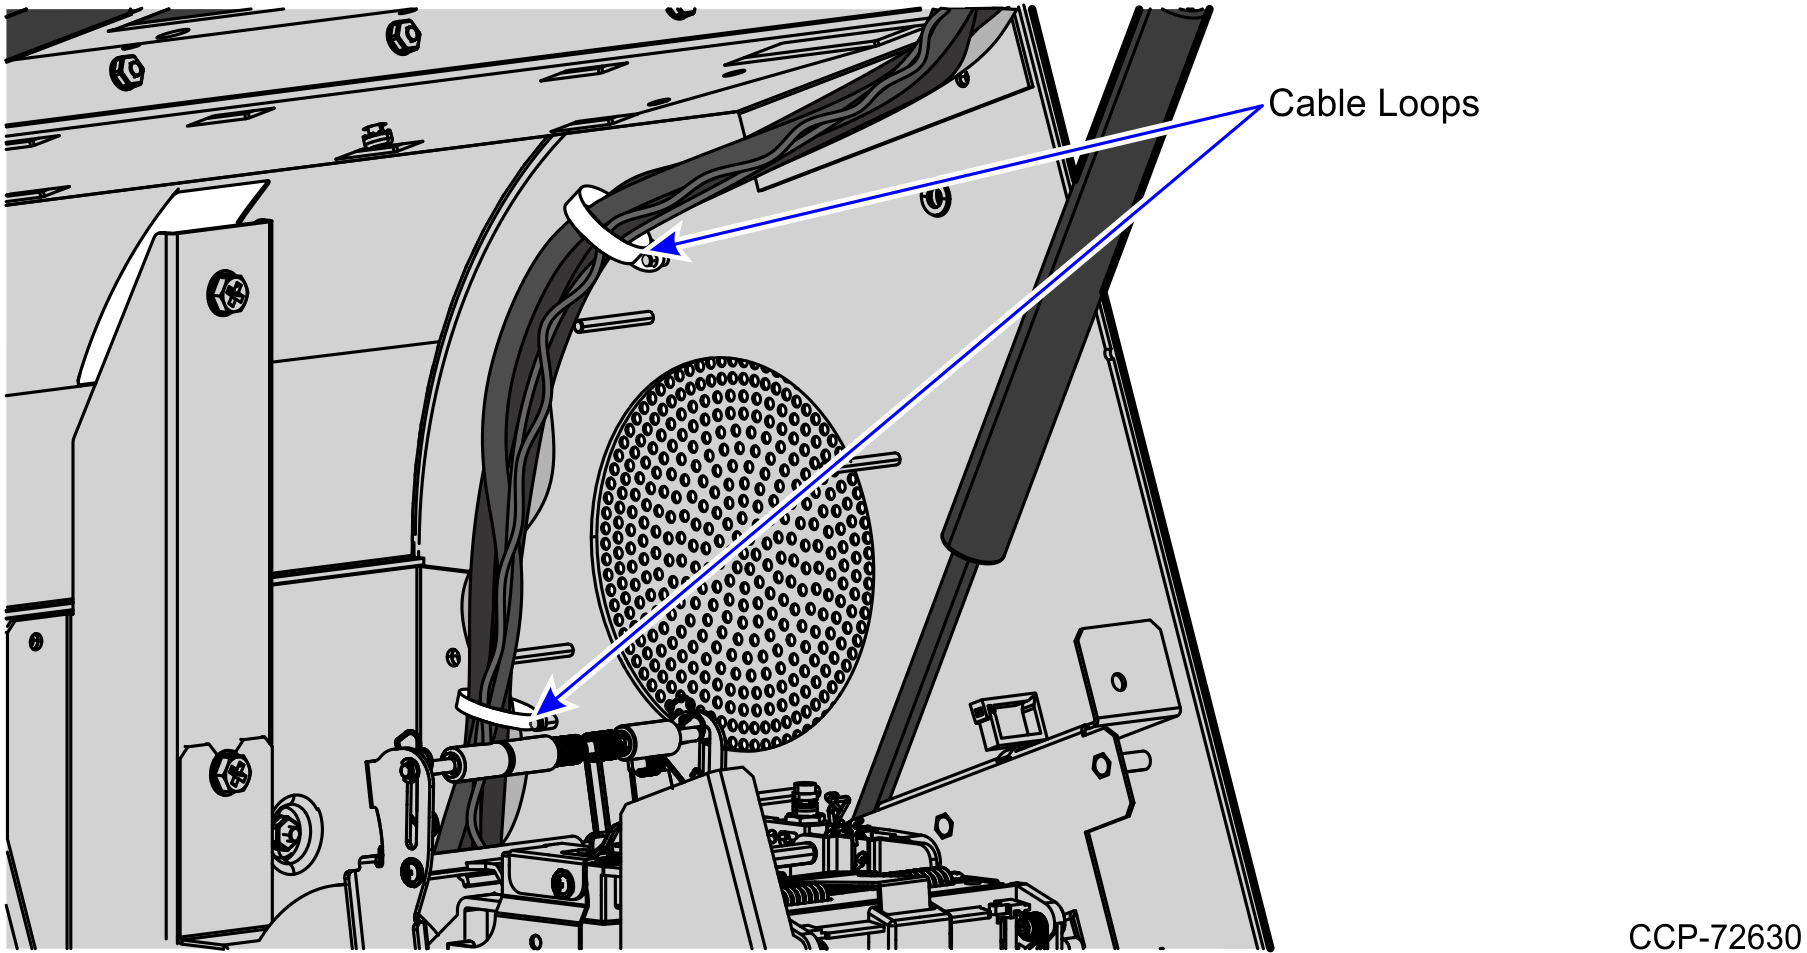
Note: The Supervisor Button cable is also routed through the cable loops.
5.Install R6 Lite components. For more information, refer to the following procedures:
a.Installing the 7360 I/O Box.
b.Installing the System Power Supply.
6.Route and sort cables. For more information, refer to Routing and Sorting Cables.
Note: For more information about routing cables, refer to the SCO Release 6 Lite Cable Routing Instructions (497-0519586).