Routing and Sorting Cables
To route the cables in the NCR SelfServ Checkout Narrow Core unit, follow these steps:
1.Install all R6 Lite Narrow Core components. For more information, refer to Installation Procedures.
2.Remove and sort existing 7350 cables. For more information, refer to Removing and Sorting Cables.
Note: If upgrading to 7360 (R6) Tri-Light/Lane Light, unplug the 7350 (R5) Tri-Light/Lane Light power cable from the power strip and then discard.
3.If R6 Lite cables are not yet routed in the unit, do the following:
•Route the Display cables. For more information, refer to Routing NCR 7702 Terminal Display Cables.
• Route the I/O Box cables. For more information, refer to Routing I/O Box Cables.
•Route the System Power Supply cables. For more information, refer to Routing System Power Supply Cables.
Note: For more information about routing cables, refer to SCO R6 Lite (Narrow Core) Routing Instructions (497-0520486).
4.At the back of the unit, identify and then group the cables using cable ties.
Example: Group cables that are connected to the Display and cables that are connected to the I/O Box.
Note: For easier removal, do not include the Tri-Light/Lane Light cable in the bundle.
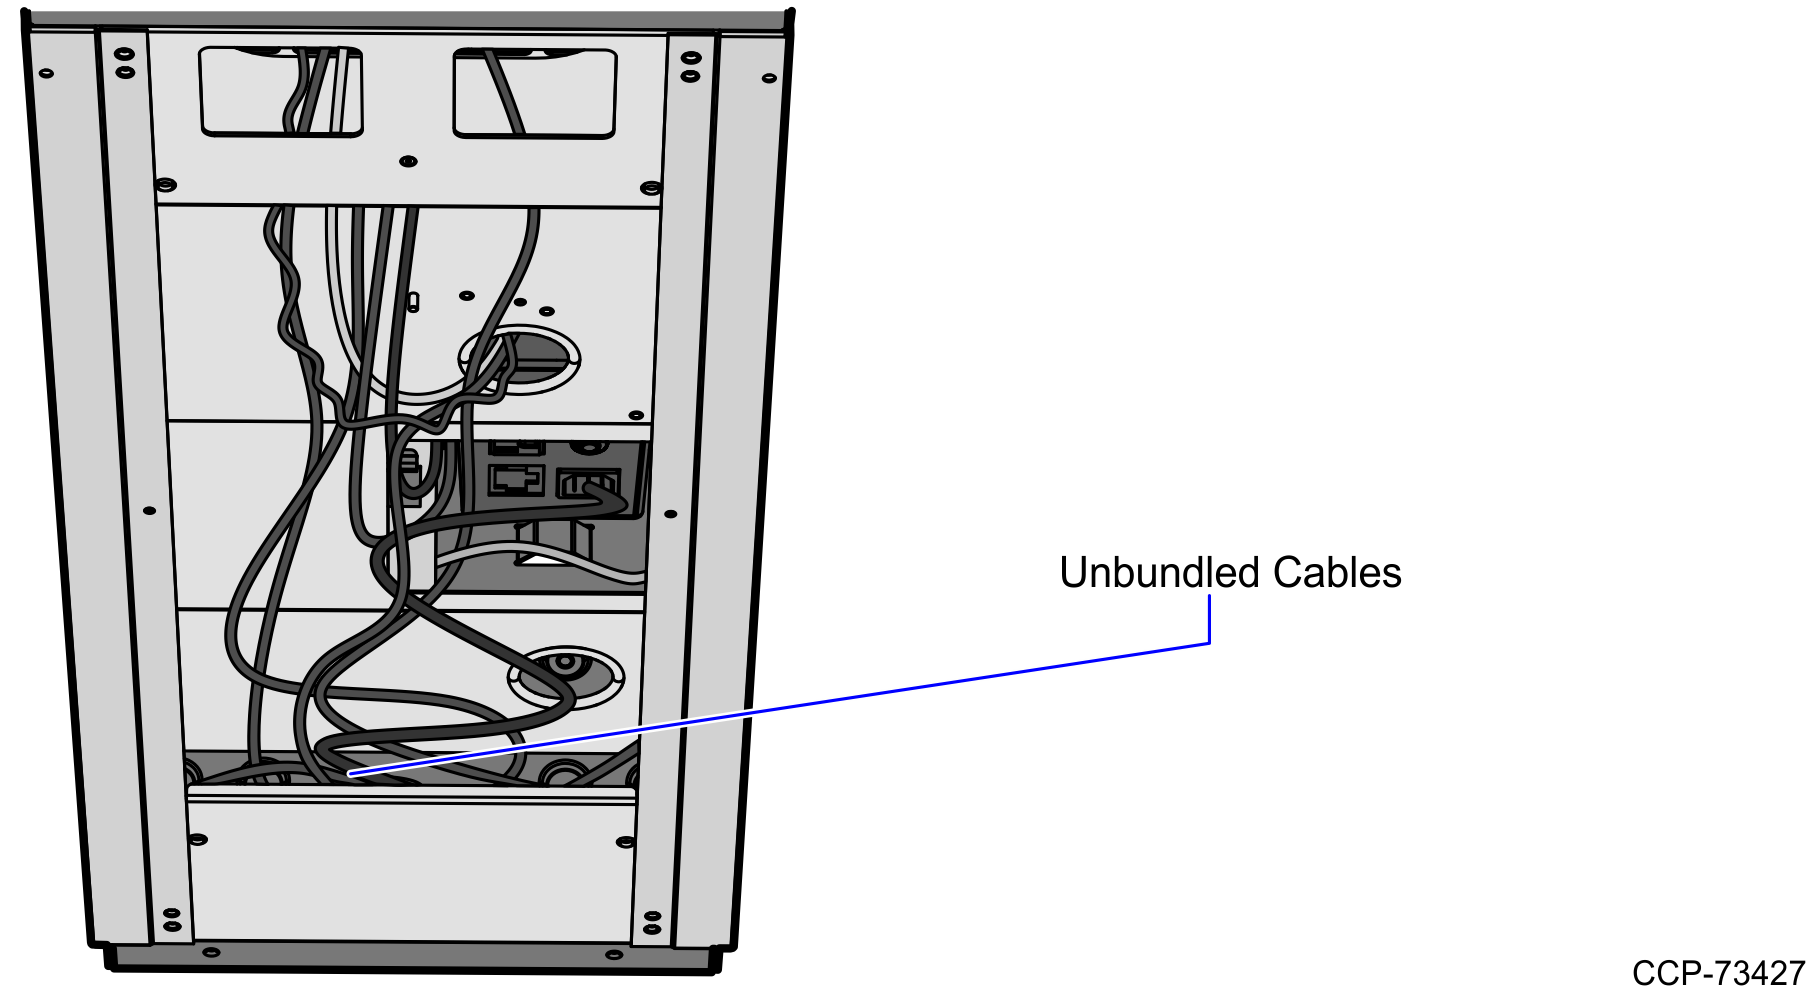
5.Place excess cables that cannot be bundled properly in the lower section of the cabinet as shown in the image below.
6.Install the back panel cover to the R6 Lite Narrow Core unit.
Note: If the R6 Tri-Light/Lane Light assembly is still to be connected, keep the back panel cover off of the unit until the R6 Tri-Light/Lane Light installation is completed.
7.Turn on the unit.