Installing Tri-Light/Lane Light Assembly
To install the Tri-Light/Lane Light assembly, follow these steps:
- Install the Tri-Light/Lane Light pole, if necessary. For more information, refer to
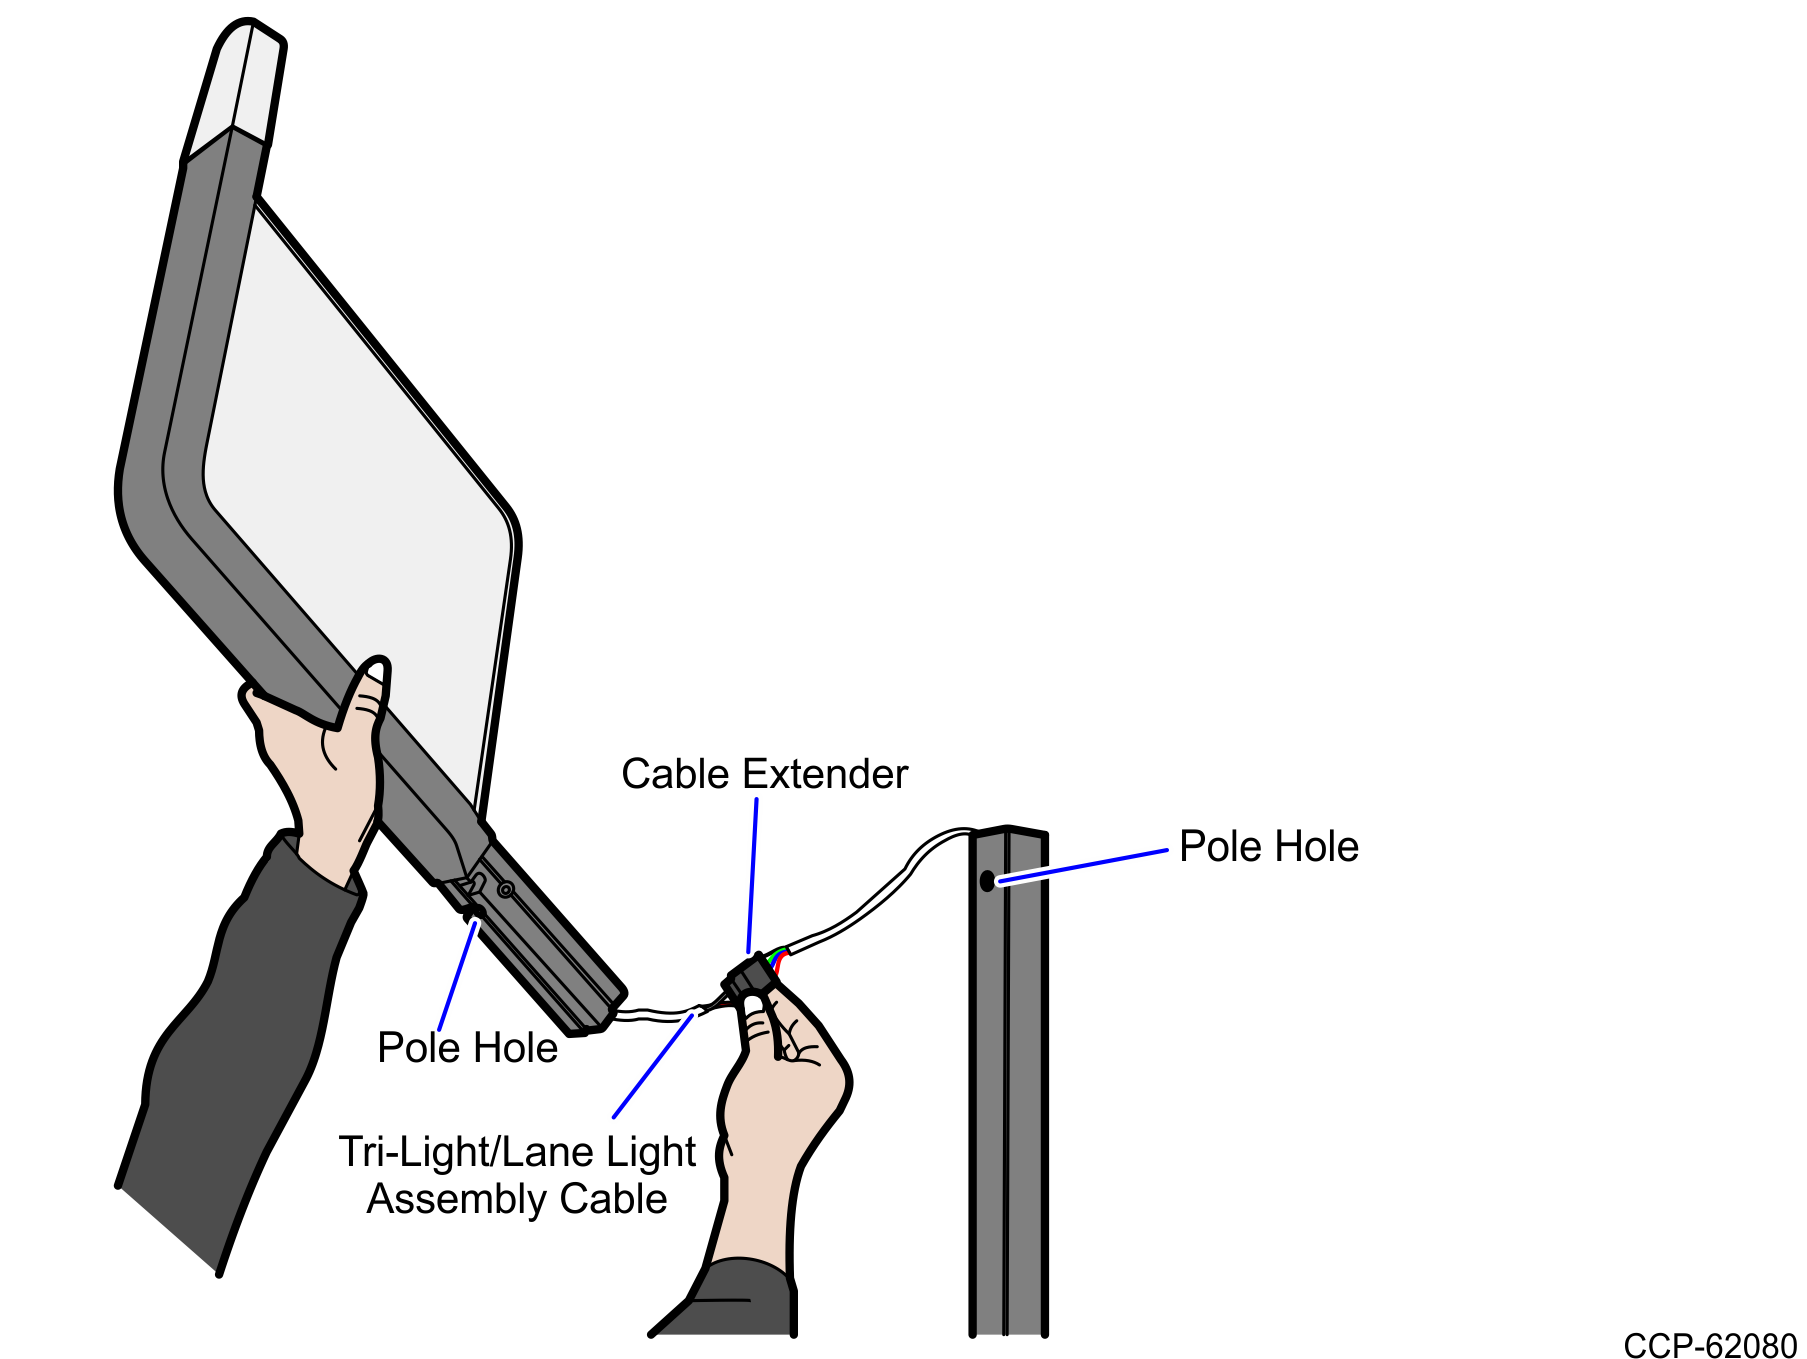
- Connect the Tri-Light/Lane Light assembly cable with the cable extender in the pole. Refer to the table below for cable compatibility:
Cable color Compatible with White Tri-Light/Lane Light assembly cable White cable extender only Black Tri-Light/Lane Light assembly cable White cable extender or Black cable extender TipTo make routing the cable through the pole easier, first attach a weight (for example, a large bolt) to a long piece of string and drop the weighted end of the string through the Tri-Light/Lane Light pole (starting at the top-end). Once the string is threaded through the pole, tie the non-weighted end of the string around the cable connector and then pull the cable through the pole.
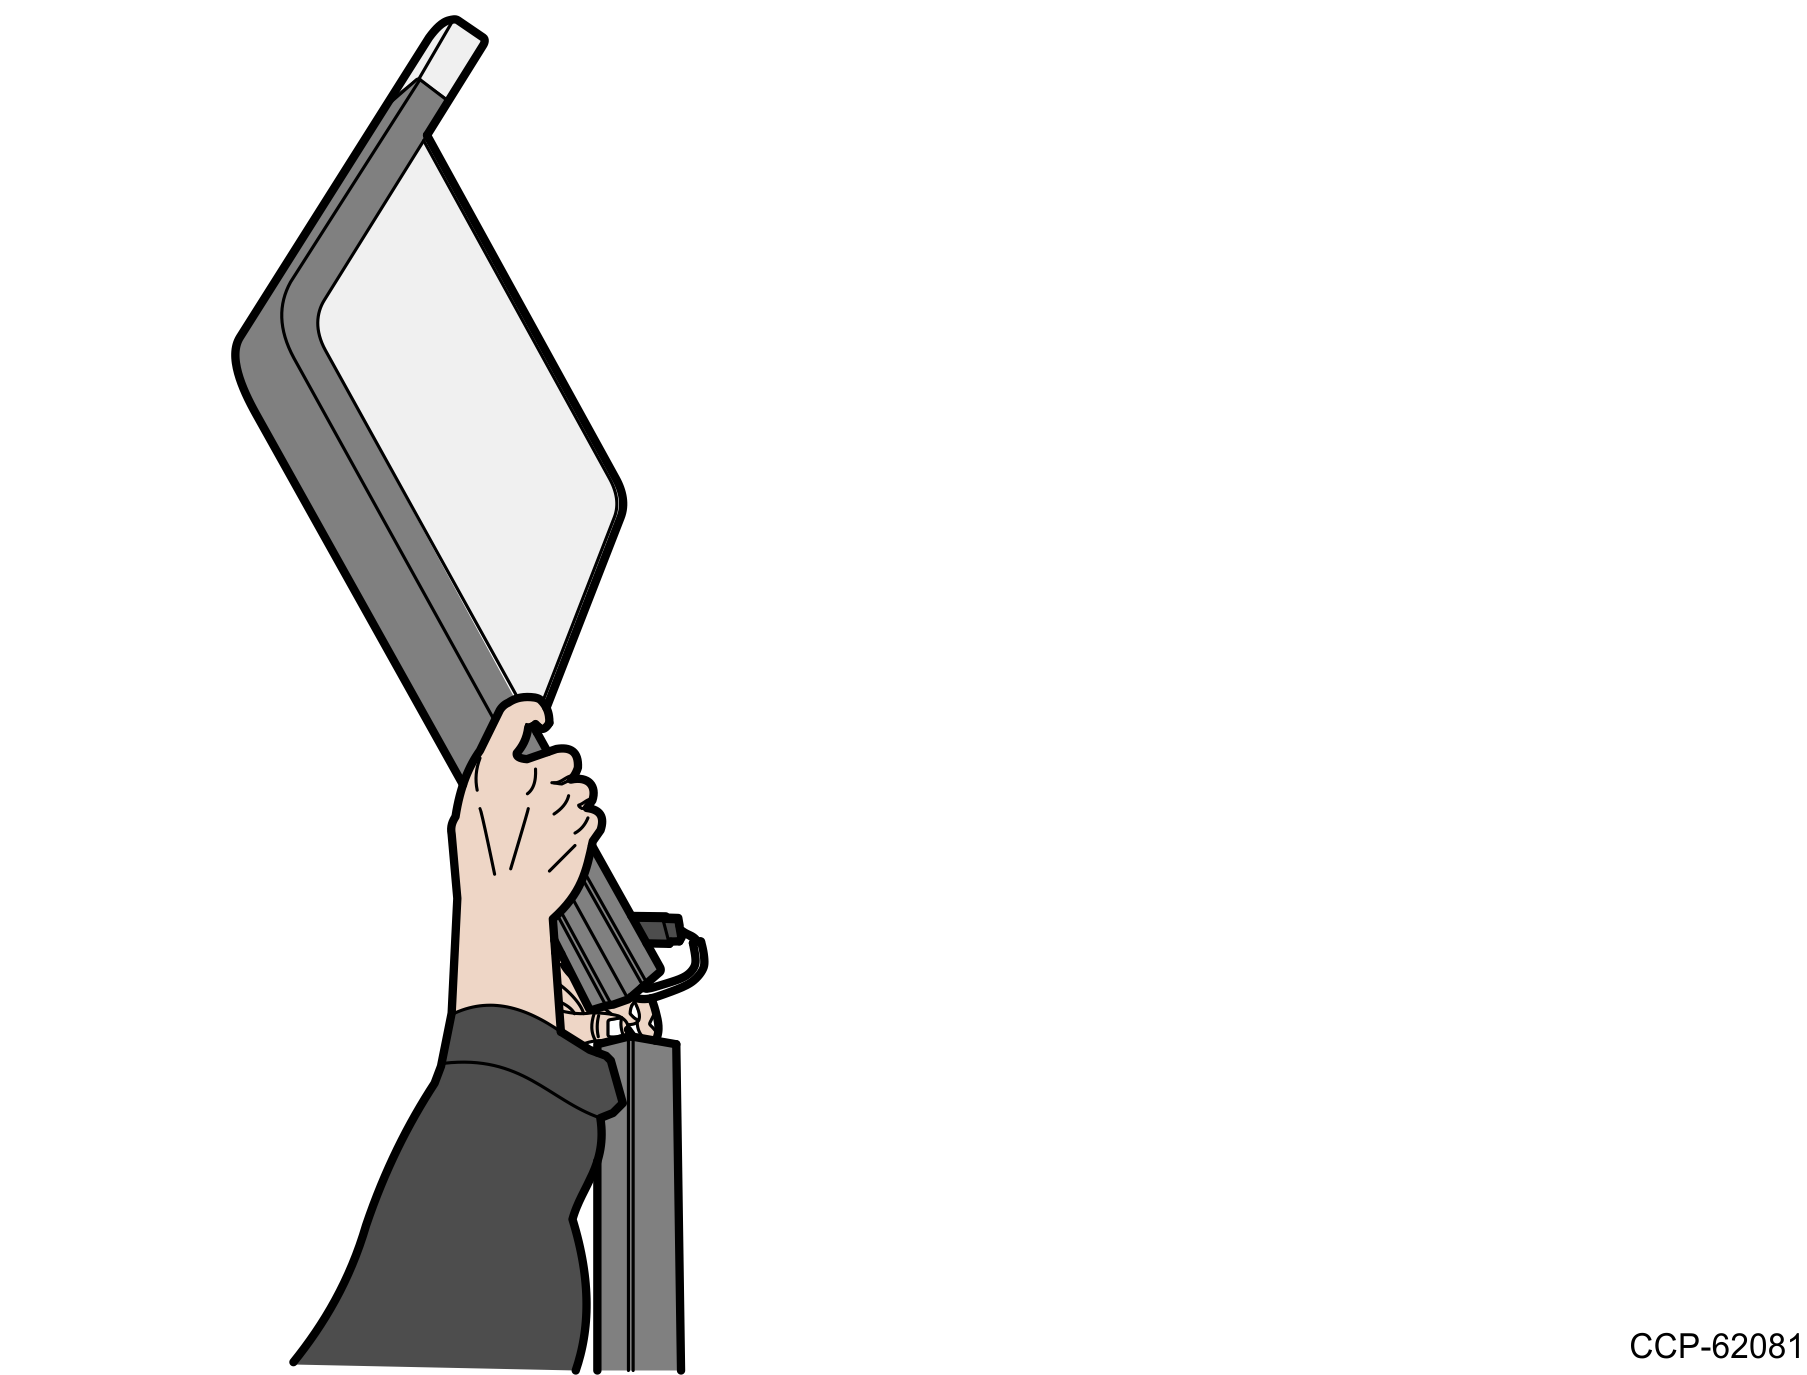
- Orient the Tri-Light/Lane Light assembly so that the Lane Light faces the front of the unit.
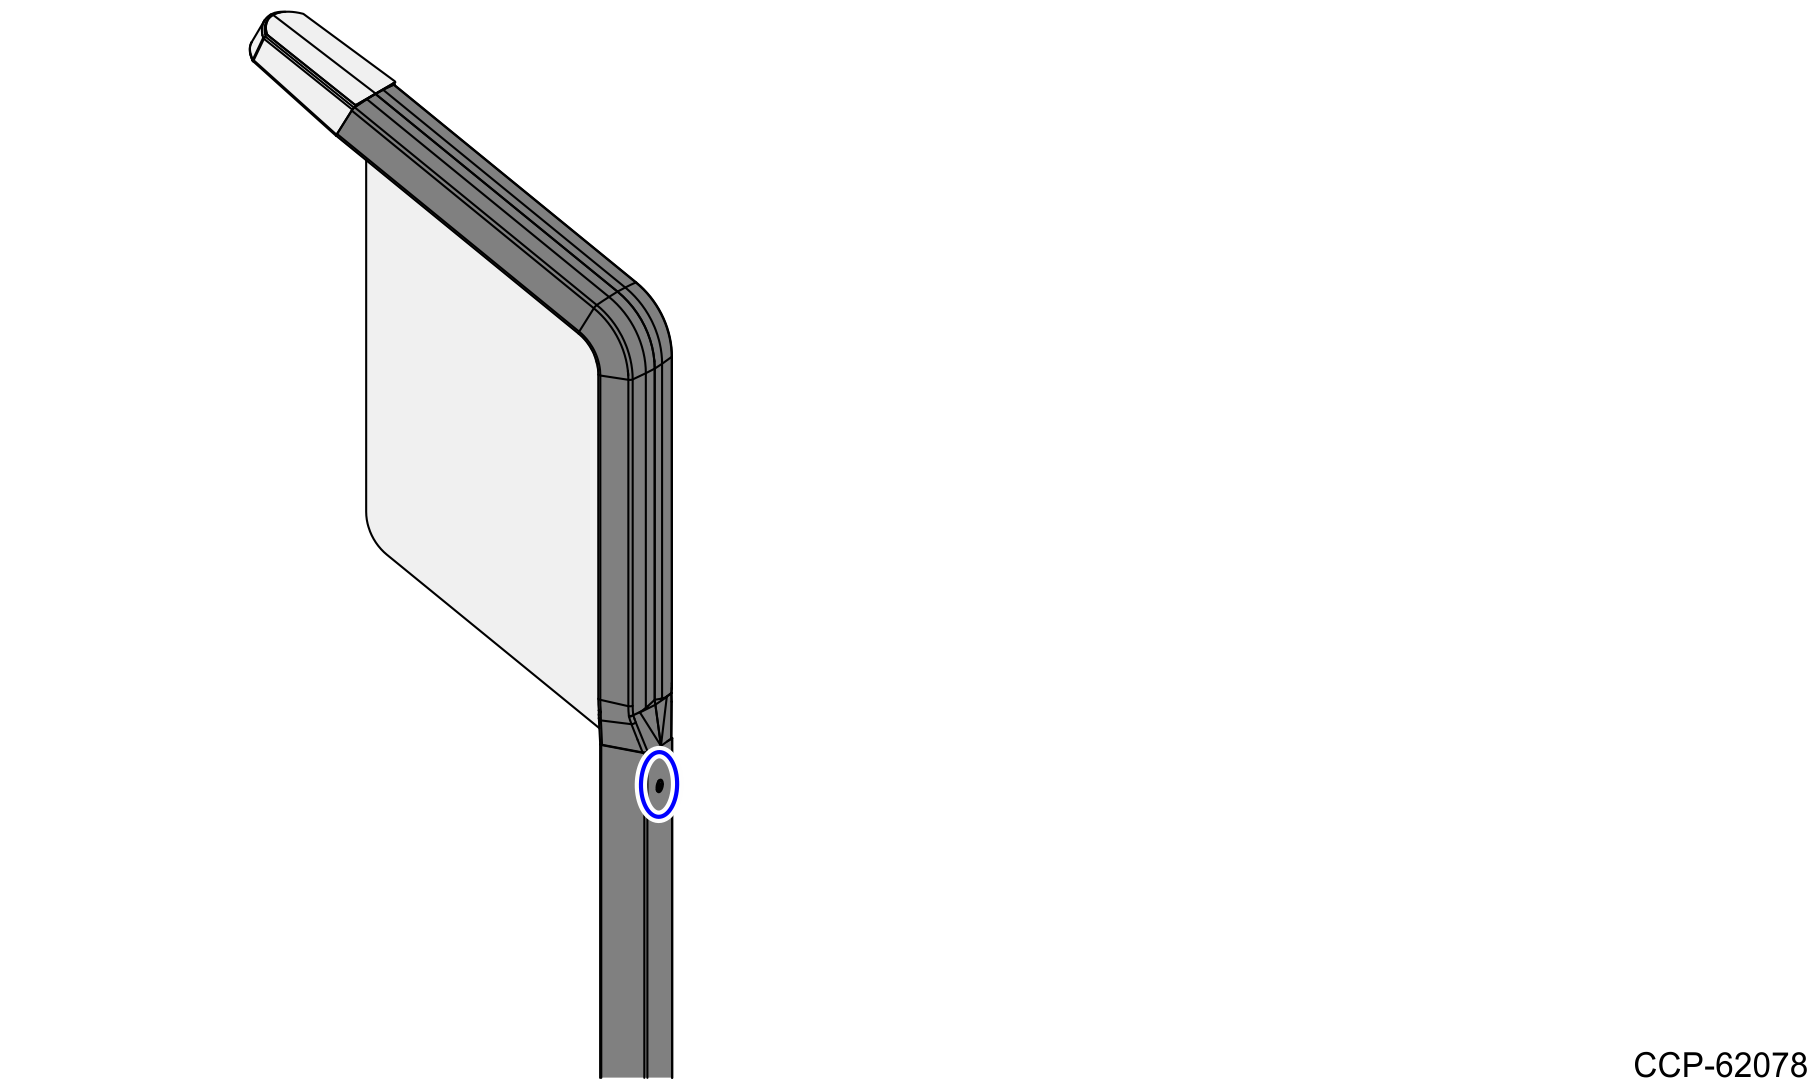
- Insert the Tri-Light/Lane Light assembly into the Tri-Light/Lane Light pole. Ensure that the pole holes are aligned.
- Secure the Tri-Light/Lane Light assembly to the pole with a screw.
- Route the Tri-Light/Lane Light cable into the Core Cabinet and connect to the I/O Box (Tri-Light/Lane Light port). For more information, refer to the following:
- Run the ADD utility to ensure device is updated with the latest firmware.
