Installation Procedures
Upgrading a No-Printer NCR SelfServ™ Checkout (7350) unit with 1ST (7350-F307) Self-Service Receipt Printer involves the following procedures:
1.Turn off the NCR SelfServ Checkout software and hardware systems. For more information, refer to Disconnecting Power.
2.Open the Upper Cabinet Door. For more information, refer to Opening Upper Cabinet Door.
3.Remove and set aside the Scanner/Scale. For more information, refer to Removing Scanner/Scale.
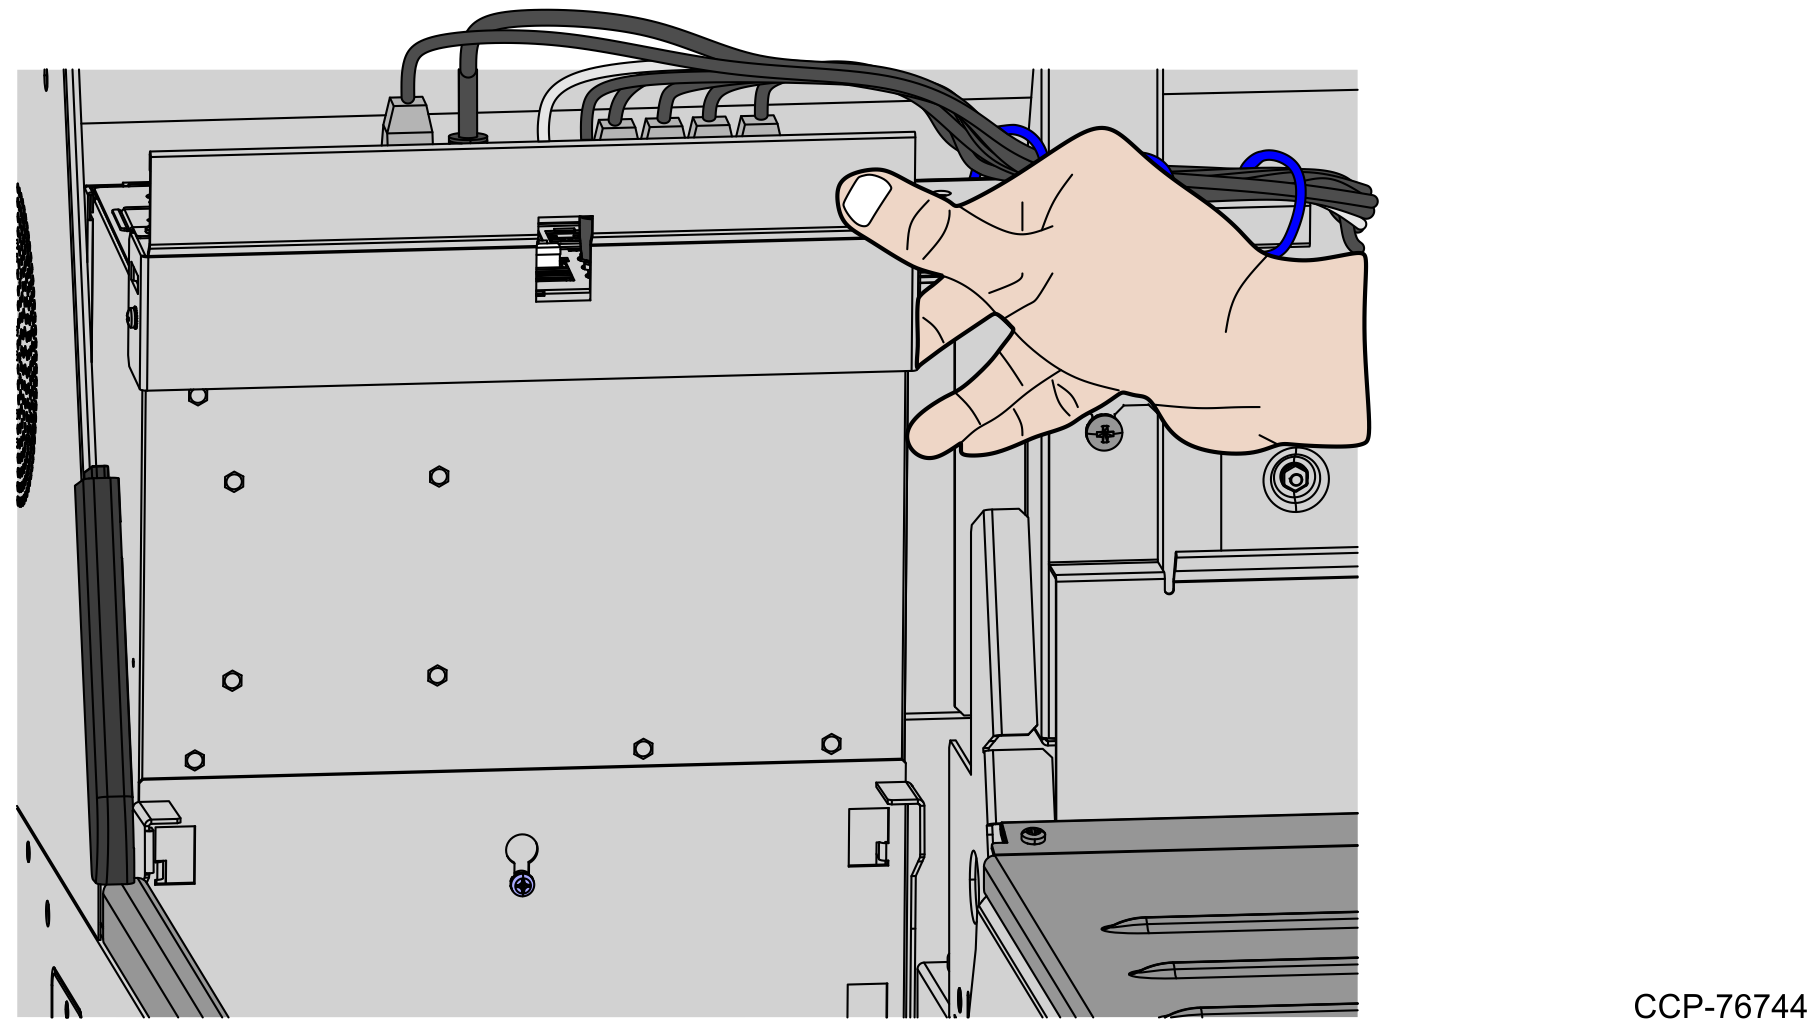
4.Tilt the E-Box Bracket forward to easily access the cables.
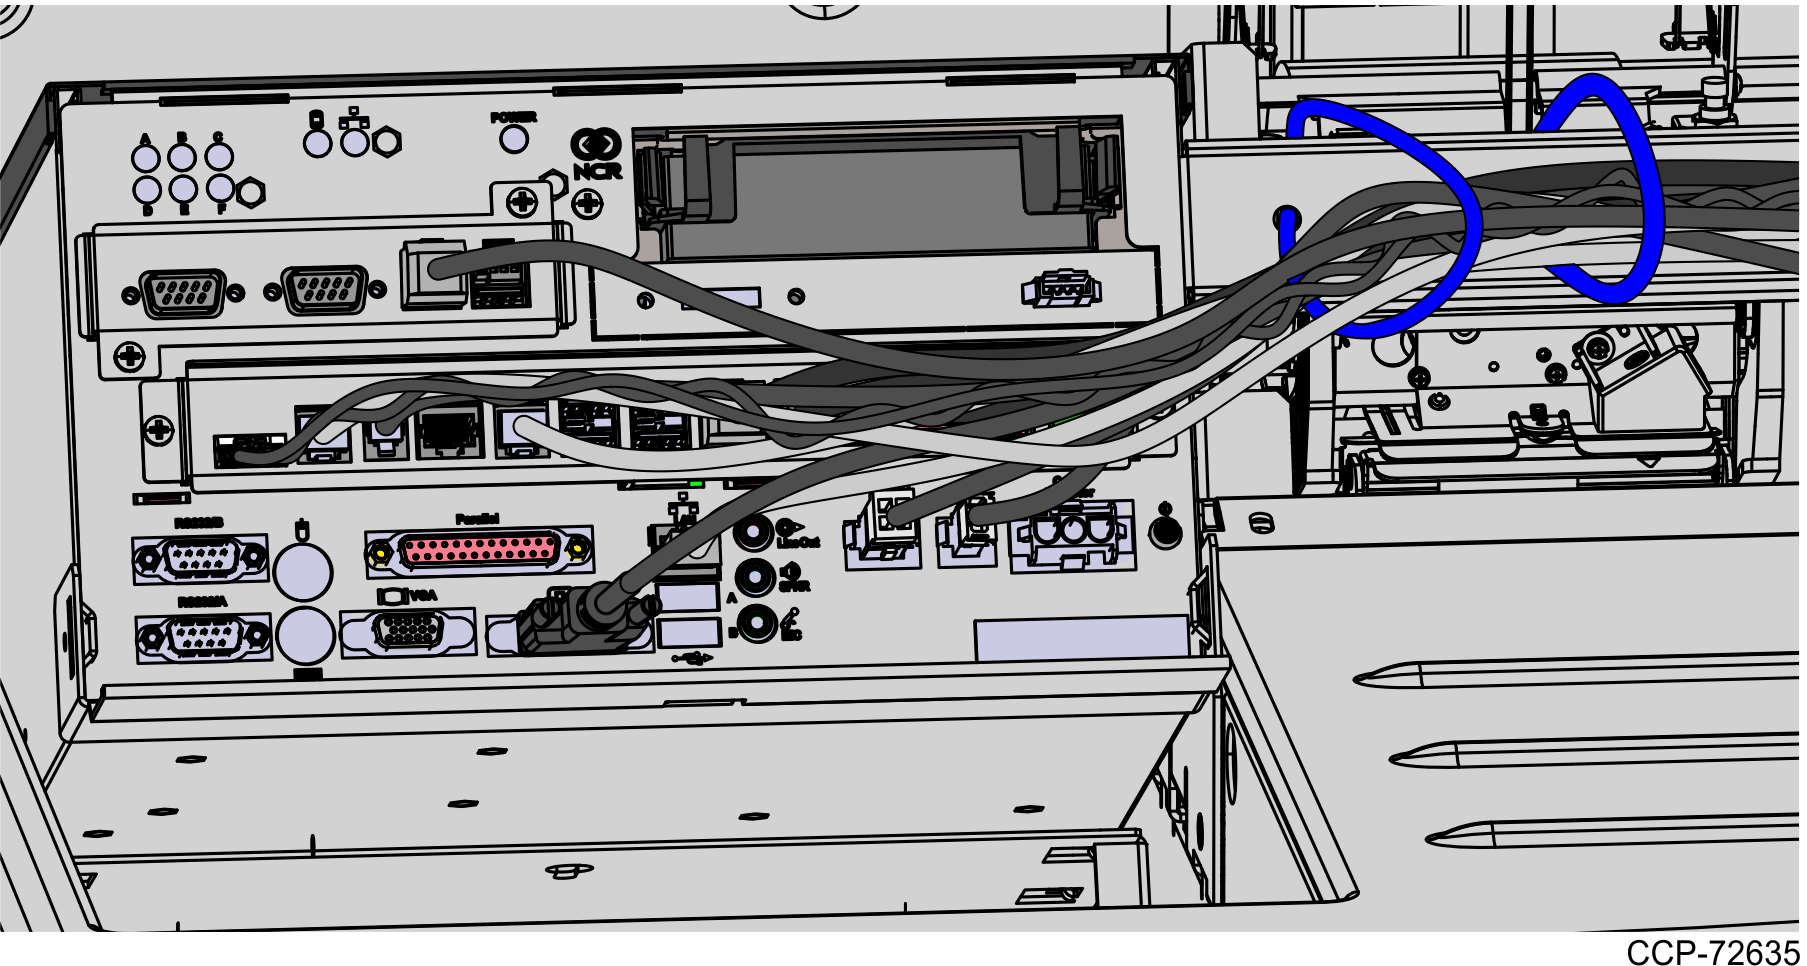
5.Connect and route the cables of the new 1ST Self-Service Receipt Printer. For more information, refer to Routing Cables.
6.Raise and push the E-Box back to closed position.
Note: Ensure that the cables do not get caught by the rotation of the E-Box.
7.Install the 1ST Self-Service Receipt Printer. For more information, refer to Installing 1ST Self-Service Receipt Printer.
8.Install the Scanner/Scale. For more information, refer to Installing Scanner/Scale.
9.Do the following:
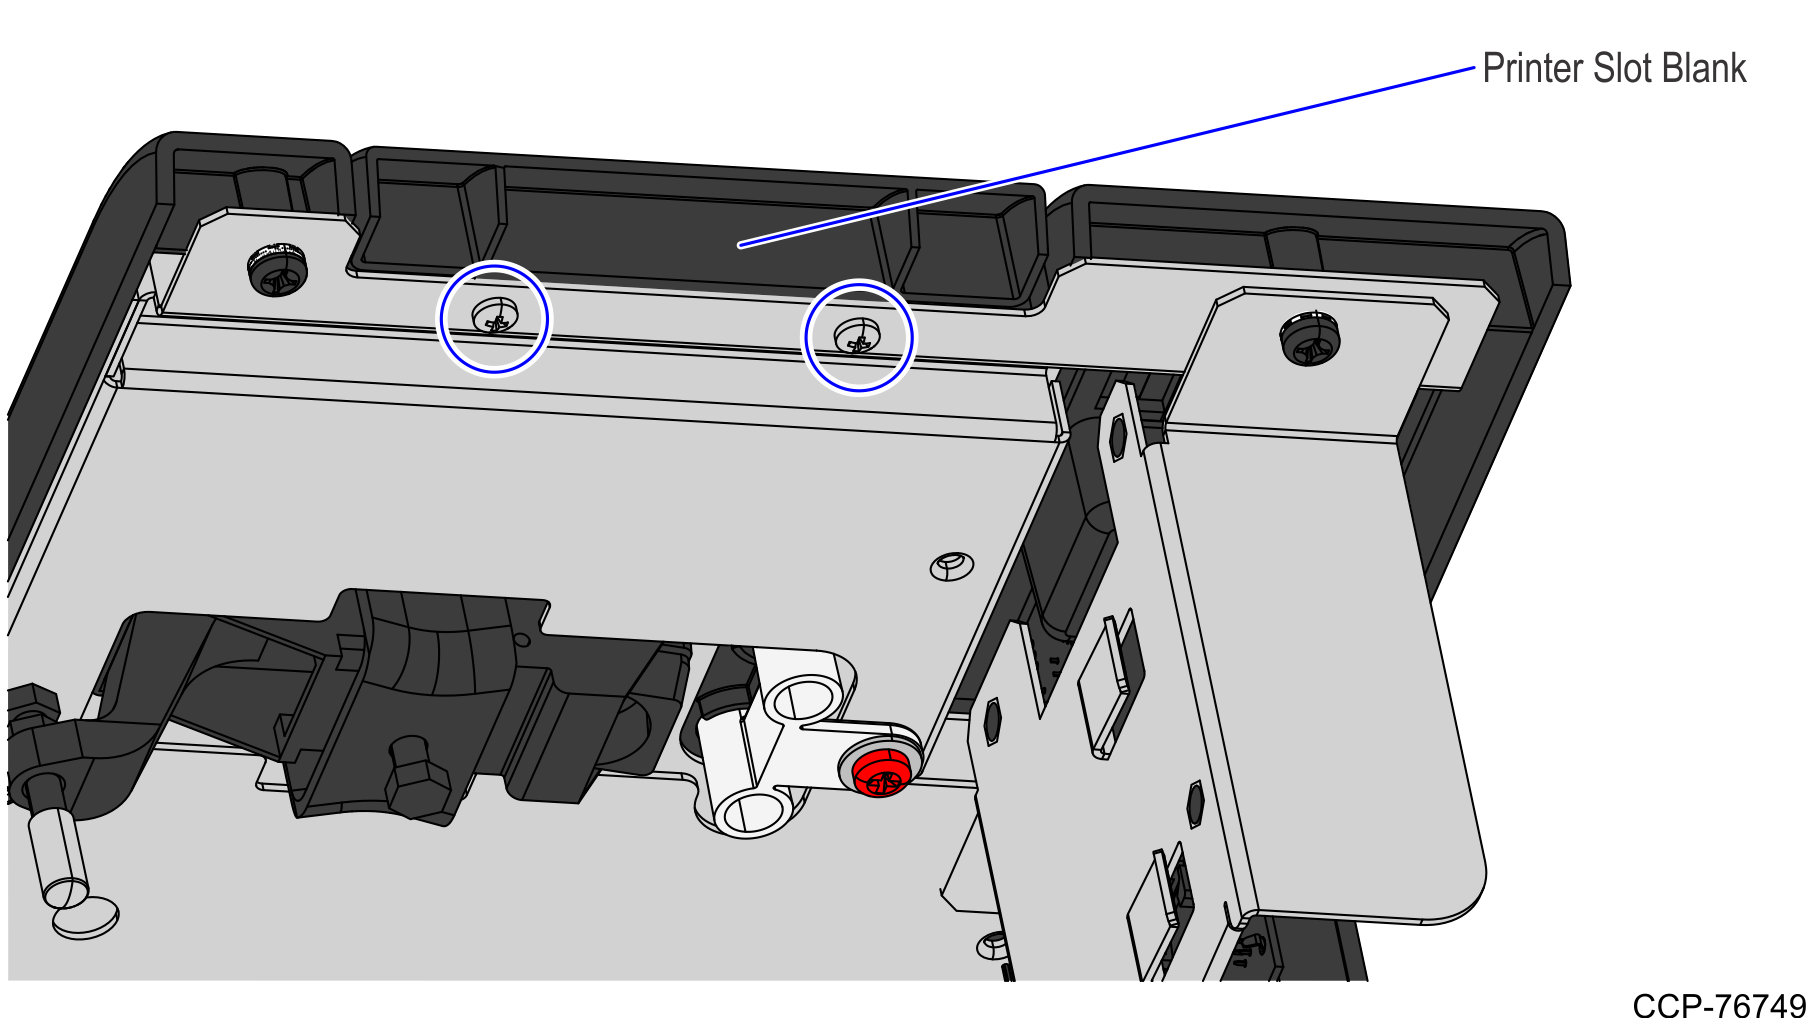
a.Remove the two (2) plastite screws, which secure the plastic printer slot blank on the metal door, as shown in the image below.
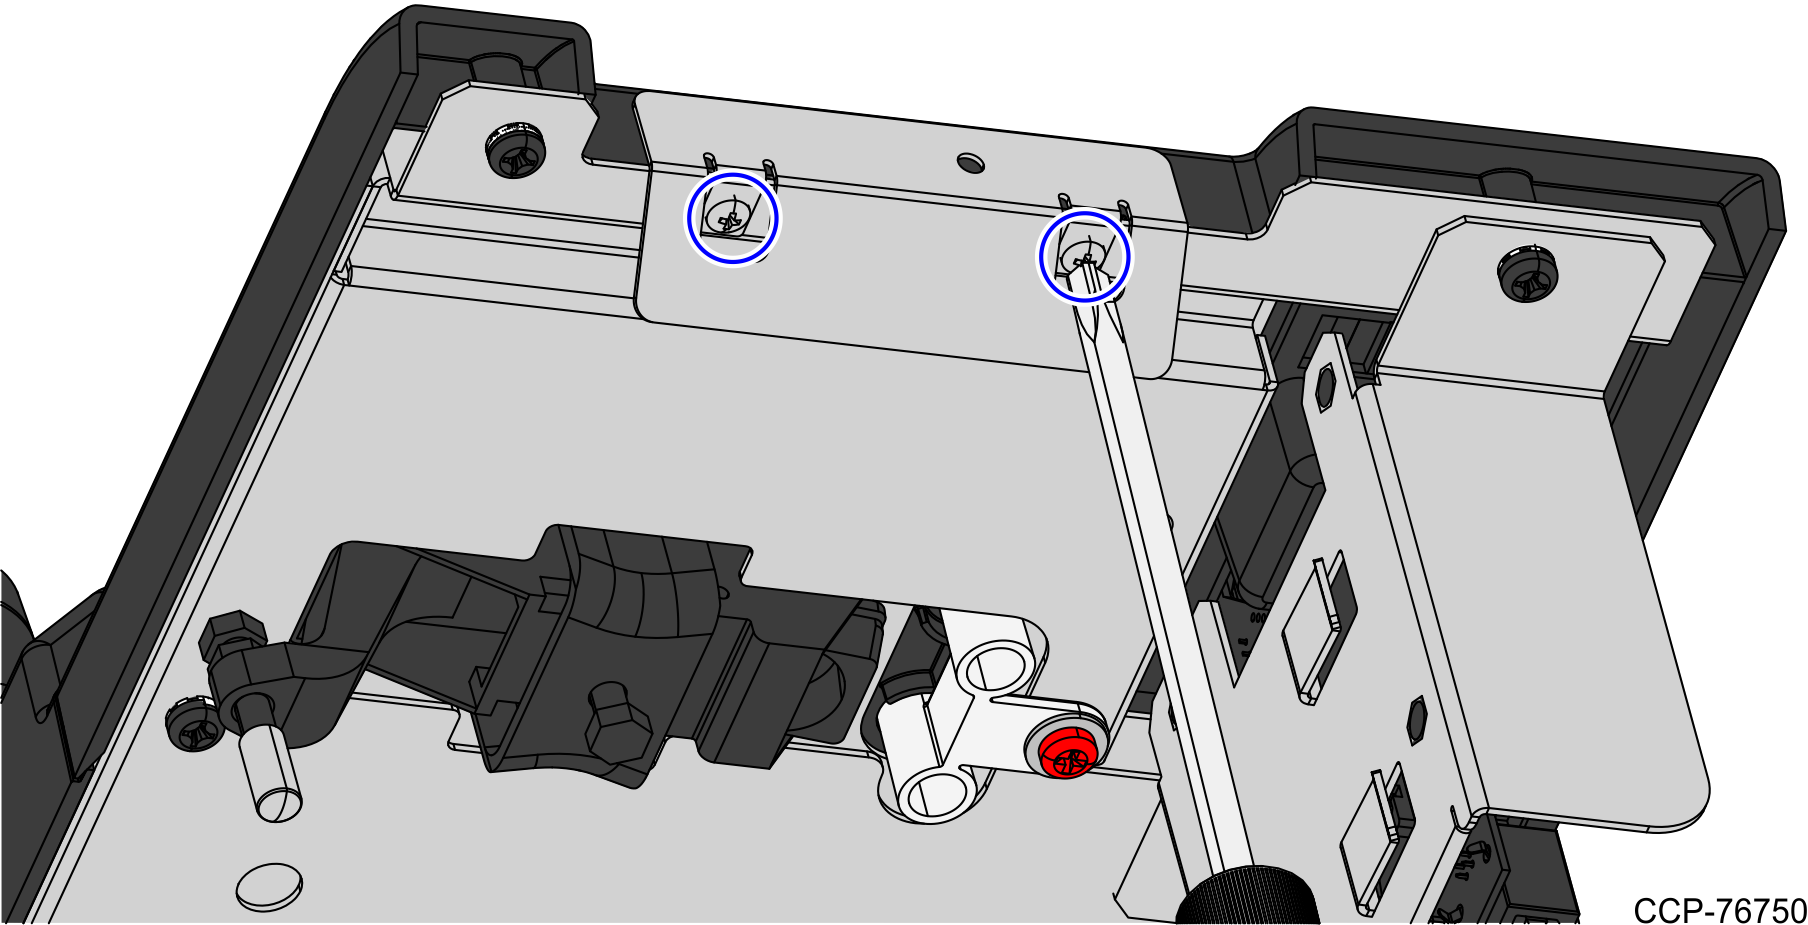
b.Secure the black metal receipt printer chute to the printer slot of the metal door using two (2) plastite screws, as shown in the image below.
Caution: To avoid stripping the threads, do not overtighten the screws.
10.Load paper to the Receipt Printer. For more information, refer to Loading Paper in the Receipt Printer.
Note: Use an NCR qualified thermal paper to ensure proper printer operation. For more information, refer to Receipt Printer Paper Guidelines.
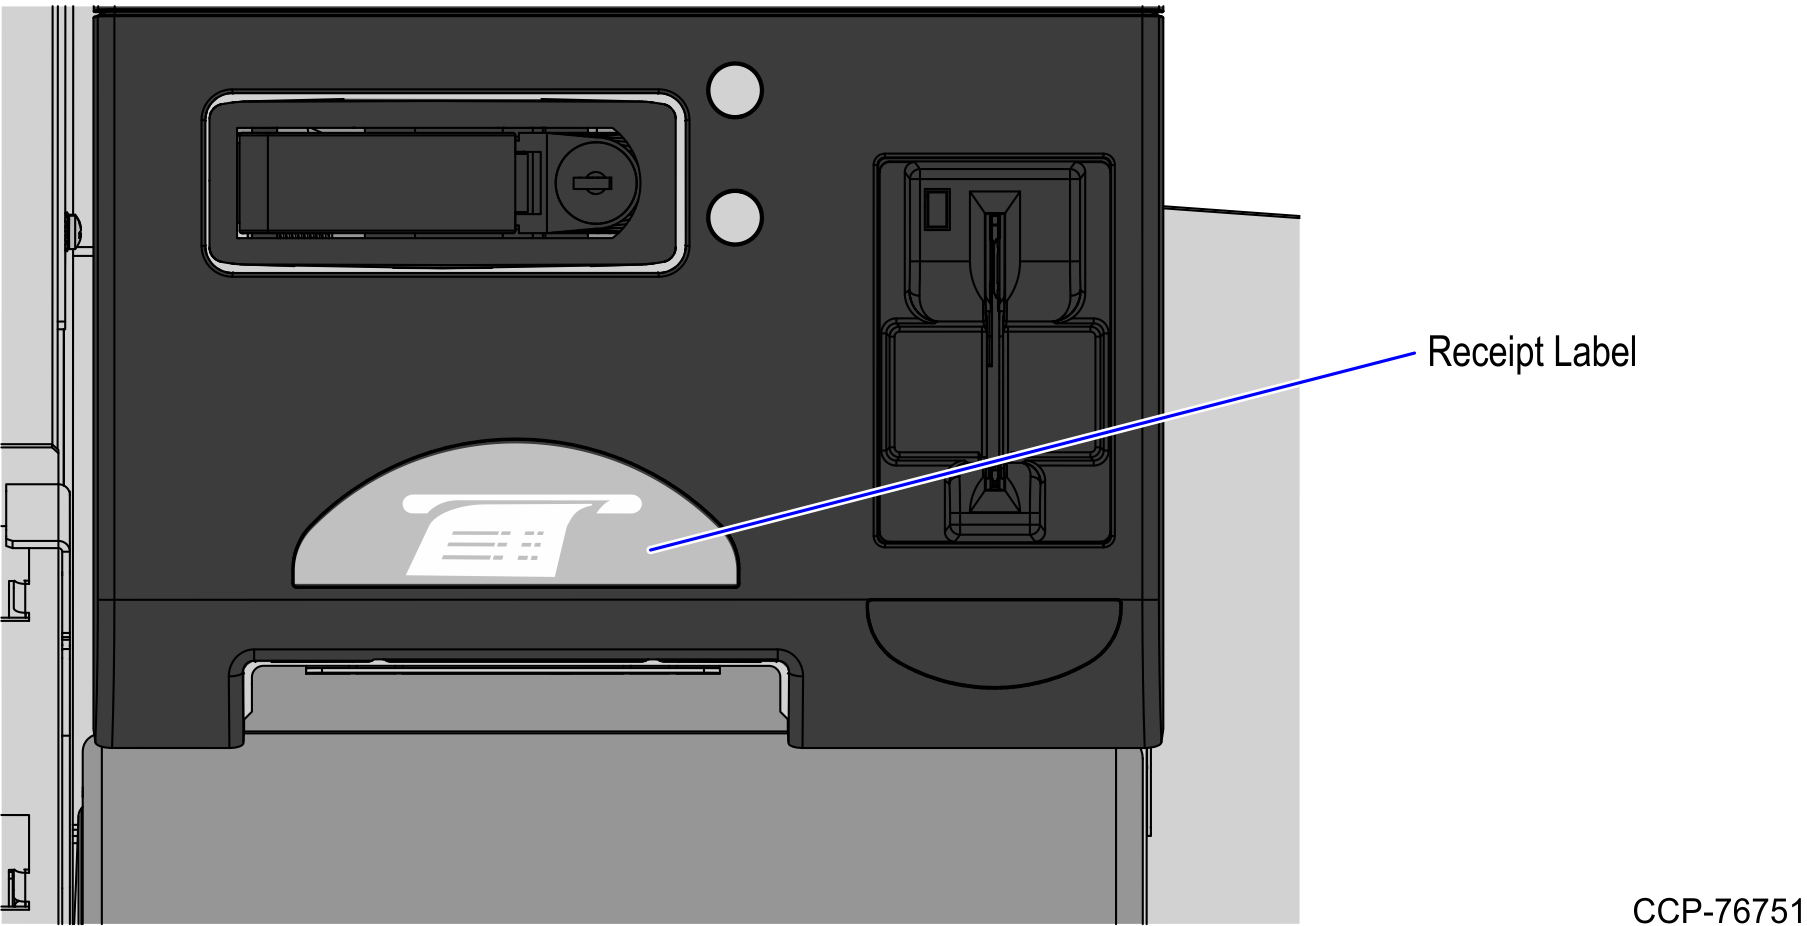
11.Attach the silver "Receipt" label to the fascia, as shown in the image below.
12.Test the Receipt Printer in PML.