Installation Procedures
To install the Tri–Light/Lane Light with Camera assembly, follow these steps:
Note: Ensure that the NCR Customer Helpdesk is informed when the Tri–Light/Lane Light with Camera is installed in the store.
1.Do the following:
•Remove the existing Tri–Light/Lane Light Assembly. For more information, refer to Removing Tri–Light/Lane Light Assembly.
•Remove the existing Tri–Light/Lane Light Pole. For more information, refer to Removing Tri–Light/Lane Light Pole.
2.Install the Lane Light Label to the new Tri–Light/Lane Light assembly. For more information, refer to Installing Lane Light Label.
3.Install the Tri–Light/Lane Light Pole. For more information, refer to Installing Tri–Light/Lane Light Pole (Optional).
4.Install the new Tri-Light with Camera Assembly. For more information, refer to Installing Tri–Light/Lane Light with Camera Assembly.
5.Configure the Camera Settings refer to Configuring Camera Settings.
Note: For more information about setting up the camera, refer to Hikvision Network Camera User Manual.
6.Access the camera view by doing the following:
a.Open a web browser.
b.Enter the IP Address of the network camera in the address bar and press Enter to access login interface.
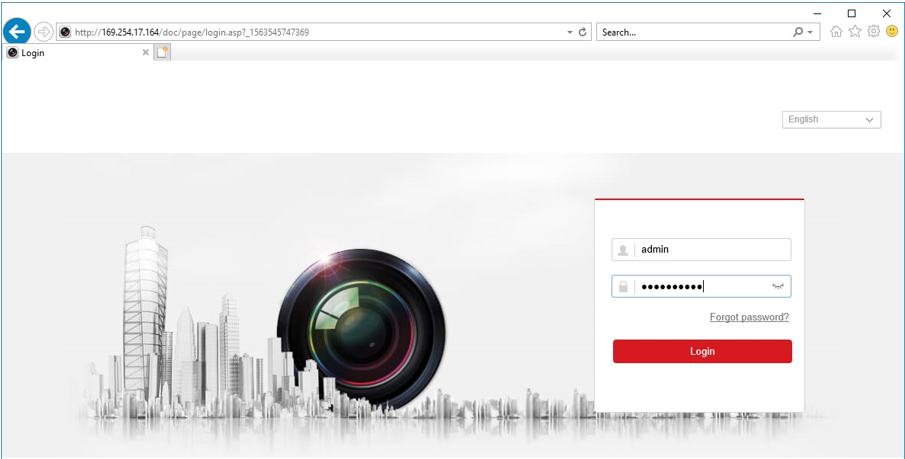
c.Enter the following default login credentials:
Username: Admin
Password: HikVision1
The browser opens a live feed of the camera, as shown in the image below.

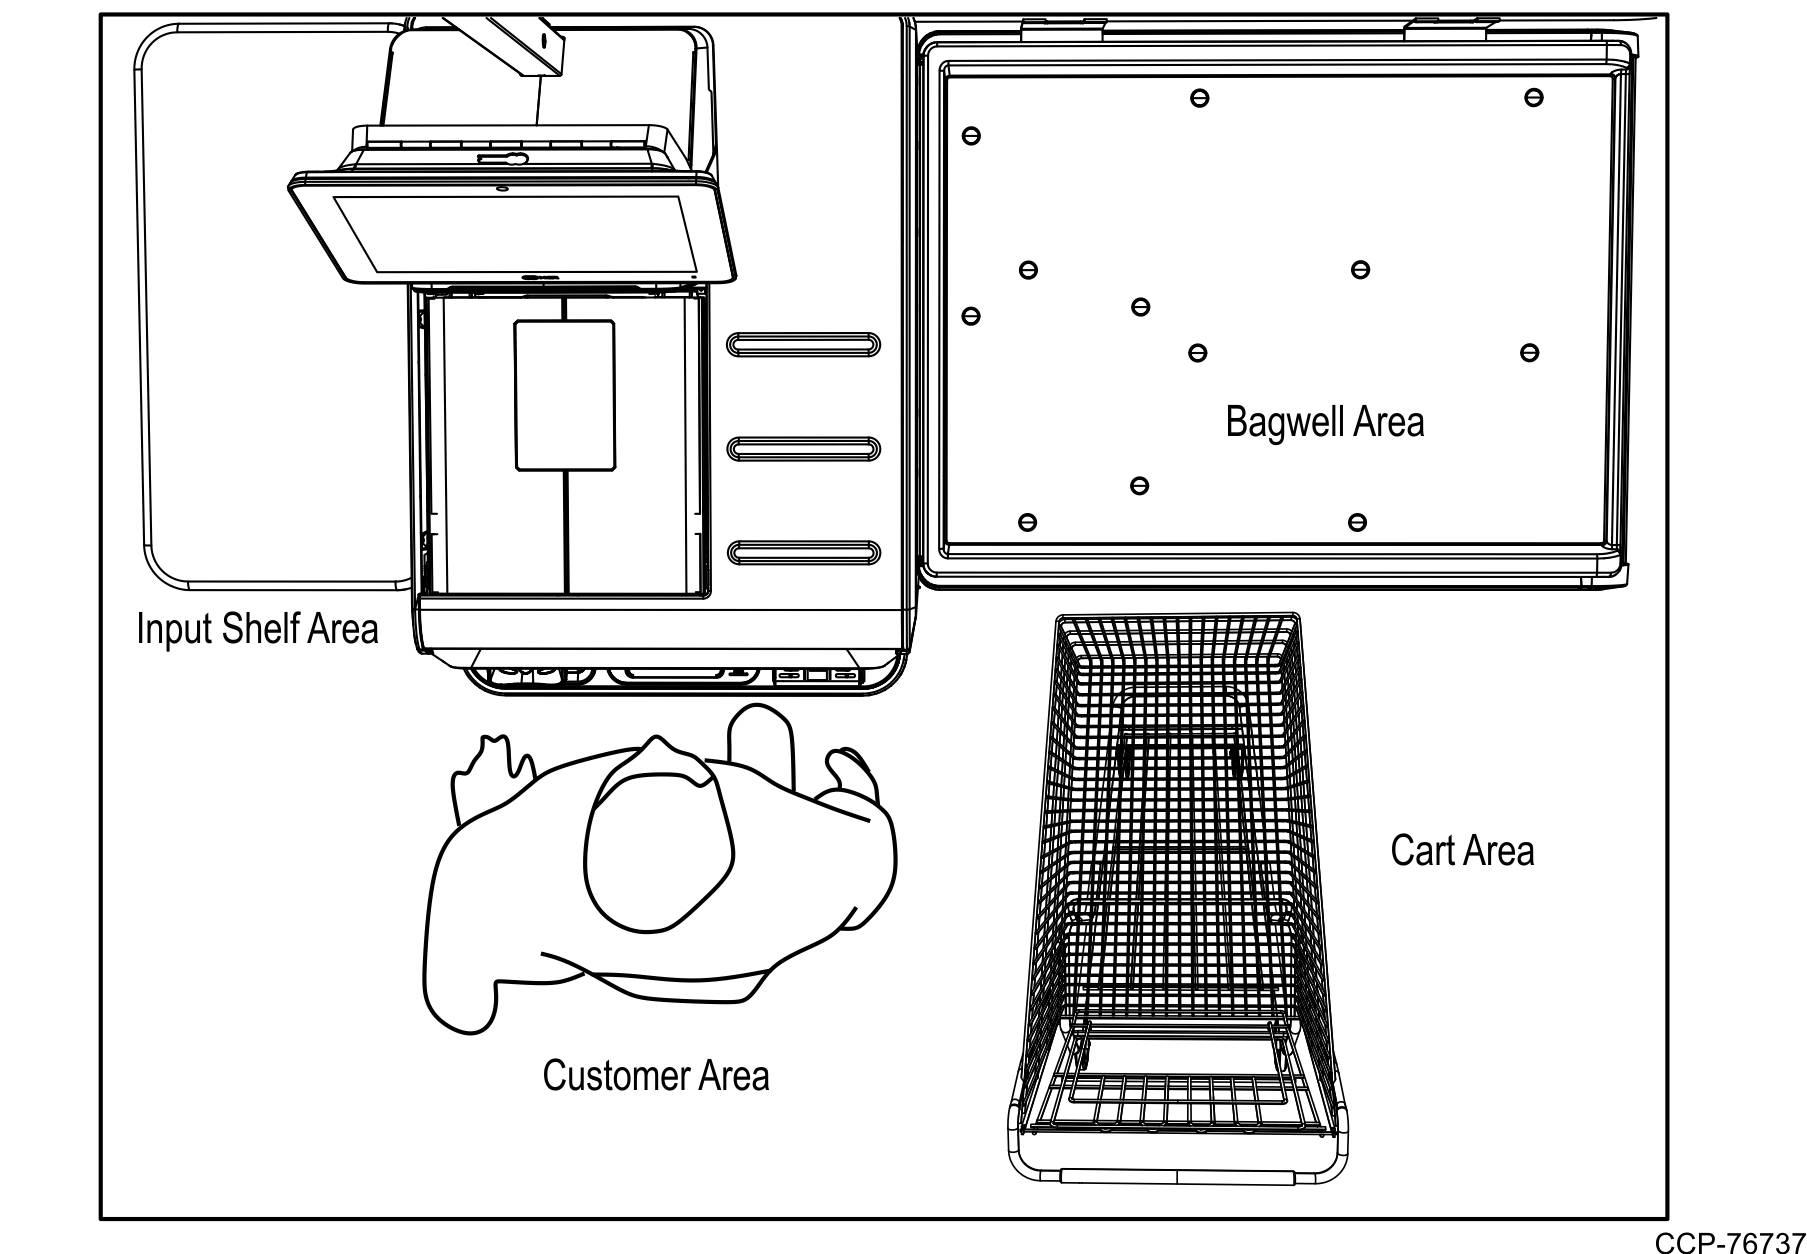
7.Adjust the view of the camera to ensure that the following conditions are met:
•Customer's normal reach to Input and Bagwell areas are visible.
•Customer area is visible.
•Cart area is visible.
Note: Refer to the image below for an example of an ideal camera view. For the purpose of illustration only, the image below shows a Right-hand (RH) orientation. For more information on setting the camera parameters, refer to Hikvision Network Camera User Manual.
Note: Ensure that the NCR Customer Helpdesk is informed when the Tri–Light/Lane Light with Camera is installed in the store.